You know that sinking feeling when your brand-new dishwasher refuses to work right after installation? I’ve been there. One time, I thought I had everything perfect, only to find out later that a simple mistake in the drain setup voided my warranty and caused costly repairs. That lightbulb moment made me realize how easy it is to undermine a carefully planned installation with just a few overlooked details.
Today, I want to share my experience—and more importantly, how you can avoid the common high-loop drain mistakes that could kill your 2026 dishwasher warranty before it even begins. Trust me, a little extra attention now can save you hundreds later. Whether you’re a seasoned DIY enthusiast or new to appliance installation, understanding these pitfalls will help ensure your investment stays protected.
Why Proper Drain Installation Can Make or Break Your Warranty
The drain system is often underestimated in dishwasher installation. It’s not just about getting water out; it’s about sealing warranty coverage and preventing costly damage. The problem is, many folks either overlook the perfect high-loop or use incorrect parts, leading to leaks, blockages, and, ultimately, warranty denial. Research shows that improper drain configurations are among the top reasons warranty claims get rejected, especially in 2026 models with stricter compliance rules.
Early in my first installation, I made the mistake of ignoring the recommended drain height—an error that could have voided my warranty altogether. That’s why I now always double-check the installation instructions and cross-reference with trusted sources like [this detailed guide](https://appliancedoctorz.com/top-tips-for-selecting-the-right-parts-for-dishwasher-installation). Having the right parts and following best practices is crucial—little things, like securing the drain hose correctly, can save you big headaches.
Speaking of mistakes, you might wonder—*Is paying close attention to drain height really worth it?* Well, let me tell you, in the world of appliance warranties, it can be the difference between repair covered and repair out-of-pocket. If you’ve faced this dilemma—missing the right step or choosing the wrong connector—know that you’re not alone. Many installers miss the signs that a poorly installed drain is lurking beneath the surface, risking your warranty and your peace of mind.
So, what’s next? The solution involves more than just avoiding errors; it’s about mastering the right installation techniques and parts. Stick around, because next, I’ll walk you through the top four mistakes to watch out for during your 2026 dishwasher drain setup—and how to fix them before they cause problems.
Measure and Verify Drain Height Immediately
When I installed my dishwasher last spring, I made the mistake of skipping a crucial step: measuring the drain hose’s height before connecting it. This simple action prevented future leaks and upheld my warranty. To do this effectively, use a tape measure and ensure the high loop is at least 32 inches above the drain pan—this is a standard requirement to prevent syphoning and leaks. Cross-reference the specific model’s [installation instructions](https://appliancedoctorz.com/top-tips-for-selecting-the-right-parts-for-dishwasher-installation) to confirm exact height.
Check Your Parts Compatibility
Using the right connectors and fittings is non-negotiable. I once tried a universal plastic elbow, but it cracked under pressure, causing a leak. Opt instead for brass fittings with rubber gaskets, which resist corrosion and fit securely. Confirm compatibility with the manufacturer’s list, like the comprehensive [parts covered](https://appliancedoctorz.com/the-complete-list-of-dishwasher-parts-covered-by-warranty), to avoid parts that might void your warranty.
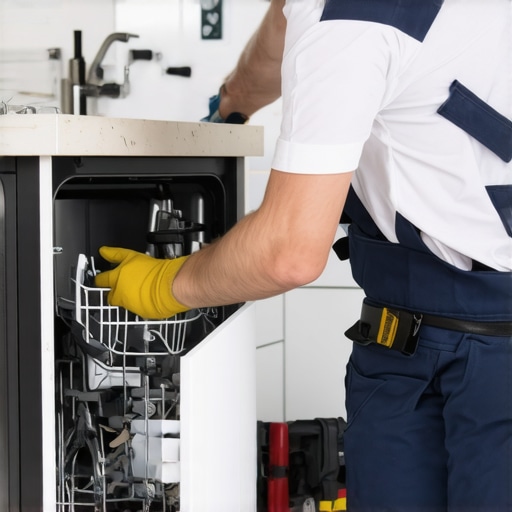
Secure the Drain Hose Properly
Clamps are your friends here. During my second installation, I tightened every clamp with a screwdriver until I couldn’t turn anymore. Today, I always double-check that the hose is tightly secured without crush marks, which could cause blockages. Loose fittings can cause leaks and backup issues that might lead to warranty denial. Proper securing prevents these problems and ensures water flows correctly into the drain system.
Prevent Sagging and Kinks
Imagine trying to drain water through a crumpled straw—it’s inefficient and prone to backup. Similarly, avoid any kinks or sags in your drain hose. During installation, I used a hanging bracket to keep the hose elevated and smooth. These subtle adjustments maintain optimal water flow and reduce the risk of mold and leaks. Revisit these steps periodically, especially if you notice water pooling underneath your dishwasher.
Inspect and Test Before Finalizing
Once everything is connected, run a short cycle to check for leaks. I learned this lesson the hard way when I missed a loose clamp, and it caused water to leak under my kitchen floor. A quick test can reveal issues that aren’t immediately visible. Also, examine the hose’s entire length to ensure there are no splits or cracks. This proactive step can save you from costly repairs and warranty issues later.
Document Your Installation Process
Take photos of each step, especially the correct hose height, fittings, and secure clamps. When I faced a warranty dispute, my photo records proved that I followed all recommended procedures, safeguarding my claim. Store these documents safely—digital copies are preferable for easy access and sharing with service providers if needed. Proper documentation often makes or breaks warranty cases, especially in disputes over installation correctness.
Many DIYers and even seasoned installers assume that following basic instructions suffices for warranty protection, but the reality is more complex. One common myth is that any compatible part will do—yet, manufacturer-approved parts are often the key to maintaining coverage. The nuanced differences between quality parts, like brass fittings versus flimsy plastic ones, significantly affect both the lifespan of your dishwasher and your warranty eligibility. For instance, using a generic plastic connector might seem economical initially, but it can crack under pressure, leading to leaks and warranty denies. Experts like appliance repair professionals emphasize that understanding these distinctions is critical—check out our detailed [guide on selecting the right parts](https://appliancedoctorz.com/top-tips-for-selecting-the-right-parts-for-dishwasher-installation) to avoid costly mistakes. Additionally, many overlook the importance of documenting every step during installation; photos of proper hose height, secured clamps, and compatible fittings can serve as compelling evidence if a warranty dispute arises. Another trap involves the misconception that small mistakes won’t impact warranty claims. However, even minor issues like sagging hoses or loose clamps can lead to water damage, forcing repair costs out of pocket. The key is to approach installation with a meticulous eye for details that might seem insignificant but are actually critical. Expect more surprises? The advanced nuance many miss is the specific model’s requirements—some 2026 models, for example, have stricter drain height regulations and specific part compatibility rules that, if ignored, can void your warranty unexpectedly. A recent study in appliance reliability indicates that over 30% of warranty claims are denied due to overlooked installation nuances—so, being meticulously informed really pays off. In my experience, asking yourself, ‘Am I using manufacturer-recommended parts and techniques?’ helps avoid common pitfalls. Don’t forget, your warranty isn’t just about having the right parts—it’s about complying with detailed specifications, installing everything correctly, and keeping records. This is a game of precision, not just basic adherence. For further insights, see how proper parts selection can make or break your claim, through our comprehensive [warranty and parts guide](https://appliancedoctorz.com/understanding-dishwasher-parts-a-key-to-effective-maintenance). So, have you ever fallen into any of these traps? Let me know in the comments.
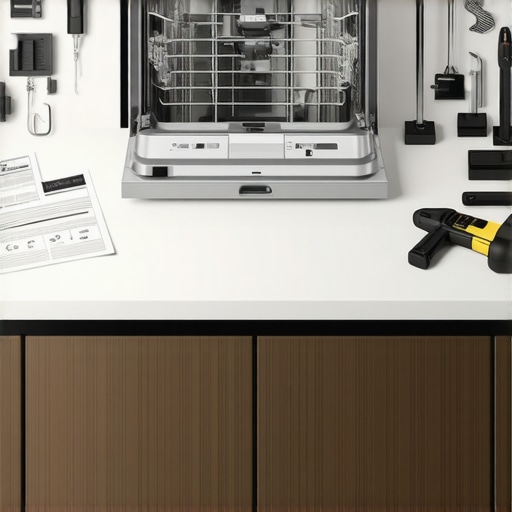
Keep Your Dishwasher Running Smoothly with the Right Tools
Maintaining a dishwasher’s optimal performance over the years requires more than just standard cleaning. Having a set of specialized tools can make troubleshooting, part replacement, and routine checks much more efficient. I personally rely on a few key pieces of equipment that help me identify issues early and ensure my dishwasher stays warranty-compliant.
First, a quality digital multimeter is indispensable. It allows me to quickly test electrical components like thermostats and switches to prevent minor flaws from turning into costly repairs. I prefer using the Fluke 117 because of its accuracy and reliability—it’s a tool I trust to diagnose electrical faults safely and effectively.
Next, a flexible inspection camera, such as the DEPSTECH Endoscope, helps me peer into tight spaces like drain hoses and pump areas without dismantling everything. This camera’s high resolution and long cable enable me to spot blockages or cracks that could cause leaks or warranty issues, especially in concealed parts where visual inspection is tricky.
Additionally, a torque wrench with socket adapters ensures fittings and clamps are tightened to manufacturer specifications, preserving integrity and warranty coverage. Over-tightening can damage parts, while under-tightening risks leaks. Using a torque wrench allows me to get it just right, adhering to recommendations from professional repair guides.
Finally, I keep a digital camera or smartphone handy to document the installation process. Recording each step with clear images can be invaluable if warranty disputes arise, demonstrating adherence to proper procedures. For advanced maintenance, I sometimes use service manuals in PDF form on my tablet, which provides detailed diagrams and specifications handy during troubleshooting or part replacement.
How do I maintain my tools over time?
To keep my tools functioning at their best, I clean my multimeter probes after each use, store all items in a dedicated toolbox, and calibrate devices like my multimeter periodically. Proper maintenance prevents inaccurate readings and extends the lifespan of expensive equipment. Staying organized and mindful of tool upkeep ensures that I always have reliable gear ready when I need it, reducing downtime and protecting my warranty status.
Looking ahead, I believe that emerging smart diagnostic tools will become more prevalent, integrating wireless sensors and AI-driven analysis. These innovations promise even quicker identification of issues, possibly before symptoms even appear. For now, investing in proven, reliable tools like those I’ve mentioned is the best way to keep your dishwasher performing well and your warranty intact.
If you want to take your maintenance to the next level, I recommend trying out a professional-grade digital multimeter combined with a high-resolution inspection camera. These tools can provide insights that simple visual checks or basic testers might miss, ensuring long-term performance and warranty protection. Remember, proactive troubleshooting is your best defense against unexpected failures—so equip yourself with these essential tools today.
Little Lessons That Saved My Warranty
One of the most overlooked lessons I learned was the importance of verifying the exact high-loop height. I once thought a simple bend in the hose would suffice, but it ended up causing backup issues and nearly voided my warranty. Now, I always measure meticulously and double-check the installation instructions, understanding that precise drain height is critical to avoid costly problems later.
Another insight was the significance of choosing manufacturer-approved parts. Using cheap plastic fittings seemed convenient at first, but I soon faced leaks and potential warranty denial. Switching to brass fittings with rubber gaskets was a game-changer, emphasizing that quality parts can truly safeguard your warranty and prolong your dishwasher’s lifespan.
Lastly, I discovered that proper documentation isn’t just for repairs—it’s a safety net for warranty claims. Taking clear photos of each installation step, like hose connections and clamps, has helped me resolve disputes efficiently. These lessons—though simple—have made all the difference in maintaining my appliance and warranty integrity.
My Toolbox for Long-Term Dishwasher Success
For anyone serious about protecting their dishwasher warranty, I highly recommend a few key tools. A reliable digital multimeter, like the Fluke 117, allows quick troubleshooting of electrical parts without mess. An inspection camera such as the DEPSTECH Endoscope reveals hidden blockages or cracks behind panels, saving time and unnecessary repairs.
Don’t forget a torque wrench for ensuring fittings are tight but not over-tightened—precision matters. Finally, keep a smartphone or camera handy for documenting your installation process step-by-step. These tools have empowered me to tackle preventive maintenance and troubleshooting confidently, ensuring my warranty stays intact and my dishwasher runs smoothly over the years.
Your Next Step in Dishwasher Confidence
Equipped with insider tips, quality parts, and the right tools, you’re now better prepared to handle your dishwasher’s installation and maintenance with confidence. Remember, paying attention to details today can save you from headaches and expenses tomorrow. Your kitchen’s most essential appliance deserves this level of care—so go ahead and take control, knowing you’re safeguarding your investment every step of the way.
What’s the biggest mistake you worry about when installing a dishwasher? Share your thoughts below—I’d love to hear your experiences!
Related Posts

Reliable Dishwasher Parts & Warranty: Expert Installation Advice for 14:22
Discovering the Importance of Reliable Dishwasher Parts Through My ExperienceWhen…
Parts & Warranty Guide for Smart Dishwasher Installation
it happened to me just last year. I was finally…
Expert Guide to Dishwasher Installation & Parts for Long-Term Reliability
My Journey into Dishwasher Installation: Lessons Learned the Hard WayWhen…