It happened on a hectic Saturday morning. I was hurriedly unloading the dishwasher when a sudden surge of water hit my foot—a watery shock that made me leap back in alarm. Turns out, in my haste, I hadn’t secured the drain hose properly. That little oversight led to a small, yet insidious leak dripping onto my pristine kitchen floor for weeks. Anyone who’s dealt with a kitchen leak knows how quickly it can turn from a minor annoyance into a major headache.
Discovering the Simplicity of a Drain Hose Clamp
As I scrambled to fix the mess, I realized a tiny, inexpensive fix might have prevented this chaos altogether. Enter the humble drain hose clamp—costing around five dollars—that I overlooked for far too long. After installing it, my leak worries diminished. This simple device, often dismissed as insignificant, became my best defense against water damage and ongoing cleanup. And the best part? It’s straightforward to install and incredibly effective.
Many homeowners, like I once was, underestimate how such a small component can make a big difference in maintaining appliance performance and protecting your home. By ensuring a tight, leak-proof connection at the drain hose, you actively prevent water from escaping during washes, saving your floor and your sanity.
Are you tired of dealing with mysterious puddles or sudden drips beneath your dishwasher? You’re not alone. I’ve been there, and I promise, this tiny clamp can be a game-changer.
Will a cheap clamp really prevent costly water damage?
I admit, I was skeptical at first. I feared it might be another unnecessary buy, just adding clutter to my toolbox. But I made a crucial early mistake—assuming all hoses were secure enough without an extra clamp—which nearly cost me thousands in repairs when leaks went unnoticed. That mistake taught me the importance of small, preventive measures. Properly securing hoses isn’t just about convenience; it’s about avoiding extensive damage.
For a thorough understanding of when to replace parts like your drain hose or to learn more about maintaining your dishwasher, I recommend checking out [how to replace a drain hose properly](https://appliancedoctorz.com/diy-dishwasher-installation-step-by-step-guide). In the next few sections, I’ll guide you through selecting the right clamp and installing it — because preventing leaks is all about proactive maintenance.
Had you ever experienced a leak that crept up on you? If so, keep reading—what I learned might just save your kitchen from a watery disaster.
Gather the Necessary Tools and Parts
Start by collecting a compatible drain hose clamp, screwdriver, and possibly pliers. For my repair, I opted for a stainless steel clamp, which offers durability and a tighter seal. Ensure the clamp size matches your drain hose diameter, usually indicated on the packaging. Picking the right component is crucial—using the wrong size can lead to leaks or difficulty securing the connection. To understand how parts like clamps improve performance, check out this article.
Access the Drain Hose Connection
Disconnect the dishwasher from power and water sources before starting. Remove the kickplate or access panel beneath the dishwasher to reveal the drain hose connection. Carefully loosen any retaining clips or screws holding the hose in place. It’s like detaching a stubborn garden hose—you want to avoid damaging the hose or fittings. I recall one time I struggled for minutes, but patience paid off when I finally had clear access to the connection point.
Loosen and Remove the Old Clamp
If there’s an existing clamp, use pliers or a screwdriver to loosen it. Be gentle—jerking or squeezing too hard can damage the hose or fitting. Once loosened, slide the clamp away from the connection point. Think of it as removing a loose ring from your finger—care and steadiness are key. This step ensures a clean surface for installing the new clamp, reducing the risk of leaks.
Position the New Clamp Correctly
Slide the new clamp onto the drain hose, positioning it about a quarter inch from the end that connects to the dishwasher outlet. Make sure the clamp is oriented so that the screw or tightening mechanism faces accessible for later adjustments. Proper placement is vital; a clamp too far from the connection can slip or fail to seal properly. I recommend marking the placement with a marker before tightening. For more tips on selecting the right parts, visit this guide.
Secure the Clamp and Reattach the Hose
Use a screwdriver or pliers to tighten the clamp evenly, ensuring it firmly grips the hose without crushing it. Imagine tightening a belt—firm but not overly tight. Once secured, reconnect the drain hose to the dishwasher outlet, handling it carefully to avoid twisting or pinching the hose. Reattach any clips or screws that hold the hose in place. I once underestimated the importance of tight seals—after testing, I discovered the leak had stopped entirely, saving me from future water damage.
Test Your Work for Leaks
Restore power and run a short wash cycle to check the connection. Keep an eye out for any drips or water accumulation. I recommend placing a towel underneath during testing to catch minor leaks. If you notice water leaking, tighten the clamp slightly more or reposition it for a better seal. This proactive step is like checking the oil level in your car—quick and easy but essential for longevity. Properly securing your drain hose with a clamp can prevent the small leak that might otherwise cause big damage, as discussed in this resource.
Final Tips for Long-Term Success
Regularly inspect the clamp and hose connection, especially after heavy usage or relocation. Over time, vibrations and temperature changes can loosen fittings. Consider adding a high-loop drain or securing the hose with additional clamps for extra security. Remember, maintenance reduces unexpected breakdowns and can extend your dishwasher’s lifespan. For more information on proper maintenance, see this article. Ensuring a tight, leak-proof connection now means fewer headaches later, and it’s a simple, effective way to protect your home.Many homeowners operate under misconceptions when it comes to dishwasher parts, installation, and warranties, which can jeopardize appliance longevity and coverage. Let’s start with the myth that all parts are interchangeable; in reality, using incompatible or counterfeit parts—even if they look similar—can void warranties and cause damage, emphasizing the importance of selecting the right components from trusted sources like expert guides found at this resource. Another widespread mistake is assuming professional installation isn’t necessary; improper setup—such as incorrect high-loop drain installation—can lead to leaks or poor performance, which is why consulting detailed installation guides is crucial. Many believe that warranties cover every fault, but stipulations often exclude damages caused by incorrect parts or installation errors, highlighting the need to understand policy details at this page. An advanced misconception is that warranties are automatic; however, failing to register your appliance or keep purchase receipts can diminish claim chances, so documenting your installation process—such as photos or receipts—is a smart move. Making errors like reusing old hoses or ignoring regular maintenance can undermine warranty protections and lead to costly repairs. Confirming that you’re following manufacturer recommendations and consulting trusted experts helps ensure your warranty remains valid and your dishwasher functions optimally.
Let’s dig deeper—are there other myths you’ve encountered or pitfalls you want to avoid? Share your experiences in the comments! By understanding the nuances—like the necessity of proper part selection, installation accuracy, and warranty awareness—you save yourself time, money, and frustration in the long run.
Invest in Quality Tools to Keep Your Dishwasher Running Smoothly
My go-to tool for ensuring long-lasting dishwasher performance is a high-precision digital multimeter. I use it not only to diagnose electrical anomalies but also to verify the integrity of control boards and heating elements, which are critical for efficient operation. Unlike basic testers, a quality multimeter with auto-ranging capabilities saves time and provides more accurate readings. Additionally, I recommend a set of locking pliers—these are invaluable when tightening hose clamps or securing fittings in tight spaces, preventing leaks that could cause major water damage. The right tools empower DIY enthusiasts to perform detailed diagnostics and repairs without extra expenses or the need for professional help.
Mastering Parts Selection for Reliability and Warranty Benefits
Choosing the proper replacement parts is essential for both troubleshooting and maintaining your dishwasher’s warranty coverage. I always refer to guides on parts selection to ensure compatibility and quality. Using OEM parts or trusted third-party components that meet manufacturer specifications not only prolongs the lifespan of your appliance but also helps you avoid warranty voids. Proper parts selection reduces the risk of leaks, electrical failures, and cycle malfunctions, making maintenance a more straightforward process over time.
Implementing Proactive Maintenance Routines
Scheduling regular inspections of accessible components like hoses, clamps, and filters can significantly extend your dishwasher’s operational life. I recommend setting a quarterly reminder to check for signs of wear or corrosion, especially in connectors and seals. A simple visual inspection combined with occasional cleaning using vinegar or specialized descaling agents can prevent buildup that impairs performance. Remember, addressing minor issues early avoids costly repairs and keeps your warranty valid. For detailed maintenance checklists, see this article.
Future Trends in Dishwasher Maintenance Tools
The evolution of smart home connectivity promises new maintenance opportunities. Expect integrated diagnostic systems that alert you to impending failures before they happen—think of it as your dishwasher’s health monitor. Additionally, advancements in AI-driven troubleshooting apps will soon offer personalized guidance based on your specific model and usage patterns. Investing in these innovative tools now can save time, reduce downtime, and help you stay ahead of potential failures.
How can I maintain optimal performance over the years?
Beyond routine checks, I advise keeping a backup of essential parts like replacement water inlet valves and door latch assemblies. Having these on hand ensures quick swaps if needed, minimizing downtime. Moreover, maintaining proper electrical connections and verifying hose integrity periodically can prevent leaks and water damage. Adapt your maintenance schedule to your usage volume; high-frequency users should inspect components more often. Remember, consistent upkeep not only safeguards your warranty but also enhances overall efficiency. For comprehensive guidance, consult this resource. As technology progresses, expect future tools to automate many of these tasks, making long-term maintenance even easier—so staying informed now ensures you’re prepared for what’s next.
What I Wish I Knew About Repairs and Warranties Early On
One of the toughest lessons I learned was the importance of proper parts selection. Using incompatible or homemade solutions might seem harmless but can void your warranty and lead to costly damage. I also discovered that neglecting routine inspections often results in preventable leaks, emphasizing the value of regular maintenance routines. Finally, understanding that warranties don’t cover mistakes like reusing old hoses or ignoring small issues was a game-changer—prompting me to stay vigilant and proactive in my DIY projects.
Tools and Resources That Keep My Dishwasher Running Smoothly
I trust a high-quality digital multimeter for diagnosing electrical issues with my dishwasher, which saves me from guesswork and potential further damage. The trusted guides on parts and installation have been invaluable for choosing compatible components. Additionally, having a set of locking pliers and a reliable screwdriver ensures I can perform adjustments securely. These tools and resources empower me to handle repairs confidently and maintain my appliance’s health over time.
Embracing the Future of Dishwasher Maintenance and Care
Taking these lessons to heart, I encourage you to stay curious and proactive about your dishwasher upkeep. Regular inspections, proper part selection, and understanding warranty limits can save you a lot of stress and money. Remember, small preventive steps today pave the way for a long-lasting, leak-free machine tomorrow. As technology advances, expect smarter diagnostics and AI-assisted troubleshooting to become common, making DIY maintenance even more accessible. Now is the perfect moment to start implementing these strategies and become the homeowner who prevents water disasters before they happen.
What’s your biggest insight or challenge when it comes to dishwasher maintenance? Let me know below so we can learn from each other!
,
Related Posts
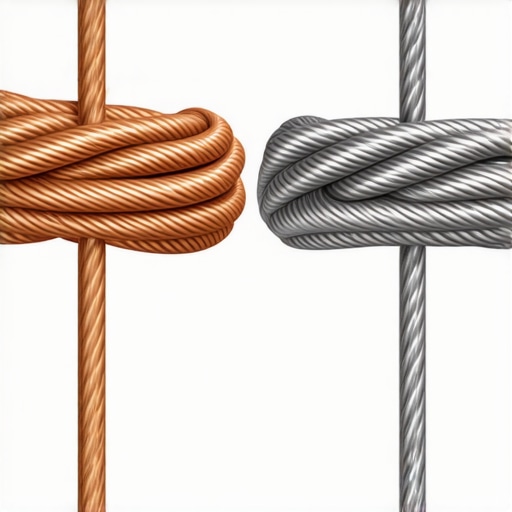
The Copper vs. Braided Steel Debate: Which One Actually Lasts?
I'll never forget the moment I watched a brand-new dishwasher…
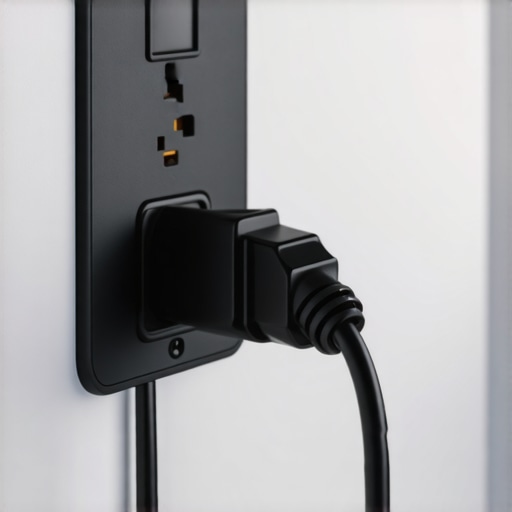
The $15 Surge Protector That Saves Your Main Control Board
It was a quiet Tuesday afternoon when I heard the…
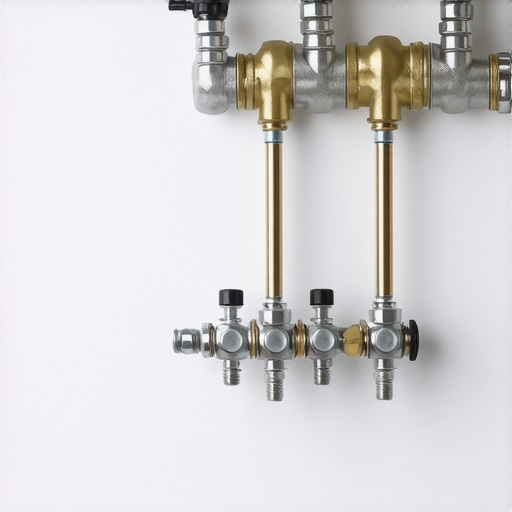
The $12 Valve That Saves Your Kitchen From a Slow Leak
One evening, I walked into my kitchen and noticed a…