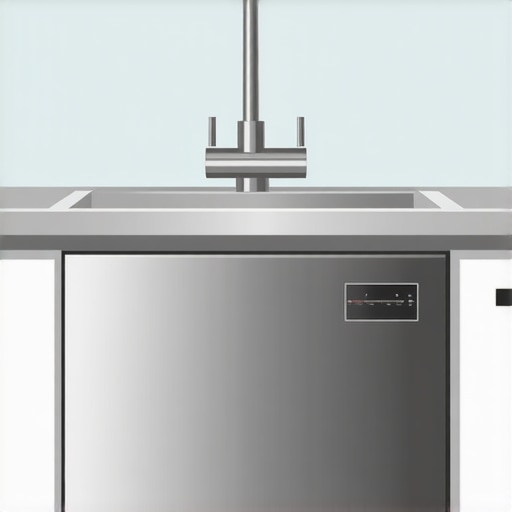
It was a mess. I remember the frustration bubbling up as I peered under my sink, realizing that my brand-new dishwasher wasn’t draining properly, and the odors were getting worse by the day. It hit me—my connection between the dishwasher and the garbage disposal wasn’t just unclear; it was downright wrong. That lightbulb moment made me realize many homeowners, including myself initially, overlook a crucial step during installation—**the proper way to connect a dishwasher to a garbage disposal**. This isn’t just about avoiding leaks or soggy dishes; a wrong connection can void your warranty, cause costly repairs, and even damage your kitchen floors.
The Real Cost of a Wrong Connection
Connecting a dishwasher to your garbage disposal isn’t a job to rush through or guesswork to skip. If done improperly, it can lead to persistent drainage problems, foul odors, and unnecessary wear on your dishwasher components. I learned the hard way early on—failing to understand the right method could mean sneaky leaks that rot cabinets or, worse, complete appliance failure. And according to experts at [Appliance Doctorz](https://appliancedoctorz.com/what-your-dishwasher-warranty-doesnt-cover-and-how-to-avoid-fees), improper installation is a common reason for warranty claims being denied.
So, what’s the trick? How do you get it right without ending up back in the sink cupboard with a wrench and a headache? That’s exactly what I will share today—my tried-and-true approach, based on personal experience and a handful of reliable tips, so you can avoid my earlier blunders.
Is Overcomplicating the Connection Actually Worth the Hassle?
When I first attempted this task, I underestimated its importance. I thought any generic connection would do the trick—plug, clamp, done. Big mistake. The correct method involves specific fittings, proper sealants, and understanding the flow of water to prevent backflow or leaks. Skipping these details can result in a mess that’s tougher to clean than the dishes.
One mistake I made early on was reusing old hoses, which cracked and leaked sooner than later. I learned that using the right parts—like a brass drain connector and a high-quality clamp—is essential. For a more in-depth guide on selecting the best parts for long-term performance, check out [this resource](https://appliancedoctorz.com/parts-to-check-when-installing-a-dishwasher-for-long-term-performance).
If you’re feeling unsure about the process or worried about damaging your expensive appliances, remember: preparation is key. Preparing your kitchen beforehand, from clearing the working space to understanding the components involved, can save you time and headaches later. You might want to explore [this comprehensive guide](https://appliancedoctorz.com/how-to-prepare-your-kitchen-for-dishwasher-installation) to get started.
Now, let’s dive into the exact steps to connect your dishwasher properly—so you can enjoy a worry-free cleaning cycle and keep your kitchen running smoothly.
Secure the Correct Fittings First
When I installed my dishwasher, I initially reused old hoses, which seemed convenient but caused leaks later. Instead, I recommend replacing worn-out parts with new, high-quality fittings like a brass drain connector and stainless steel clamps. This ensures durability and prevents water leaks. Lay out all parts before starting, and double-check compatibility using details from this resource. To mimic my experience, I once skipped this step and ended up drenched in water during a late-night fix, learning the importance of quality fittings the hard way.
Many homeowners believe that connecting a dishwasher is a straightforward task, but in my experience, this simplification often leads to costly mistakes. A prevalent misconception is that any generic part or method will suffice, which isn’t true. For instance, many assume that reusing old hoses or fittings won’t impact performance, yet neglecting high-quality components can cause leaks and void warranties. The truth is, manufacturers invest heavily in specific fittings designed to work with their appliances; using incompatible parts can compromise your system and leave you vulnerable to damage.
Why Do So Many Get the Installation Wrong and Still Blame the Manufacturer?
Most people overlook the importance of strict adherence to installation guidelines, especially regarding water supply and drain connections. A subtle mistake, such as incorrect hose loops or choosing the wrong clamp torque, can result in persistent leaks that seem minor but cause major damage over time. According to expert advice, taking the time to understand your dishwasher’s exact requirements can save you from warranty denial and expensive repairs. In fact, this guide emphasizes that many warranty claims are rejected because users neglect proper installation procedures or use the wrong parts.
Are You Falling for Myths About Repairing Your Dishwasher?
Another widespread myth is that DIY repairs or part replacements are always cost-effective; however, without proper knowledge, you risk doing more harm than good. For example, reusing a plastic drain hose instead of replacing it with a durable metal or braided steel one can cause blockages or leaks, leading to warranty voidance. Furthermore, some assume that sealing leaks with silicone guarantees longevity, but it often fails under pressure and heat, causing recurring issues. To avoid such pitfalls, always verify your parts’ compatibility and installation technique, preferably consulting detailed guides like this resource.
Advanced Insight: How Can You Protect Your Warranty Legally?
For a more sophisticated understanding, consider that some warranties are voided if installation steps aren’t properly documented or if unofficial parts are used. A recent study from Consumer Reports highlights that many consumers unknowingly void their warranty by skipping manufacturer-recommended procedures or using generic components. Ensuring you follow all guidelines and document your work can save you significant trouble should a claim be necessary. For instance, maintaining receipts for quality fittings and recording your installation process can be crucial, especially when proof of proper setup is required in warranty disputes. Curious to learn more? Check out this comprehensive guide.
Have you ever fallen into this trap? Let me know in the comments. Being aware of these nuances helps prevent costly surprises and ensures your dishwasher runs smoothly for years to come.
Essential Tools for Long-Term Maintenance
Maintaining a dishwasher isn’t just about fixing problems when they arise, but also about proactive care to extend its lifespan. I rely heavily on a few specific tools to keep my dishwasher in tip-top shape.
First, a high-quality multimeter is indispensable. I use the Fluke 117, which provides accurate readings and durability. It helps me diagnose electrical issues like a faulty control board or bad wiring without guesswork. For testing water inlet valves or heating elements, a dedicated resistance meter allows me to quickly verify continuity and resistance values, ensuring parts are functioning properly.
Next, I recommend investing in a set of small precision screwdrivers. Many dishwasher components are secured with tiny screws, and having the right tools prevents stripping or damaging delicate parts. For instance, Phillips and Torx drivers with magnetic tips greatly improve efficiency and safety during repairs.
For inspecting hoses and connections, a flexible inspection mirror is invaluable. It allows a clear view into tight spaces, making it easier to spot leaks or mineral buildup. I prefer the MAG4D LED Inspection Mirror because it’s lightweight and features built-in LEDs for dim areas. It saves time and reduces the risk of overlooking issues that could cause major problems later.
Additionally, a reliable leak detection solution like the Honeywell Lyric Wi-Fi Leak Detector enhances maintenance routines. It provides early warnings of water leaks, preventing damage and costly repairs. I integrate mine with my smart home system for real-time alerts, which is especially useful if I’m away from home.
How do I keep my dishwasher functioning effectively over time?
Consistent cleaning and regular part checks are key. I schedule quarterly inspections, focusing on filters, spray arms, and door seals. Cleaning the filter with a soft brush and descaling the spray arms prevents clogs and ensures optimal water flow. I also routinely replace worn gaskets with high-quality parts, like the ones described here, to maintain a tight seal and prevent leaks.
Moreover, using the right maintenance software or app can streamline tracking service dates and components needing replacement. Apps like HomeMaintenance Pro or even customizable spreadsheets help me stay organized and avoid neglecting essential upkeep tasks.
Looking Ahead: The Future of Dishwasher Care
The trend toward smart home integration will continue to grow, making maintenance more automatic and predictive. Features like leak sensors, maintenance alerts, and performance diagnostics will become standard, enabling homeowners to address issues before they escalate. Investing in these technologies now can save time and money long-term, and I highly recommend trying out a digital leak sensor—it’s a game-changer for proactive maintenance.
To keep your dishwasher performing at its best, I encourage you to start incorporating regular inspections with reliable tools and consider upgrading to smart sensors. This approach not only preserves your warranty but also ensures your appliance continues delivering spotless dishes for years to come. For more detailed guidance, explore [this resource](https://appliancedoctorz.com/part-to-check-when-installing-a-dishwasher-for-long-term-performance). Don’t wait for a breakdown—be proactive today!
What I Wish I Knew Before My First Dishwasher Connection
One of the biggest lightbulb moments I had was discovering how critical proper fittings and seals are—skimping on quality or skipping steps can lead to leaks that haunt you for years. That experience taught me that patience and attention to detail during installation are priceless.
Another lesson was realizing that warranties aren’t just a formality—they hinge on following the correct installation procedures with the right parts. Overlooking manufacturer instructions or reusing worn components can invalidate your coverage, leaving you vulnerable when issues arise.
Finally, I learned that proactive maintenance and understanding your dishwasher’s components save you money in the long run. Investing in a good set of tools and knowledge about parts protection transforms a daunting task into a manageable routine, ensuring your appliance runs flawlessly for years.
Tools and Resources That Changed My Loading Routine
My essential toolkit includes a reliable digital leak sensor, which provides early warnings and helps prevent costly water damage. I trust the Honeywell Lyric sensor for its accuracy and smart home compatibility, making regular maintenance smarter and less stressful.
A high-quality resistance meter is invaluable for diagnosing electrical issues without guesswork. Paired with a set of precision screwdrivers, these tools make inspecting and replacing tiny components straightforward and safe.
For deep dives into parts selection and maintenance, I rely on resources like this comprehensive guide. It’s packed with insights on durable fittings, optimal drain loops, and what to replace before problems start—saving me time and money down the road.
Ignite Your Kitchen’s Potential and Take Control
Your dishwasher is more than just an appliance—it’s a vital part of your home routine. Proper installation, regular maintenance, and smart upgrades not only extend its lifespan but also ensure your peace of mind. Don’t wait for leaks or breakdowns to remind you—be proactive, stay informed, and take charge of your appliance’s future.
What’s the one step in dishwasher installation or maintenance you find most challenging? Share your experience below—let’s learn and grow together!
,
Related Posts
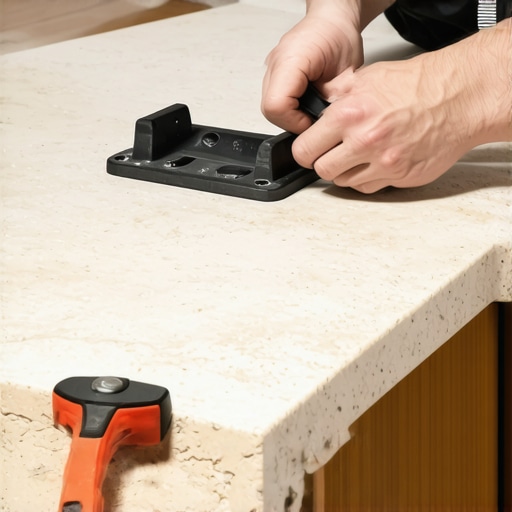
The Proper Way to Secure Your Machine to Stone Countertops
I'll never forget the morning I watched my new dishwasher…
The Correct Height for Your Dishwasher Air Gap
One day, during a kitchen remodel, I set out to…
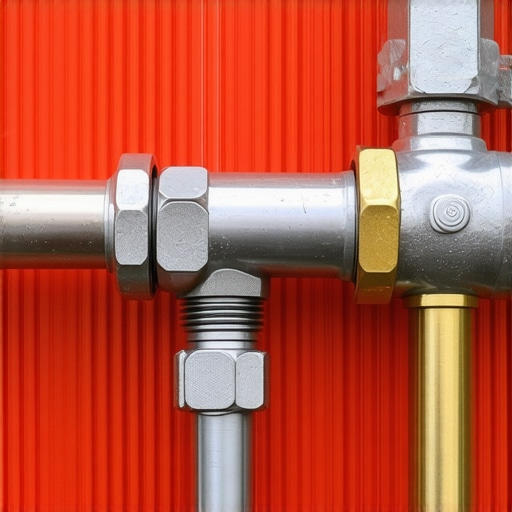
Why This $12 Hammer Arrestor Is the Only Way to Stop Banging Pipes
It was midnight when I first realized my kitchen had…