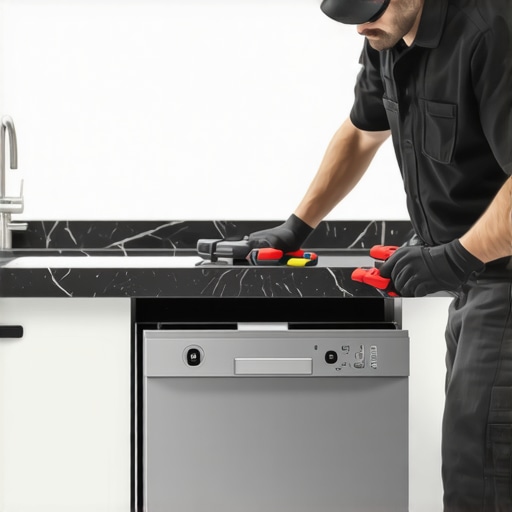
It was late at night, and there I was, elbow-deep in wiring my newest smart dishwasher. Sparks flew, screws went missing, and I couldn’t get the Wi-Fi to connect. The frustration was real, and suddenly I realized I was in over my head. If you’ve ever tried a DIY smart feature installation only to face baffling error codes or a device that just won’t cooperate, then you know exactly what I mean. Today, I’m sharing my journey—from amateur attempts to understanding why having a professional handle these installations can save you time, money, and heaps of stress.
Why Tackling Smart Installations Alone Can Backfire
Installing smart features isn’t just about plugging in a device; it involves a complex mix of electrical knowledge, precise plumbing, and understanding warranty policies. When I first ventured into my own setup, I assumed that following online tutorials was enough. Turns out, a small mistake—like misaligning the wiring or using the wrong parts—can lead to bigger issues down the line. For example, improper installation can void your warranty, leaving you unprotected when your device inevitably encounters problems.
In fact, many smart appliance warranties specifically exclude damage caused by DIY efforts out of warranty, which could mean costly repairs or replacements. A quick visit to [this guide](https://appliancedoctorz.com/understanding-dishwasher-warranty-policies-for-peace-of-mind) helped me realize the importance of adhering strictly to manufacturer guidelines.
Accidentally installing a component incorrectly isn’t just a mechanical blunder; it can create safety hazards or lead to performance issues. Plus, the intricacies of compatible parts and correct electrical connections often require expert knowledge to avoid damaging sensitive electronics. And these mistakes might not be immediately evident but could cause long-term damage.
Are you tired of second-guessing your DIY skills, only to be left with a half-working smart appliance? Or worse, facing unexpected repair costs? That’s a common frustration among homeowners who underestimate the complexity of these installations.
But don’t worry—we’re about to dive into the practical steps that will help you understand when to call in a professional and how it can benefit your appliance’s longevity and your peace of mind. Keep reading, and I’ll show you the way to a hassle-free smart setup that lasts.
Choose the Right Parts from the Start
Before diving into installation, select quality, compatible parts to ensure longevity and warranty compliance. Visit this guide to understand the critical components needed. For example, using an OEM-approved drain hose prevents leaks that could void your warranty, much like choosing the right shoes prevents discomfort during a marathon.
Follow a Step-by-Step Installation Process
Adopt a structured approach, similar to assembling furniture with clear instructions. Refer to this detailed guide that walks you through connecting water supply lines, electrical connections, and securing the appliance—all crucial for proper operation and warranty protection. Remember, meticulousness in each step minimizes future issues.
Verify the Water Supply Connection
Connect the water inlet hose to a dedicated 20-amp circuit to avoid overloads that can damage the dishwasher and void warranty, as highlighted here. Tighten fittings with the correct torque to prevent leaks, similarly to tightening a bicycle bolt to ensure safety.
Secure Drainage Properly
Proper drain height prevents siphoning and water backups, which can cause damage. Aim for a high loop at least 32 inches above the floor or install an air gap. An ill-placed drain can lead to malfunctions, affecting warranty coverage, much like a building’s foundation affects its stability.
Electrical Safety and Testing
Use a surge protector to shield your smart appliance from power surges, preserving both the device and warranty. After installation, test the unit with various cycles, watching for error codes. For troubleshooting, consult this resource to quickly identify issues.
Maintain Proper Seal and Prevent Water Damage
Seal all connections with appropriate materials to prevent leaks that can void your warranty. Use lubricants recommended by manufacturers on door gaskets, like in this guide. Regularly check for early signs of leaks or wear, much like inspecting a car’s tires before a long trip.
Document the Installation
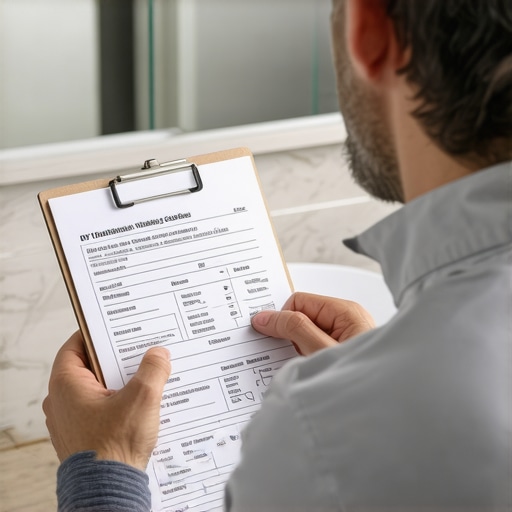
Take comprehensive photos during installation, including receipts for parts and the wiring setup. This documentation will strengthen your warranty claims if issues arise, akin to a builder keeping detailed project records.
By methodically following these actionable steps, you can ensure your smart dishwasher is installed correctly, operating efficiently, and fully protected under warranty. Quality installation prevents future headaches, letting you enjoy your appliance’s smart features worry-free.
Even seasoned homeowners often assume that choosing generic parts or following basic installation steps guarantees long-term performance and warranty compliance. However, the reality is far more nuanced. A common misconception is that all aftermarket parts are equal—many believe cheaper alternatives will suffice, but in fact, incompatible or low-quality components can void your warranty and lead to frequent breakdowns. Proper part selection is critical; for instance, selecting OEM-approved supplies not only ensures compatibility but also aligns with your warranty coverage, as detailed here. Moreover, installing a dishwasher might seem straightforward, but neglecting specific nuances—like correct water pressure, precise torque on fittings, or proper drainage height—can cause performance issues and warranty denial. An overlooked mistake is reusing old supply hoses; these can harbor mold or lead to leaks, which are often blamed on installation errors, but most warranties specifically exclude damage caused by reusing incompatible components. Have you ever fallen into this trap? Let me know in the comments. Additionally, many underestimate the importance of documentation. Taking clear photos of your wiring, part receipts, and installation setup provides crucial evidence to support warranty claims—without this, you may find yourself defending a denial due to perceived improper installation. A common myth is that warranty coverage automatically extends to every repair if the original installation was done DIY; in reality, warranties often exclude problems arising from improper assembly or use of non-approved parts. This is why consulting trusted resources and following expert-guided procedures can save you hassle. Finally, understanding the specific terms of your warranty, including coverage limits and exclusions, helps prevent surprise costs. Many homeowners overlook clauses that exclude damage caused by improper grounding or electrical setup—issues that could have been avoided with a knowledgeable professional. To truly master your appliance’s longevity, knowing these hidden nuances makes all the difference. Want to go beyond the basics? Dive into the detailed guides linked throughout this article, and remember—best practices today save headaches tomorrow.Maintaining your dishwasher’s performance over time requires the right tools and a proactive approach to troubleshooting. Personally, I rely on a high-quality digital multimeter to regularly check electrical components like the control board and sensors, ensuring they operate within manufacturer specifications. For plumbing checks, a laser distance measurer helps verify drainage height and hose length, preventing common issues like siphoning or improper water flow. Additionally, a set of professional-grade socket wrenches and torque drivers ensures fittings are tightened correctly, avoiding leaks that could void warranties.
In the realm of software, I recommend using diagnostic apps offered by major brands, which connect via Wi-Fi to read error codes precisely. These tools save time and provide in-depth insights that generic code readers can’t match. For example, some advanced apps can even perform firmware updates or reset routines, extending the appliance’s lifespan.
Looking ahead, the trend of smart diagnostics is evolving rapidly, with machine learning algorithms beginning to predict failures before they happen, much like predictive maintenance in industrial settings. Staying updated with these innovations means investing in smart tools now will pay dividends in long-term performance.
How do I keep my dishwasher functioning flawlessly over time? Routine inspections and using the right diagnostic tools make all the difference. Regularly checking the drain pump impeller with a small mirror and flashlight, as described in our troubleshooting guide, helps prevent water retention issues and pump failures. Furthermore, cleaning sensors like turbidity and temperature probes periodically with manufacturer-approved cleaning solutions ensures accurate cycle execution.
For the DIY enthusiast aiming for optimal results, installing a digital leak sensor connected to your home automation system can provide immediate alerts to leaks or overflow, protecting your floor and warranty. Integrating this with your smart app diagnostics enhances your ability to catch problems early, saving money and stress.
If you’re serious about long-term dishwasher health, I strongly suggest trying this advanced leak detection method. It’s a straightforward upgrade that can prevent costly repairs and help maintain warranty coverage. Discover more about sensor options and installation tips in our dedicated guide linked here: The benefits of installing a digital leak sensor. Regularly maintaining your appliances with these specialized tools will ensure your dishwasher serves you reliably for years to come.
3 Lessons I Wish I Had Known Before Starting
First, not all water supply hoses are created equal—reusing old ones seemed convenient but often leads to leaks and warranty issues, as I discovered the hard way. Second, ensuring your drain hose reaches the proper height with a sturdy high loop saves you from costly backups and voided warranties—don’t underestimate this simple step. Third, documentation is your best ally; taking clear photos and keeping receipts made my warranty claims smoother and more successful. These insights transformed my approach to dishwasher upkeep and prevented future headaches.
Tools and Resources That Changed My Game
One of the most valuable tools I found is a digital multimeter—it helps diagnose electrical issues efficiently and protects your warranty by enabling accurate troubleshooting. I also rely on a quality set of adjustable wrenches and torque drivers, which make securing fittings leak-proof. For learning more about installing and maintaining dishwashers, this comprehensive guide offers expert advice. When in doubt, consulting trusted resources and knowing the right parts to use, like those listed here, keeps my setup in top shape. Lastly, a good smartphone app that reads error codes has been a lifesaver during troubleshooting.
Your Next Move Toward Smarter Maintenance
Taking control of your dishwasher’s health isn’t just about following steps—it’s about adopting a proactive mindset that appreciates the importance of proper parts, installation, and understanding warranty nuances. Every small improvement, from choosing OEM-approved hoses to documenting your work, adds years to your appliance’s lifespan and peace of mind. Remember, tackling maintenance with confidence also means knowing when to call in the pros; sometimes, professional expertise is the best investment. So, why not start today? Embrace these lessons, leverage the right tools, and enjoy a dishwasher that serves you reliably well into the future.
Related Posts

How to Document a Professional Install for Future Warranty Security
Imagine finally finishing a professional dishwasher installation only to face…
The Proper Way to Secure a Dishwasher Under Stone Countertops
I remember the moment vividly—my hands were trembling slightly, and…
How to Prove Your DIY Installation Meets Local Plumbing Codes
I remember the moment vividly—standing in my kitchen, frustrated and…