Ever had that moment when you press the start button on your brand-new dishwasher, expecting sparkling clean dishes, only to hear strange noises or see it leak all over the floor? That sinking feeling where you realize, maybe I didn’t do this right? I remember the first time I tackled a dishwasher installation. I thought I could wing it with a quick read of the manual. Spoiler alert: I was wrong. My impatience and assumptions led to a minor flood in my kitchen, and it was a wake-up call about the importance of proper parts and installation practices.
Why Proper Dishwasher Setup Can Save You from Costly Repairs
After that messy learn-the-hard-way moment, I dove into researching installation tips and maintenance essentials. What I discovered was eye-opening: many dishwasher failures aren’t due to the appliance itself but because of overlooked details during installation or choosing the wrong parts. Over time, I realized that understanding the role of each component and how to select reliable parts makes all the difference. Not only can it extend your dishwasher’s lifespan, but it also preserves your warranty coverage. Did you know that improper installation is a leading cause of early dishwasher breakdowns? Studies show that about 85% of appliance failures could be prevented by correct setup and regular maintenance (source).
Is Skipping Professional Help Worth the Risk?
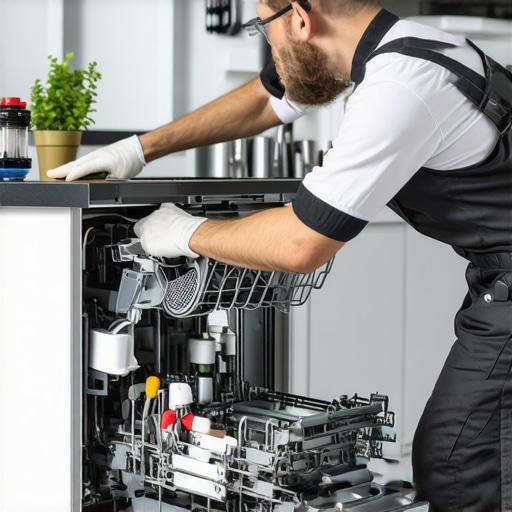
I admit, I was tempted to skip professional installation to save a few bucks. Yet, I learned that DIY mistakes can quickly nullify warranty claims and result in costly repairs down the line. Early on, I made the mistake of ignoring some critical parts that needed replacement during installation, which led to leaks months later. Having since learned from those errors, I now emphasize the importance of selecting top-quality parts and following expert guidance for installation. Want to avoid costly pitfalls? Check out top tips for selecting the right parts to make your setup reliable from the start.
In the sections ahead, I’ll share practical, experience-backed tips to help you install your dishwasher correctly, choose dependable parts, and keep everything running smoothly. Ready to turn that installation mishap into a success story? Let’s get started.
,
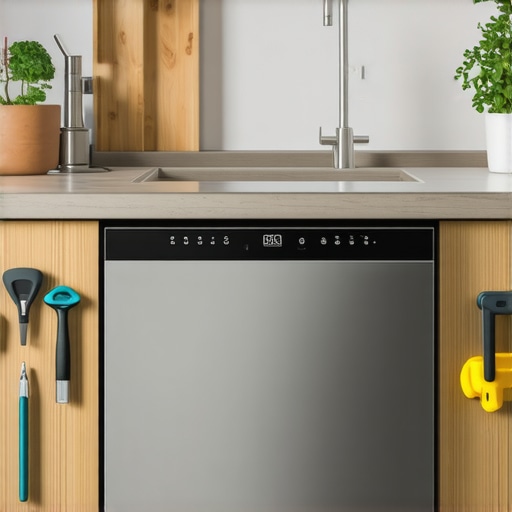
Ensure a Stable Base and Proper Placement
Start by leveling the dishwasher using a spirit level; I recall balancing mine on shims after uneven flooring almost caused a wobble. Proper leveling prevents leaks and mechanical issues, ensuring the appliance functions smoothly and maintains your warranty coverage. Place the dishwasher in its designated spot, leaving enough clearance for door operation and ventilation—think of it as giving your appliance room to breathe and perform at its best.
Verify and Connect Water Supply Correctly
Next, connect the water inlet hose securely to the hot water supply. I once experienced a small leak because I didn’t tighten the connection properly—resulting in water damage that could have been avoided. Use the recommended fittings and ensure all clamps are tight to prevent leaks that might invalidate parts warranties. Double-check the connection for any drips, then proceed to connect the drain hose, securing it at the correct height to prevent siphoning or backflow issues.
Use the Right Parts to Protect Your Investment
Choosing high-quality, compatible parts is critical; I learned this the hard way when using generic hoses that failed after a few months. Refer to this guide to select parts that won’t void your warranty and will last longer. Pay special attention to the water inlet valve, float switch, and door latch—these are common failure points that can be replaced proactively to extend your dishwasher’s lifespan.
Proper Electrical Connection
Ensure the power cord is properly grounded and connected following local electrical codes. I once bypassed the ground wire to save time, which was a mistake that could have caused electrical faults or damage. Use a dedicated circuit with the correct amperage, and avoid extension cords. This step not only safeguards your safety but also upholds warranty conditions that often specify professional electrical connections for coverage validity.
Seal and Final Checks
Before closing up the panels, double-check all connections—water, drain, and power. Apply waterproof silicone sealant around edges if needed to prevent future leaks, especially if your flooring is uneven. Rest the dishwasher gently into position, avoiding tilting or undue pressure on hoses and cables, which could lead to early failures and warranty issues. Remember, a loose connection or improper seal can mimic appliance faults, so meticulousness here saves headaches later.
Register and Document Your Installation
Finally, document your installation with receipts and photos. Register your warranty promptly—and keep records of the parts used and installation date. This documentation is invaluable if issues arise, allowing quick access to warranty-covered repairs without disputes over proper setup. For more tips on safeguarding your investment, see this resource.
Many homeowners believe that following the basic installation instructions and choosing affordable parts ensure their dishwasher will function flawlessly and remain under warranty. However, this oversimplification can lead to costly mistakes, especially for those eager to cut corners. The truth is, there are nuanced factors and common myths that can sabotage your efforts—if you don’t know what to watch out for.
First, there’s the misconception that any parts labeled as compatible on the shelf will do the job. In reality, not all parts are created equal; inferior or non-certified components may meet general specifications but lack the durability needed for long-term performance and could void your warranty. To ensure you’re using the right parts, it’s vital to reference trusted resources like this comprehensive guide. Many forget that even small differences—like the diameter of inlet hoses or the type of spray arms—matter greatly in preventing leaks or mechanical failure.
Why Do So Many Fail to Protect Their Warranty?
A common but dangerous mistake is neglecting the fine print of warranty policies. Some assume that as long as the part is installed correctly, their warranty is good forever. That couldn’t be further from the truth. In fact, rigorous documentation of installation procedures, quality parts, and professional electrical connections are often prerequisites for warranty coverage. This oversight can turn a minor defect into an expensive replacement if the warranty providers find non-compliance during the claims process.
Another overlooked nuance involves the impact of improper initial installation on your warranty’s validity. For example, not leveling the dishwasher properly or failing to secure the drain hose at the correct height can lead to early failures—not due to the appliance itself, but because of installation errors—yet these issues may be mistaken for faulty parts. It’s crucial to perform meticulous final checks and keep detailed records of your setup, as recommended in this resource on warranty and parts.
Furthermore, a prevalent myth is that once the dishwasher is working, there’s no need for further maintenance or re-inspection. But, in truth, neglecting to periodically verify connections, seals, and parts can lead to corrosion or unnoticed damage, which might void your warranty if it’s later linked to poor upkeep.
Let’s clarify a crucial question: How can you safeguard your warranty while ensuring long-term performance? Regularly revisit your installation setup, use recommended parts, and document all steps and parts purchased. Avoid cutting corners on electrical connections—professional wiring not only maintains safety but also protects warranty status, as emphasized in this detailed guide. Plus, keep abreast of warranty policies and understand what might void coverage; being proactive here is a small effort with significant payoff.
In conclusion, the real nuance lies in recognizing that proper installation isn’t just about fitting parts together; it’s about understanding the subtle differences that preserve your appliance’s longevity and warranty. Do you believe you might have overlooked any of these details? Have you ever fallen into this trap? Let me know in the comments, and remember: doing things right from the start is the best long-term investment.
,
Keeping Your Dishwasher in Prime Condition with the Right Tools
Maintaining your dishwasher’s optimal performance over time hinges on using precise tools designed for troubleshooting, minor repairs, and routine checks. One tool I personally swear by is a digital multimeter. It allows me to quickly test electrical components such as the door latch switch or wiring continuity, ensuring safety and functionality before deeper repairs. My preferred model is the Fluke 117, renowned for its durability and accuracy, especially because dishwasher electrical systems often operate at low voltages where precision is critical.
In addition, a set of high-quality nut drivers and a digital torque wrench helps me ensure that all fittings, such as water inlet hoses and mounting brackets, are tightened to manufacturer specifications. Over-tightening can damage plastic components, while under-tightening risks leaks—both scenarios compromising your warranty and long-term operation.
Why Professional-Grade Cleaning and Inspection Devices Matter
When it comes to routine inspections, I rely on an ultrasonic cleaner for small parts like filters and spray arms. This device, which uses high-frequency sound waves to remove stubborn mineral deposits and grease, extends the lifespan of critical parts, preventing early failure. Combined with a borescope camera, I can visually inspect hard-to-reach areas like the pump motor housing or the drain pathway without disassembling major components, saving time and reducing risk of damage.
Strategies to Ensure Consistent Performance and Scale Growth
To keep your dishwasher running smoothly in the long term, regular maintenance is key. I recommend setting a schedule to inspect, clean, and replace parts like door seals, filters, and spray arms. The replacement intervals guide helps determine when parts may be nearing end-of-life, avoiding unexpected breakdowns that void warranties.
Scaling buildup can be a silent threat, especially in areas with hard water. Incorporating water softening systems or regularly using descaling agents can drastically decrease mineral deposit accumulation, which otherwise strains pumps and spray components. For DIY descaling, I use a vinegar-based solution in conjunction with running an empty cycle—simple, effective, and inexpensive.
How do I maintain dishwasher parts over time?
Consistent monitoring involves checking for leaks, wear on rubber seals, and corrosion around electrical connectors. Keep a log of part replacements and inspection dates; this habit not only prevents failures but also supports warranty claims should issues arise. My favorite approach is to perform visual inspections every three months, focusing on the essentials parts that commonly need replacement, such as float switches and inlet valves.
Remember, investing in quality replacement parts is crucial. Opt for certified parts like those highlighted in this comprehensive list to ensure compatibility and preserve your warranty coverage. Don’t forget that regular testing of electrical components with your multimeter can catch potential issues early, saving you costly repairs down the line.
Looking ahead, I predict smart diagnostic tools will become the norm, enabling real-time performance tracking and predictive maintenance alerts directly through smartphone apps. Staying ahead of these trends will help prolong appliance life and protect your investment.
Try integrating a routine check with a digital multimeter, and document your findings for future reference. This proactive approach fosters long-term reliability and peace of mind—so go ahead, equip yourself with the right tools and keep that dishwasher humming smoothly for years to come!
,
The Hardest Lesson I Learned About Installation, Dishwasher, Parts, Warranty
One eye-opening moment was realizing that a small oversight during installation—like a slight tilt or a loose clamp—can snowball into expensive repairs and warranty disputes. These little mistakes often hide behind the scenes until they cause a leak or mechanical failure, reminding me that patience and precision are key lessons every homeowner should embrace.
Getting to Know Your Limits and Asking for Help
Initially, I believed I could handle everything myself, thinking professional help was just an extra expense. But I discovered that certain steps—like electrical wiring—are better left to the experts. Recognizing my limits not only saved me from potential hazards but also protected my warranty. Sometimes, investing a bit more upfront saves time, money, and frustration later. I’ve found that reading trusted guides, such as top tips for selecting the right parts, offers invaluable insights that make all the difference.
Losing Sleep Over Small Details
One mistake I made was ignoring the importance of properly sealing connections. A tiny gap can lead to water damage or mold, which complicates warranty claims. The saying “the devil is in the details” rings especially true here. By double-checking everything—leveling the dishwasher, tightening hoses, and sealing edges—I gained confidence that my setup was both reliable and warrantied against early failures.
Lessons from Personal Failures and How They Transformed My Approach
My early mishaps—like installing the drain hose at an incorrect height—taught me that thorough final inspections and documentation are essential. Keeping receipts, photos, and notes, I now notice how these small actions can be lifesavers if warranty issues arise. It’s a realization that being meticulous isn’t just about installing a dishwasher; it’s about safeguarding my long-term investment.
My Essential Toolkit for Installation and Maintenance
Over time, I built a collection of trusted tools that make maintenance more manageable. A digital multimeter from this trusted resource helps me test electrical components, ensuring safety and functionality. High-quality nut drivers and sealant ensure secure connections, preventing leaks that could void warranties. Using these tools as part of my routine inspection keeps my dishwasher performing flawlessly and prolongs its lifespan.
Smart Devices That Keep My Dishwasher Healthy
I’ve started using ultrasonic cleaners for small parts, which efficiently remove mineral buildup, saving me costly replacements. Coupling this with visual inspection tools like borescopes allows me to catch issues early, ensuring my warranty stays intact and my dishwasher operates in top condition.
Your Next Step Toward Peace of Mind
Taking your dishwasher setup beyond the basics transforms a routine task into a safeguard for your warranty and your home. By embracing detailed installation practices, investing in quality parts, and leveraging the right tools, you set yourself up for success. Think of it as investing in peace of mind—knowing your appliance is built to last and protected against unforeseen issues.
What Unexpected Lesson Changed How You Maintain Your Dishwasher?
Have you ever overlooked a small detail during installation that later caused problems? Share your experience below, and let’s learn together how to master these critical steps for long-lasting, worry-free operation.
,
Related Posts
Smart Dishwasher Installation Tips for Long-Lasting Reliability
Getting Started: My Journey into Smart Dishwasher InstallationWhen I first…

Why Your 2026 Smart Dishwasher Needs a Dedicated 20-Amp Circuit
It hit me during a Friday night wash cycle—my brand-new…
Expert Tips for Dishwasher Installation & Parts for Lasting Trust in 2025
My Journey to a Seamless Dishwasher Installation: Lessons LearnedWhen I…