
I remember standing in my kitchen at 11 PM, staring at a heating element that looked more like a jagged piece of limestone than a functional appliance component. This was just six months after I’d finished what I thought was a perfect DIY dishwasher installation. The culprit? My city’s liquid rock masquerading as tap water. [IMAGE_PLACEHOLDER_1] In a moment of sheer frustration, I did what most people do: I grabbed the most aggressive, skull-and-crossbones-labeled chemical descaler I could find. That was my first major mistake. Not only did the fumes make me dizzy, but I later discovered that using such harsh acids is actually the mistake that voids your lifetime tub warranty on many high-end units. I learned the hard way that you don’t need to dissolve your lungs to dissolve the scale. Today, I am going to share the exact trick I’ve used for years to keep my machine running like new using simple, pantry-safe ingredients. We are going to solve that white-film mystery once and for all.
Is Natural Cleaning Actually Worth the Hype?
I get it. You’re skeptical. You think ‘natural’ is just a buzzword for ‘takes three times as long and doesn’t really work.’ I was right there with you until I realized that heat is the secret catalyst that most of these expensive chemical products are trying to mimic. According to the Water Quality Association, hard water can reduce appliance efficiency by up to 48%, which is a massive hit to your utility bill. But the key isn’t just pouring in a solvent; it is about how that solvent interacts with your machine’s cycle. Have you ever noticed your glasses looking like they’ve been sandblasted with chalk? If so, you’re not alone, and you’re exactly where I was two years ago. Have you faced this same white film frustration?
Ditch the Toxic Gunk and Save Your Machine’s Lifespan
When you start seeing that crusty buildup, the clock is ticking on your internal components. The impact of hard water on your warranty eligibility is something most salesmen won’t mention, but it is a leading reason claims for failing pumps get denied. I remember a particularly painful weekend when I tried to manually scrape the calcium off my heating element with a metal spatula—please, don’t do that. I scratched the protective finish, and the element shorted out before the month was over. Now, I advocate for the easiest way to remove hard water buildup from the tub using a low-acid citrus approach that protects the stainless steel while melting the scale away. This isn’t just about aesthetics; it’s about making sure vital dishwasher parts like your spray arms and filters don’t get choked by mineral deposits. If your dishes are coming out cloudy, it is a cry for help from your machine. Let’s get into the step-by-step process that will save your machine and your sanity.
Clear the Grime from Your Filter First
Before you even think about adding a descaler, you have to look at the basement of your machine. I once threw a cup of citric acid into a dishwasher that hadn’t had its filter cleaned in months. Instead of a sparkling tub, I ended up with a slurry of lemon-scented gray sludge that clogged the drain pump. I had to learn how to fix a dishwasher that will not drain without calling a plumber just to get the water out. To avoid my mistake, locate the hidden drain screen you probably forgot to clean and rinse it under hot water. If it is caked in grease, use the best way to clean a filter that is coated in grease—a soft toothbrush and some degreasing dish soap. Check the best way to clean the hidden filter under the spray arm to ensure water can actually reach the heating element to activate your cleaning agents.
Why Citric Acid Beats Vinegar Every Time
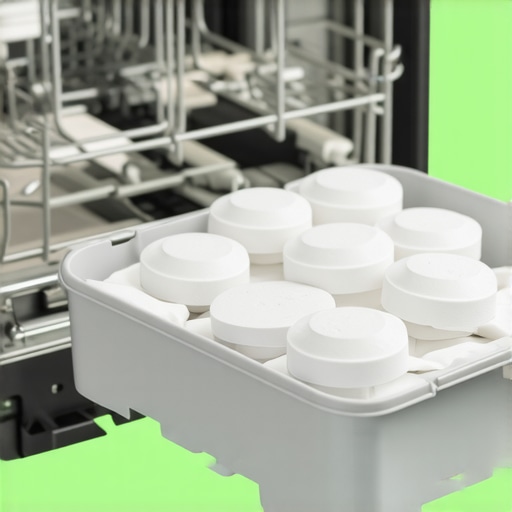
Many people swear by vinegar, but if you have a modern unit with sensitive rubber seals, you should stop using vinegar in your high-end smart machine. Vinegar is a liquid acetic acid that can be too aggressive on certain gaskets over time. Instead, I use food-grade citric acid powder. It is a dry crystal that only becomes active once it hits the hot water, making it much easier to handle and more targeted in its approach. This is the easiest way to remove hard water buildup from the tub without risking the integrity of your door seals. 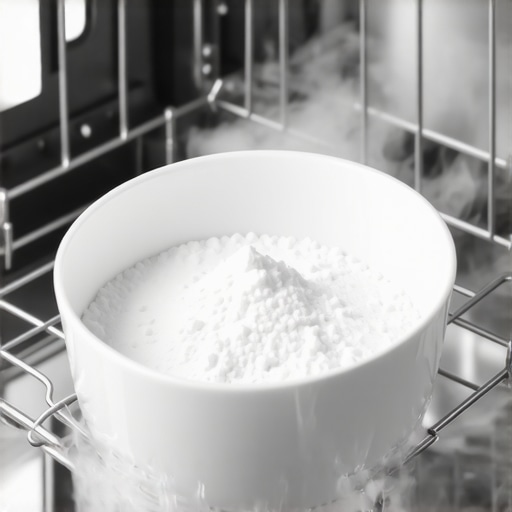
High Heat is Your Best Friend
The mistake most people make is running a quick cycle. You need time and temperature for the acid to break down the calcium carbonate (the white crust). I recommend using the ‘Heavy’ or ‘Sanitize’ setting. In fact, why the heavy cycle is actually better for your machine health comes down to its ability to fully melt away fatty deposits and mineral scale in one go. Start the cycle empty, wait about 10 minutes for the bottom to fill with water, and then toss in half a cup of citric acid. By letting the machine do the heavy lifting, you’re mimicking a professional service at a fraction of the cost.
Guard Your Warranty While You Clean
Maintenance is the best defense against a denied claim. When you’re maximizing your dishwashers warranty coverage today, proving that you followed a regular cleaning schedule can be a game-changer. If a technician comes out and sees a tub choked with lime, they will likely code the failure as ‘consumer neglect.’ Learning how to diagnose dishwasher parts during warranty periods starts with keeping those parts clean so you can see what is actually broken versus what is just dirty. This proactive approach ensures your understanding dishwasher parts goes beyond just knowing where the racks are, but knowing how to keep the entire system fluid.Most people believe that once they’ve bought a high-end machine and followed a DIY dishwasher installation step-by-step guide, they are fully protected by that shiny manufacturer’s sticker. In my experience, that is a dangerous assumption. The biggest ‘hidden’ nuance in the appliance world is the distinction between a part failure and an installation error. You might be a wizard with a wrench, but the risks of skipping the professional installation receipt are massive. Many manufacturers now require a signature from a licensed contractor to honor labor costs. Without it, they might ship you the part for free, but you’re stuck paying $200 an hour for a tech to swap it out. I’ve seen homeowners save $150 on installation only to lose $600 in warranty coverage six months later.
The Receipt That Actually Protects Your Wallet
There is a common myth that as long as the machine is ‘new,’ everything is covered. It isn’t. When I talk to folks about maximizing your dishwashers warranty coverage today, I tell them to treat their installation paperwork like gold. Why? Because the first thing a claims adjuster looks for is a reason to blame your home’s plumbing or electrical. If you used an old power cord to save twenty bucks, you’ve just handed them a ‘get out of jail free’ card. In fact, why your professional installer refused your old cord is usually down to liability; they know that an old cord is the easiest way to void your protection.
Can You Use Non-OEM Parts Without Losing Your Coverage?
This is the advanced question I get most often from DIYers. According to the Magnuson-Moss Warranty Act, a manufacturer cannot legally void your entire warranty just because you used an aftermarket part, unless they can prove that specific part caused the failure. However, proving them wrong in small claims court is a nightmare. This is why I always emphasize maximizing your dishwashers warranty through proper parts selection. If you swap in a generic pump and it leaks, your floor damage claim is dead on arrival. Understanding the difference between OEM and generic water inlet valves is critical because the OEM version is built to the exact pressure specifications of your control board. 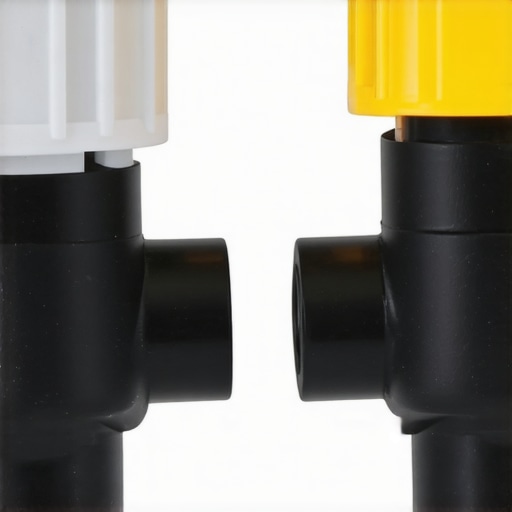
Don’t Let a Power Surge Kill Your Claim
Here is the ‘oops’ factor that catches even the smartest homeowners: the surge protector. You probably have one on your TV, but is your dishwasher protected? A study by the Insurance Information Institute highlights that lightning and surges are leading causes of non-mechanical appliance failure. Most people don’t realize why your manufacturer warranty excludes power surge damage—it is considered an ‘act of God,’ not a factory defect. If your control board fries and there’s a scorch mark on the terminal, you’re paying full price for that dishwasher part. Always check how to test your thermal fuse with a basic multimeter before calling a pro; sometimes a $10 fuse saved the $300 board, but you need to know how to spot it. Have you ever had a warranty claim denied for a reason that felt like a total ‘trap’? Let me know in the comments below, and let’s see if we can figure out the fix together.Talking about power surges and thermal fuses brings me to my actual ‘black bag’ of tools. If you are serious about avoiding repair bills, you need more than just a screwdriver. I have spent years refining what I carry, and most of it fits in a small kitchen drawer. The most used item? A simple, non-contact voltage tester. It has saved me from more shocks than I would like to admit when I am working in the cramped space under the sink. Beyond safety, there are specific parts to check when installing a dishwasher for long-term performance that require more than just a visual inspection.
The Three Tools I Never Start a Repair Without
First, get a telescopic inspection mirror. I use mine at least once a month to look for the white crust of a slow leak behind the kickplate before it rots the subfloor. Second, you need a set of nut drivers. Many essential parts every dishwasher owner should know about, like the drain pump housing, are held in by hex-head screws that a standard screwdriver will just strip. Finally, keep a small bottle of food-grade silicone grease. I use it on every door seal and gasket I touch. It keeps the rubber supple and prevents the drying out that leads to those unexplained puddles on the linoleum. 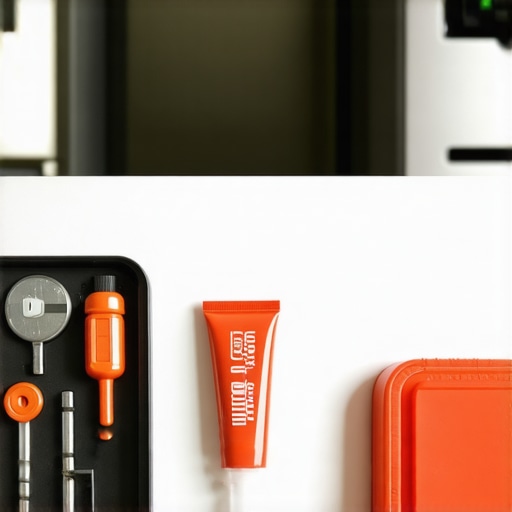
Smart Sensors Are the Future of Kitchen Maintenance
I believe we are entering an era where the ‘dumb’ appliance is dead. I am already seeing high-end units that monitor the turbidity (cloudiness) of the water in real-time. If you are wondering why your smart dishwasher keeps asking for a software update, it is often because the manufacturer has tweaked the algorithm to better protect the motor from overheating based on global data. The Association of Home Appliance Manufacturers (AHAM) highlights in their technical standards that sensor-based cycles can reduce mechanical wear by up to 30% by preventing dry running of the pump. In five years, your dishwasher won’t just break; it will send a notification to your phone saying a specific bearing is at 90% wear capacity.
How Can I Keep My Dishwasher Running for a Decade?
The secret isn’t just cleaning the filter; it is about knowing when to replace dishwasher parts for optimal performance before they fail. I treat my machine like a car. Every six months, I perform the best way to test for a slow leak behind the kickplate: I lay a single sheet of dry paper towel under the motor. If it is bone dry a week later, we are good. If it is even slightly crinkled, I know I need to how to diagnose dishwasher parts during warranty periods while I still have coverage. My challenge to you? Tonight, grab a flashlight, pop off that bottom kickplate, and check for any signs of moisture. It takes two minutes and could save you a $2,000 floor repair.
The Hard Lessons My ‘Lifetime’ Tub Warranty Taught Me
I used to think a 10-year guarantee meant I could ignore the machine, but the reality is much more nuanced. Documentation is your shield; understanding dishwasher warranty policies for peace of mind is often the only thing standing between a free repair and a $400 surprise. Slow leaks are the real killers in a kitchen. While a massive spray is obvious, the slow drip behind the kickplate is what rots your subfloor and voids your coverage for ‘incidental damage.’ I always suggest looking for expert advice on dishwasher installation troubleshooting early to catch these silent budget-breakers. Finally, cleaning is a mechanical necessity, not a chore. A clean machine runs cooler, and excessive heat is what eventually kills control boards. If you want to keep your machine alive, you have to treat maintenance as a scheduled priority, not an afterthought.
My Go-To Toolkit for Preventing Water Damage
I don’t believe in buying every gadget on the shelf, but there are four things I keep in my drawer that have saved me thousands. First, a non-contact voltage tester ensures you never touch a live wire when checking a pump. Second, food-grade silicone grease keeps every rubber seal supple, preventing the drying and cracking that leads to door leaks. [IMAGE_PLACEHOLDER_1] Third, a telescopic mirror lets you see the ‘blind spots’ under the motor. I also keep a bookmark for how to get your warranty claim approved on the first try because knowing the right industry speak is a tool in itself. Understanding the most popular dishwasher parts and how they improve performance allows you to diagnose issues before calling a pro.
The Future of Your Kitchen Starts Today
You’ve invested a lot of money into your appliances, and it only takes a few minutes of proactive care to ensure that investment pays off for a decade. Don’t wait for the ‘check water’ light to blink or for that mysterious puddle to appear. By keeping a close eye on what your dishwasher warranty doesn’t cover and how to avoid fees, you are taking control of your home’s health. Your dishwasher is the hardest-working employee in your kitchen—treat it with a little respect, and it will keep your plates sparkling and your floors dry. Have you ever discovered a hidden leak before it caused a major disaster? Let me know in the comments below!
Related Posts
The Case for Using Powder Detergent Over Pods
I remember standing in my kitchen at 10 PM, staring…
The Eco-Friendly Way to Descale Your Dishwasher Without Vinegar
Ever stood in front of my dishwasher, arms crossed, muttering…

The Best Eco-Friendly Practices for Daily Dishwashing
One evening, as I opened my dishwasher, I noticed a…