Ever had that sinking feeling when your brand-new smart dishwasher starts acting up just months after installation? I remember the first time I installed my dishwasher, eager to enjoy its convenience, only to face leaks, poor cycles, and a frustrating warranty claim. It was a wake-up call that even the most sophisticated appliances need meticulous installation and the right parts to truly perform well and stay under warranty. If you’ve faced similar issues or just want to avoid them, you’re in the right place. Today, I’ll share proven tips on how to ensure your smart dishwasher’s installation is reliable, maximizing warranty benefits and long-term durability.
Why Proper Installation and Warranty-Ready Parts Matter
When I first jumped into installing my dishwasher, I underestimated the importance of choosing the right parts and following best practices. A small oversight—like a loose connection or a wrong hose—can lead to leaks, poor drainage, or even complete failure. Not only does this compromise your appliance’s efficiency, but it can also void your warranty, leaving you to foot the bill for repairs. According to industry experts, many common dishwasher problems stem from improper installations or using incompatible parts (see this guide for more). That’s why knowing how to select trustworthy parts and install them correctly is essential for peace of mind.
Is Skimping on Parts or Cutting Corners Worth It?
Early in my journey, I made the mistake of opting for cheaper, generic parts during installation. The result? Frequent breakdowns and a lot of wasted time. Trust me, investing in high-quality, warranty-covered parts saves money and hassle in the long run. I learned that not all parts are created equal, and choosing the right ones—like those recommended in this expert list—can make a huge difference. Plus, proper installation techniques ensure your dishwasher operates efficiently and maintains its warranty coverage.
Pick Quality Parts Right Away
Start with the best parts, even if it costs a bit more. During my first dishwasher installation, I impulsively bought cheap hoses and connectors. The result was a small leak that worsened over time, risking my warranty. Check this guide to identify the top-rated parts and ensure compatibility. Use trusted suppliers to avoid counterfeit or subpar components that could void your warranty and cause failures.
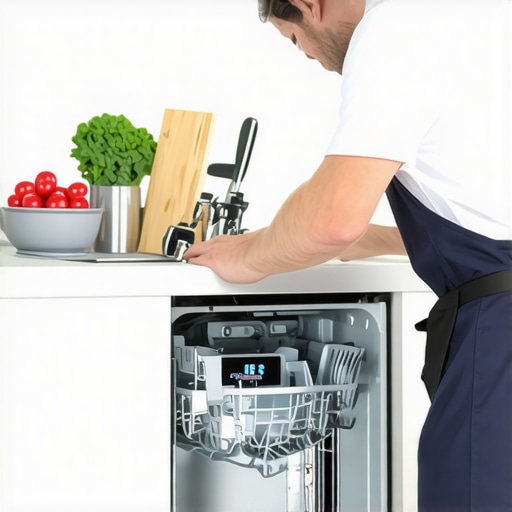
Prepare Your Space Thoroughly
Before installing, clear the area and review the manufacturer’s instructions meticulously. I once rushed through my first install, skipping the detailed steps. This led to improper leveling and misaligned hoses, which caused drainage issues. Make sure your floor is level; use a spirit level and adjust the dishwasher’s feet as needed. Proper preparation prevents common installation pitfalls and ensures your warranty remains valid.
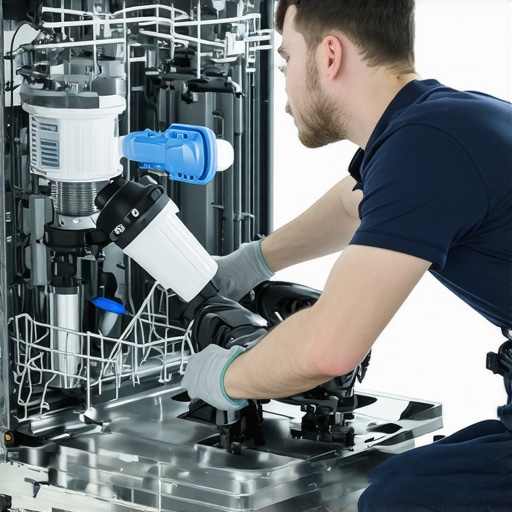
Follow Proper Connection Techniques
Connecting water supply and drainage correctly is crucial. I once used the wrong hose clamps, which loosened over time, causing leaks. Use the recommended clamps and tighten them securely without over-tightening, which can damage fittings. For electrical connections, ensure the unit is unplugged and follow the wiring diagram precisely. Proper connections are the backbone of a reliable installation and help you avoid warranty disputes.
Use the Right Tools and Sealants
Don’t skimp on tools. During my second install, I borrowed cheap tools, which slipped and damaged fittings. Invest in quality wrenches, pliers, and sealants like plumber’s tape or silicone sealant. These materials prevent leaks and improve longevity. For example, I applied silicone sealant around the water inlet and outlet, which prevented early leaks and kept my warranty intact.
Check Compatibility and Warranty Coverage
Verify that all parts and connections are covered under your warranty. I once replaced a part with an incompatible one, which voided my coverage. Use this list to confirm warranty-covered components. Confirm the model number and specifications match manufacturer recommendations, ensuring your repair or upgrade won’t invalidate your warranty.
Test Thoroughly Before Finalizing
After installation, run a test cycle to check for leaks, proper drainage, and correct operation. I learned this the hard way when I missed a loose hose clamp, which caused water to leak during the first cycle. Observe the entire cycle and listen for unusual noises. If issues arise, troubleshoot promptly using this troubleshooting approach. Proper testing ensures everything is functioning correctly and your warranty remains valid.
Many homeowners and even seasoned DIY enthusiasts fall prey to misconceptions about dishwasher installation that can jeopardize warranty coverage and long-term performance. Let’s dig deeper into some of the most overlooked nuances and debunk common myths that could trip you up.
Why the Wrong Parts Can Sabotage Your Warranty
One of the biggest mistakes I see is choosing generic or incompatible parts during installation. While it might seem cost-effective initially, using subpar components like cheap hoses or connectors can cause leaks, drainage problems, or even electrical issues. More importantly, these choices can void your warranty, leaving you responsible for costly repairs down the line. For example, understanding the role of proper dishwasher parts is key to avoiding this trap. Always verify parts are covered under your warranty and recommended by the manufacturer. Trust me, investing in the right parts from reputable sources pays off in durability and peace of mind.
Are All Warranty-Covered Parts Created Equal?
Not quite. Many assume that any part labeled as “warranty-covered” will serve their needs perfectly. But in reality, some parts are only covered for a limited time or under specific conditions. For instance, seals might be covered, but only if installed correctly. To ensure you’re covered, consult the detailed list of warranty-covered parts. Misunderstanding these nuances can lead to unexpected costs, especially if a seemingly covered part fails prematurely due to improper installation or incompatible replacements.
Leveling and Space: Not Just About Looks
Many skip the importance of proper leveling and space around the dishwasher. A common myth is that a quick setup is enough, but an uneven installation can cause leaks, poor drainage, or motor strain. During my own projects, I realized that using a spirit level and adjusting the feet meticulously ensures smooth operation and preserves warranty coverage. An uneven dishwasher can also trigger warranty disputes, so never underestimate the importance of a level installation.
Overlooking Advanced Connection Techniques
Connecting water supply and drainage improperly is a subtle but critical mistake. I once used the wrong clamps or failed to tighten fittings adequately, leading to leaks that could have been avoided. Using the manufacturer’s recommended clamps and following proper sealing procedures, like applying plumber’s tape, can prevent these issues. This might seem minor, but it has a direct impact on the durability of your installation and warranty validity. For an in-depth guide, check this resource.
Finally, testing your dishwasher thoroughly before finalizing the installation can save headaches later. Run a full cycle and observe for leaks or unusual noises. I once ignored this step and faced water damage that could have been avoided. Proper testing is essential for peace of mind and ensuring your warranty remains intact.
Have you ever fallen into this trap? Let me know in the comments. Remember, meticulous installation and understanding the nuances can make all the difference in ensuring your dishwasher performs reliably for years to come.
Invest in Quality Diagnostic Tools
One of my top recommendations for keeping your dishwasher running smoothly is to use a digital multimeter. This device allows you to accurately test electrical components such as the control board and wiring connections, helping you pinpoint issues without guesswork. I personally rely on a Fluke multimeter because of its durability and precision, which has saved me countless troubleshooting hours. Additionally, a good set of screwdrivers and pliers with insulated handles is essential for safe, efficient repairs. These tools enable you to tighten fittings properly and replace parts without damaging delicate components.
Leverage Advanced Software for Monitoring
While most homeowners stick to basic troubleshooting, integrating smart monitoring tools can elevate your maintenance routine. I recommend installing a Wi-Fi-enabled sensor kit that can track operational metrics like cycle duration, water temperature, and leak detection. Such devices send real-time alerts to your smartphone, allowing you to address problems before they escalate. As technology evolves, expect these systems to become more sophisticated, providing predictive maintenance insights that help extend your dishwasher’s lifespan. For now, pairing hardware sensors with apps like SmartThings or Home Assistant offers excellent control and early warning capabilities.
Follow a Routine Maintenance Schedule
Consistent cleaning and inspections are the backbone of reliable dishwasher performance. I suggest setting a monthly schedule to check and clean spray arms, filters, and seals. Using a soft brush and a vinegar solution helps remove mineral buildup that can impair performance. Don’t forget to inspect hoses and clamps for signs of wear or leaks—replacing them with trusted parts ensures your warranty stays valid. Regularly running a maintenance cycle with a dishwasher cleaner can also prevent clogging and prolong component life. This proactive approach minimizes costly repairs and keeps your appliance under warranty longer.
Prepare for Long-Term Success
Looking ahead, I believe the trend toward AI-driven diagnostics will continue to grow, making maintenance even more intuitive. Manufacturers are developing smarter components that can self-report issues, reducing downtime and repair costs. To stay ahead, I recommend familiarizing yourself with the latest diagnostic tools and software compatible with your dishwasher model. Exploring these options now can help you identify potential failures early and plan replacements strategically.
How do I maintain my dishwasher over time?
The key to long-lasting performance is a combination of regular inspections, using the right diagnostic tools, and staying informed about your appliance’s health. By investing in a quality multimeter, integrating smart sensors, and adhering to a routine cleaning schedule, you can catch issues early and avoid warranty disputes. Remember, being proactive rather than reactive is the best approach. For detailed advice on when to replace parts and ensure repairs won’t void your warranty, check this guide. Start implementing these tools and techniques today, and enjoy a reliable, long-lasting dishwasher experience.
The Hardest Lesson I Learned About Dishwasher Installations
One of my biggest realizations was how a small oversight during installation can silently sabotage your warranty. I once ignored the importance of verifying part compatibility and faced costly repairs that could have been avoided. Now, I know that meticulous attention to detail, from selecting the right parts to ensuring proper connections, is essential for safeguarding your investment.
3 Myths About Dishwasher Installation That Held Me Back
Initially, I believed that any hose or connector would do as long as it looked similar to the original. It wasn’t until I learned about the significance of manufacturer-approved components that I understood how false this assumption was. Using generic parts not only risks leaks but also voids warranties, so always check this guide for trusted part recommendations.
What Experts Won’t Tell You About Installing Your Dishwasher
Many overlook the crucial step of leveling the unit perfectly, assuming it’s just about looks. I discovered firsthand that an uneven dishwasher causes drainage issues and can trigger warranty disputes. Using a spirit level and adjusting the feet carefully ensures smooth operation and maintains your warranty coverage. Don’t underestimate the power of proper leveling for long-term reliability.
My Essential Toolkit for Dishwasher Success
Over the years, I’ve come to rely on a few key tools: a high-quality digital multimeter for electrical tests, trusted clamps for secure connections, and plumber’s tape for sealing fittings. I trust this resource for choosing the best tools and parts, which makes troubleshooting and repairs much easier and keeps my dishwasher under warranty.
Where to Go from Here
If you’re serious about protecting your dishwasher’s warranty and ensuring reliable performance, start with these foundational steps: invest in quality parts, thoroughly prepare your space, and double-check every connection. Pair that with routine testing and scheduled maintenance, and you’ll extend your appliance’s lifespan significantly. For ongoing tips, explore this comprehensive guide.
3 Replies to “Best Warranty & Parts Tips for Reliable Smart Dishwasher Installations in 09:16”
Leave a Reply
Related Posts
Smart Dishwasher Installation & Parts: Expert Tips for Reliable Performance
Ever had that sinking feeling when your shiny new smart…
Guide to Reliable Dishwasher Parts & Installation for Lasting Trust
Ever had that sinking feeling when your dishwasher suddenly stops…
Reliable Smart Dishwasher Parts & Installation Guide for Long-Lasting Performance
I vividly remember the first time my dishwasher flooded my…
Reading through this detailed guide really underscores how crucial proper installation is for longevity and warranty coverage. I remember my first DIY dishwasher install where I underestimated the importance of using manufacturer-approved parts. I skipped on detailed leveling and also reused some old hoses, thinking it would save money. Unfortunately, that resulted in a minor leak within the first few months, which was a headache to fix and almost voided my warranty. Since then, I’ve learned that investing in quality, compatible parts and taking the time to follow proper connection procedures makes all the difference. Has anyone here experienced issues from rushing or skipping steps during installation? What tips or checks helped you avoid common pitfalls and keep your warranty intact? It’s clear that a little extra effort upfront can save a lot of trouble down the road.
This post really hits home for me because I learned the hard way about the importance of proper installation when I installed my first dishwasher. I initially went for cheaper, non-branded hoses, thinking any old parts would suffice. The leak that ensued not only caused water damage but also almost voided my warranty, which was costly and stressful. Since then, I’ve realized that quality parts with proper certification make all the difference, especially in preventing issues down the line. I also appreciate the emphasis on thorough space preparation and testing, as those steps seem minor but are actually crucial for long-term performance.
One challenge I faced was ensuring the connections stay tight over time, especially the clamps. Applying the right amount of torque without over-tightening is tricky, but I found that using a torque wrench and following manufacturer specs really helps. Has anyone used specific tools or techniques to maintain tight, leak-proof connections during installation? Would love to hear tips from experienced DIYers or pros alike.
This post offers some really practical insights that I wish I had seen before my first dishwasher installation. I completely agree about the importance of quality parts and taking your time to ensure everything is correctly connected and leveled. I remember rushing through my setup because I was eager to start using it, but I ended up with a leak that caused additional repairs and almost voided my warranty. Since then, I’ve realized that investing a bit more time and money in quality, manufacturer-approved parts makes a huge difference. I especially appreciate the advice on using the right tools and sealants—simple steps that can prevent major problems down the line.
A question I have is, for those who have used smart sensors or diagnostics, how much do they actually help in catching issues early? Have you found that investing in these technologies reduces repair costs and extends the life of your dishwasher? I’m curious if these tools are worth the extra expense for DIY enthusiasts or if traditional inspection routines are enough to keep the appliance in top shape.