Ever had that sinking feeling of walking into your kitchen after a long day, only to be greeted by a flood spilling across the floor? I remember the first time it happened to me—my dishwasher had a tiny leak that I didn’t notice for hours. The mess was overwhelming, and I wished I had caught it sooner. That moment was a real lightbulb for me: I needed a smarter way to protect my home from water damage.
Transforming Anxiety into Confidence with Smart Leak Detection
Today, I want to share how I turned that nerve-wracking scenario into a thing of the past. Setting up a reliable leak alert system isn’t just about peace of mind; it’s about smartly protecting one of your most valuable assets—your home. In this post, we’ll explore how you can easily equip your smart home with leak sensors that notify you instantly if water starts to escape where it shouldn’t. Imagine receiving a quick alert on your smartphone, allowing you to shut off the water supply before any damage occurs. Trust me, this simple upgrade has saved me hundreds in repairs and countless sleepless nights.
Is Leak Detection Tech Overhyped?
Many skeptics argue that these gadgets are unnecessary or prone to false alarms. I admit, I was one of those doubters initially. My early mistake was choosing inexpensive sensors that didn’t integrate well with my smart home setup, leading to frustrating false alarms and ignored alerts. But after some research and investment in quality, I realized that the right system can be a game changer. For instance, pairing smart leak sensors with your existing smart home hub ensures timely notifications, giving you enough time to act. Knowing that I can monitor potential leaks remotely has made all the difference. Want to see precisely how I set mine up? Check out this guide for some helpful tips.
If you’re still unsure whether a leak alert system is right for you, ask yourself: Have I ever faced water damage that could have been prevented? If so, reading on will arm you with the knowledge to keep your home dry and safe. Up next, let’s dive into the practical steps to choosing and installing the perfect leak detection setup for your household.
,
Select the Right Leak Sensors for Your Home
Start by choosing sensors compatible with your smart home ecosystem. I learned this the hard way when I purchased budget sensors that didn’t sync well, leading to missed alerts. Opt for reputable brands that integrate seamlessly with your existing setup. For example, pairing sensors with your smart hub ensures timely notifications, giving you a head start in preventing water damage. These sensors typically come with probes or pads that detect moisture on surfaces or in hidden spaces.
Strategic Placement of Sensors
Position sensors where water is most likely to leak, such as under dishwashers, near washing machine hoses, or beneath sinks. When I installed mine under my dishwasher, I used a step stool to access the tight space behind it. Careful placement prevents false alarms while maximizing monitoring. Think of it like setting a security camera—place it where intrusion is most probable. Remember, a sensor placed too high or on an uneven surface might miss leaks. Use the manufacturer’s guidelines for optimal positioning and test each sensor post-installation.
Connecting Sensors to Your Smart Home
Power on your sensors and follow your system’s app prompts to pair each device. I faced challenges here; my first attempt failed because I didn’t verify my phone’s Bluetooth was active. Once paired, configure alert preferences—email, app notification, or both. Ensuring your notifications are active on your phone guarantees you won’t miss critical alerts. For added reliability, assign each sensor a designated zone in your app to quickly identify leak sources during emergencies.
Implementing Manual Water Shutoff Controls
While sensors provide detection, controlling the water supply is crucial. Install a smart shutoff valve on your main water line if possible. I chose a model compatible with my home automation system. During installation, shut off the main water supply (like turning off a valve in the basement) and follow the instructions carefully—think of it as replacing a garden hose connector, where proper tightening prevents leaks. Connect the valve to your Wi-Fi network and test it by simulating a leak. This way, if a sensor detects water, the system can automatically shut off water flow to prevent damage.
Testing and Fine-Tuning Your System
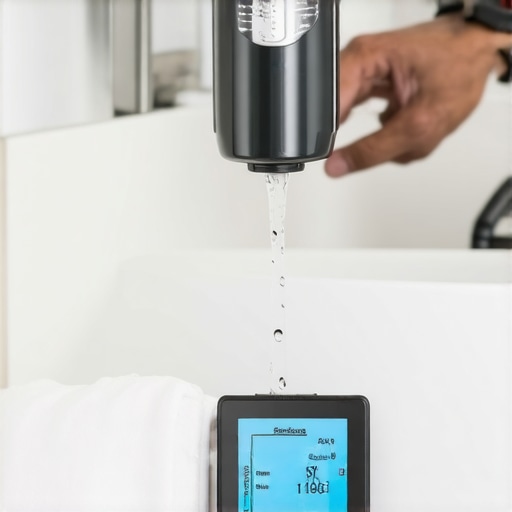
After setup, simulate leaks by sprinkling water near sensors to verify alerts and auto-shutdown responses. I learned this step the hard way when I didn’t test thoroughly; a sensor failed to trigger due to poor placement. Regularly check that sensors remain in place and are free of obstructions like dust or debris. Consider scheduling monthly tests to ensure everything functions smoothly. Properly calibrated sensors and system checks extend your home’s safety net, much like routine maintenance on your car preserves performance.
Maximizing Your Warranty Coverage
Document all installation steps and keep receipts. If a sensor or valve fails prematurely, your warranty may cover replacements—visit this guide for detailed tips. Proper installation and maintenance not only protect your home but also ensure you leverage warranty benefits fully, just like regularly servicing your dishwasher to avoid costly repairs.
Ongoing Maintenance to Prevent False Alarms
Clear debris from sensors periodically and verify connections. I found that dust buildup caused false triggers, leading to unnecessary panic. A quick wipe-down with a damp cloth keeps sensors sensitive only to real leaks. Moving sensors slightly away from humid areas prevents false positives triggered by normal household humidity. Regular checks are like cleaning filters—small efforts that maintain system reliability and give you peace of mind.
When it comes to dishwasher installation, many homeowners focus on the basic steps, but overlooking certain nuances can lead to long-term issues. One common misconception is that following the manufacturer’s instructions to the letter guarantees flawless operation. However, nuances like precise leveling, proper part selection, and understanding warranty coverage are often underestimated. For example, selecting the wrong water inlet valve or failing to secure the drain hose correctly can cause leaks and void warranties, as highlighted in our parts troubleshooting guide. Additionally, many forget that improper leveling not only affects cleaning performance but can also damage internal components over time, reducing the lifespan of your appliance. Advanced installers know that meticulous positioning using a spirit level is essential, and shortcuts here can result in costly repairs and warranty rejections. Moreover, some assume that warranty coverage remains intact regardless of part quality; in reality, using third-party or incompatible parts can invalidate warranties, especially if the manufacturer’s specifications aren’t followed, as explained in parts and warranty importance. One critical yet overlooked aspect is ensuring your installation adheres to local plumbing codes, which often varies by region and can affect warranty claims if violated. For instance, neglecting the high loop in drain hoses, as recommended in proper drain setup, can lead to siphoning issues or backflow, damaging your unit and voiding coverage. An underappreciated mistake is installing the dishwasher too close to cabinetry without adequate clearance, risking overheating and premature failure. Regularly inspecting and testing your setup, especially the connections and seals, can prevent small issues from becoming costly repairs. Remember, proactive maintenance and familiarity with knowing when to replace parts or upgrade components significantly extend your appliance’s life. It’s not just about adhering to installation steps but understanding each step’s impact on performance and warranty preservation. Have you ever fallen into this trap? Let me know in the comments.
Invest in Quality Maintenance Tools for Longevity
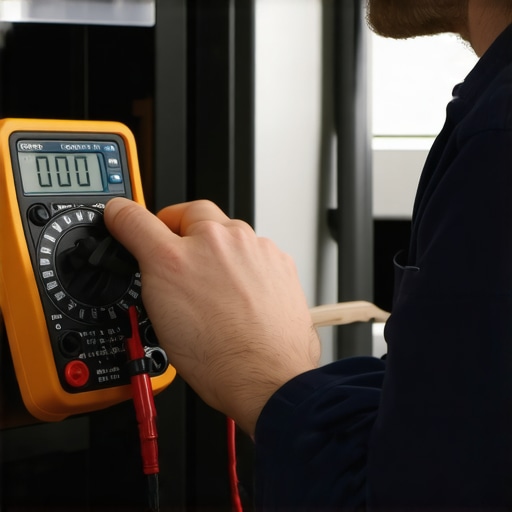
Regular upkeep of your dishwasher hinges on having the right tools. I personally swear by a quality Phillips-head screwdriver and a digital multimeter. The screwdriver allows me to access and tighten connections precisely, particularly when checking for loose wiring or securing mounting brackets. The multimeter is invaluable for diagnosing electrical issues, like testing continuity on heating elements or sensors. Using these standard tools, I can troubleshoot minor problems myself, saving time and cost.
Know the Critical Parts for Long-Term Performance
To maintain optimal operation, focus on key components such as door seals, spray arms, and inlet valves. I recommend regularly inspecting and replacing worn gaskets and seals to prevent leaks—which can cause water damage and void warranties. The most popular dishwasher parts play specific roles in ensuring consistent cleaning and energy efficiency. Forearmed with knowledge about each part’s function, you can perform targeted maintenance, boosting the lifespan of your appliance.
Simplify Troubleshooting with Diagnostic Software
Modern dishwashers often come with diagnostic modes, accessible via the control panel, that display error codes. I use a dedicated smartphone app that interfaces with compatible models to interpret these codes instantly. This accelerates pinpointing issues—like a faulty temperature sensor or clogged filter—without guesswork. Embracing such technology not only streamlines maintenance but also helps in maximizing warranty benefits by ensuring repairs are accurate from the start.
The Future of Dishwasher Care: Smart Maintenance
Looking ahead, I think we’ll see increasing integration of IoT devices that monitor appliance health continuously. Predictive maintenance, powered by AI, could alert homeowners about minor issues before they escalate. For now, adopting current diagnostic tools and regular inspections provides a proactive approach to extending your dishwasher’s life.
How can I maintain my dishwasher over time?
The best way to keep your dishwasher running smoothly is to perform routine inspections of essential parts, replace worn components promptly, and utilize diagnostic tools to catch problems early. Remember, addressing issues at the first sign of trouble—like a minor leak or strange noise—can prevent costly repairs and preserve your warranty coverage. Try setting a monthly maintenance checklist that includes checking door gaskets, cleaning filters, and testing electrical connections with your multimeter. Incorporating these habits will ensure reliable performance for years to come.