Ever felt that sinking feeling when your shiny new smart dishwasher starts acting up just after the warranty expires? I sure have. I remember thinking I had everything covered—until a leak turned into a full-blown repair nightmare, leaving me wishing I’d paid closer attention to the installation details. That lightbulb moment made me realize how crucial proper setup and parts selection are for maintaining that warranty and ensuring long-term performance.
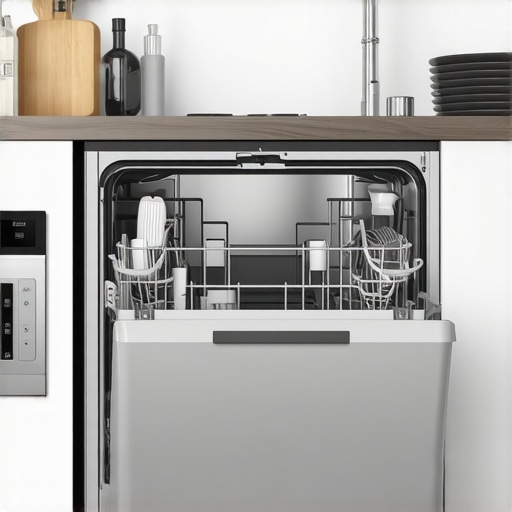
Why Proper Installation of Your Smart Dishwasher Matters More Than You Think
Many homeowners overlook the importance of meticulous installation, assuming that once it’s in place, the job is done. But the truth is, a poorly installed dishwasher can lead to frequent breakdowns, voided warranties, and costly repairs. Over the years, I’ve learned that paying attention to the details—like correct part choices and installation techniques—can save you a lot of trouble down the line. If you’re about to install or just bought a new smart dishwasher, understanding these nuances can be the difference between a smooth operation and a recurring headache.
Are You Worrying About Wasting Money on a Warranty That Won’t Last?
It’s a common fear. You invest in a smart appliance, expect it to last, but worry about the warranty coverage. Early missteps—like choosing incompatible parts or skipping proper testing—can compromise your warranty’s effectiveness. I once overlooked the importance of selecting the right parts for installation, which almost cost me my warranty coverage. Fortunately, I found out about the importance of consulting comprehensive guides, like tips for selecting the right parts. This simple step could be a game-changer for many.
Did you know that according to appliance experts, a significant percentage of warranty claims fail because of incorrect installation or incompatible parts? That’s why I always recommend investing time in proper setup and understanding warranty policies. Make sure you’re aware of what’s covered, how to choose reliable parts, and when to replace components to keep your warranty valid. For more detailed info, check out this guide.
So, if you’ve faced that sinking feeling or are just about to start your installation, stay tuned. I’ll walk you through the practical steps to ensure your smart dishwasher not only works flawlessly but also stays protected under warranty for years to come. It’s all about making smart choices from the start and knowing how to keep your warranty intact—trust me, it’s worth the effort.
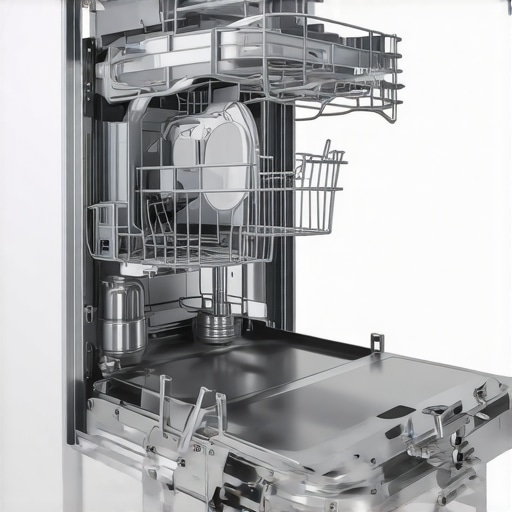
Choose the Right Parts from the Start
Begin by selecting compatible, high-quality parts for your dishwasher. In my experience, using the wrong hoses or filters led to leaks and warranty issues. Always verify part compatibility with your model, and consider consulting trusted guides like tips for selecting the right parts before purchasing. This simple step ensures you don’t accidentally void your warranty due to incompatible components.
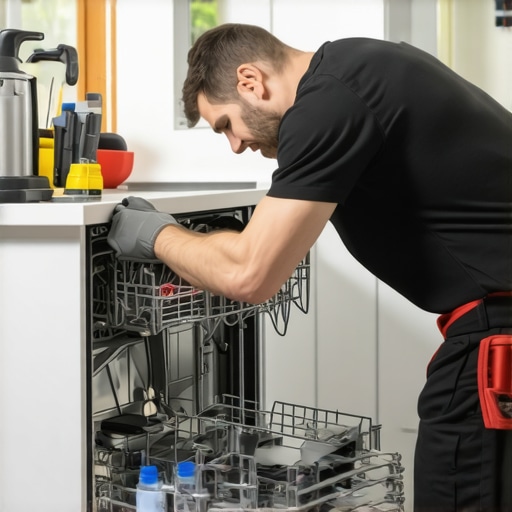
Check and Prepare Installation Site
Before unboxing, inspect your installation area. Make sure the water supply line and drain are accessible and in good condition. I once skipped this step and faced delays because I had to redo the plumbing. Use a level to confirm the floor is even, preventing misalignments that could cause leaks or damage. Visit this guide for detailed site prep tips.
Follow Precise Installation Procedures
Securely connect water hoses and drain lines, tightening fittings without over-torquing. I remember overtightening a hose connection once, which caused cracks and an immediate leak. Use a torque wrench if possible, and always hand-tighten first. Connect electrical wiring according to the manufacturer’s instructions, ensuring proper grounding. For complex setups, refer to troubleshooting parts to avoid common mistakes.
Test Before Finalizing
Once assembled, run a short cycle with no dishes to check for leaks or abnormal noises. During my first installation, I overlooked this step and had to redo the plumbing after a leak was detected during a test run. Keep an eye on all connections, and listen for unusual sounds. If issues arise, consult diagnostic tips for quick troubleshooting.
Document Your Installation
Take photos of your setup, especially the connections and parts used. This documentation can be invaluable during warranty claims or repairs, providing proof of proper installation. I once had to submit photos when a part failed prematurely, and it expedited my warranty process. Remember, proper documentation supports your case and can prevent unnecessary disputes.
Many homeowners believe that once their smart dishwasher is installed correctly, the job is done, and they can enjoy years of trouble-free operation. However, this assumption often leads to overlooked nuances that could jeopardize your warranty and long-term performance. Let’s dig deeper into what most people get wrong about advanced dishwasher installation and how to avoid common pitfalls that even experienced DIYers might miss.
Why does a minor mistake during installation have major consequences?
It’s a common misconception that only major errors, like incorrect wiring or leaking water lines, cause problems. In reality, small details such as using incompatible parts, improper tightening of fittings, or neglecting to level the appliance can lead to subtle issues that accumulate over time. These seemingly insignificant mistakes can cause leaks, electrical faults, or premature wear, ultimately voiding your warranty. For expert insights, check out this guide.
One critical nuance is selecting the right replacement parts. Using generic hoses or filters not designed for your specific model can cause leaks or clogging, leading to warranty claims being denied. Many overlook the importance of verifying compatibility, which is why I recommend consulting trusted sources like tips for selecting the right parts before purchasing. This step can save you from costly repairs and warranty issues later.
Furthermore, the importance of proper testing cannot be overstated. Running a test cycle before finalizing the installation is crucial. It allows you to detect leaks, unusual noises, or electrical issues early, preventing damage that could void your warranty. Many mistakenly skip this step, only to face the repercussions when problems surface during normal use. For comprehensive troubleshooting tips, visit this diagnostic guide.
Finally, documenting your installation process by taking photos of connections and parts used can be a lifesaver. When warranty claims arise, having visual proof of proper installation can expedite repairs and avoid disputes. I once faced a warranty denial until I provided detailed photos, which made all the difference. Remember, meticulous documentation is your best defense against warranty issues.
By paying attention to these advanced nuances—selecting compatible parts, thorough testing, and proper documentation—you ensure your smart dishwasher remains protected under warranty and operates reliably for years to come. Don’t fall into the trap of thinking installation is a one-and-done task. Instead, treat it as a critical process that demands precision and care. Have you ever fallen into this trap? Let me know in the comments.
Maintaining your smart dishwasher requires more than just occasional cleaning; it involves using the right tools and following a disciplined routine to ensure long-term reliability. Over the years, I’ve found that investing in specific equipment and adopting systematic maintenance practices can significantly extend the lifespan of your appliance and protect your warranty coverage.
Invest in Quality Inspection Tools
One of the most underrated aspects of dishwasher upkeep is regular inspection. I highly recommend keeping a digital multimeter on hand. This device allows me to quickly check electrical continuity and voltage levels, helping identify electrical issues before they escalate into costly repairs. For example, testing the door latch circuit or the control board connections can prevent unexpected breakdowns. When diagnosing complex problems, I also use a thermal camera to spot overheating components or wiring faults that aren’t visible to the naked eye. These tools empower you to perform proactive maintenance and catch issues early, saving money and hassle.
Use a Reliable Leak Detection System
Leaks are among the most common causes of damage and warranty claims. I personally rely on a combination of a water sensor alarm and a sump drain check. Installing a water sensor near the base of your dishwasher can alert you immediately if a leak occurs, allowing swift action. Additionally, periodically inspecting the sump area and hose connections with a flashlight helps ensure there are no hidden leaks or clogs. This proactive approach keeps your appliance in top shape and avoids water damage, which can complicate warranty claims. For more detailed leak prevention strategies, explore this comprehensive guide.
Adopt Software Monitoring and Logging
Modern smart dishwashers often come with diagnostic apps or software interfaces that can track performance and error codes over time. I recommend regularly reviewing these logs. Setting up notifications for error alerts helps me catch issues like clogged filters or failing sensors before they cause major problems. Some advanced tools, like smart home integrations, can even automate routine maintenance reminders—such as cleaning filters or inspecting hoses—based on usage data. This software-driven approach ensures that your dishwasher remains in peak condition, making troubleshooting easier and more precise. Expect this trend to evolve with AI-powered diagnostics that predict failures before they happen, further enhancing appliance longevity.
How do I maintain my dishwasher over time?
Routine maintenance is key. Regularly cleaning filters, inspecting hoses, and updating firmware (if applicable) can prevent many issues. For parts replacement, always consult trusted sources like this guide to parts selection to ensure compatibility and durability. Don’t forget to keep a maintenance log—documenting inspections, part replacements, and software updates helps track your appliance’s health and supports warranty claims when necessary. By incorporating these tools and practices, you’ll not only keep your smart dishwasher running smoothly but also maximize its lifespan and warranty protection.
Try implementing a monthly inspection routine using a multimeter and leak sensor system. This proactive step can save you from unexpected breakdowns and costly repairs, ensuring your investment continues to serve you reliably for years to come.
What I Wish I Knew About Staying Ahead of Dishwasher Troubles
One of the biggest lessons I learned is that minor details in installation can lead to major headaches later. For example, I once used a generic hose that seemed compatible but caused leaks after just a few months, voiding my warranty. That lightbulb moment taught me to always verify parts compatibility and stick with trusted sources like tips for selecting the right parts. It’s these small precautions that can save you from costly repairs and warranty denials.
Another insight I gained is the power of proactive testing. Running a test cycle before finalizing installation helped me catch a leak early, avoiding water damage and warranty issues. Regular inspections with tools like a multimeter and leak sensors have become part of my routine, preventing surprises and extending the life of my smart dishwasher. Trust me, these steps are worth the effort and can make a real difference in your appliance’s longevity.
Lastly, I realized that thorough documentation isn’t just for tech geeks. Taking photos of connections and parts used during installation saved me when a warranty claim was questioned. It’s a simple step that can speed up repairs and keep your coverage intact. Remember, paying attention to these details ensures your smart dishwasher performs reliably and remains protected under warranty for years to come. Don’t underestimate the importance of precision and documentation—your future self will thank you.
One Reply to “Smart Dishwasher Installation: Trusted Tips for Lasting Warranty”
Leave a Reply
Related Posts
Smart Dishwasher Installation & Parts Guide for Reliable Performance
My Journey into Perfecting Dishwasher InstallationAs someone who recently tackled…
Smart Dishwasher Parts & Installation Guide for Lasting Trust in 2025
Discovering the Heart of My Dishwasher: A Personal TaleWhen I…
Smart Dishwasher Installation & Parts: Expert Tips for Reliable Performance
I remember the exact moment I realized my new smart…
Reading this post really resonated with me, especially the part about documenting your installation process. I once had a minor leak issue, and it turned out to be a loose hose fitting that I hadn’t double-checked. Having photos of the initial setup could have sped up my warranty claim significantly. I also agree that using quality, compatible parts is essential—cheap or generic hoses might seem tempting but can cause long-term problems.
One thing I’ve been considering is investing in a leak detection system for my dishwasher. It seems like an easy way to catch problems early before they escalate. Has anyone here tried additional monitoring tools or smart home integrations to protect their appliances? Would love to hear how others are proactively maintaining their dishwashers to extend their lifespan and keep warranties intact.