
It was a typical Saturday morning when I finally decided to replace my worn-out dishwasher. I thought, “Why not save a few bucks?” So, I reused an old water supply line I found in the basement. Little did I know, that seemingly innocent decision would lead to a flooded kitchen by the end of the day. That experience was a lightbulb moment for me—realizing the peril of reusing old plumbing components.
Why Reusing Old Water Lines Is a Risk You Can’t Afford to Take
Many homeowners, myself included, fall into the trap of thinking that if something worked once, it will work forever. When it comes to water supply lines, this mindset can be disastrous. Old lines may appear intact, but they often hide corrosion, cracks, or weakened spots that aren’t visible to the naked eye. Reusing these can cause leaks or even burstages, leading to costly water damage and appliance failures. Plus, plumbing standards evolve, and what was acceptable a decade ago might be outdated today, compromising safety and reliability.
Concern: Is It Really Worth the Risk?
I used to believe that an inexpensive, quick fix would do the trick. However, my surprise flood proved otherwise. Early on, I made the mistake of ignoring manufacturer guidelines and skipping proper parts inspection. If you’re considering reusing old lines, think about the potential consequences. Water damage isn’t just messy; it can weaken your home’s structure and promote mold growth. According to the appliance warranty experts, investing in quality parts and proper installation saves you money in the long run.
So, what will we cover today? I’ll walk you through the reasons why reuse can be dangerous, how to spot compromised lines, and the best practices for replacing your water supply connections to ensure safety and peace of mind. If you’ve ever had a scare or worry about leaks after a DIY installation, you’re in the right place.
When replacing your dishwasher’s water supply line, prioritizing safety and compliance is key. Begin by shutting off the main water valve and unplugging the appliance to prevent electrical hazards. Use a multimeter to verify no current is present if you’re concerned about residual electricity. Next, inspect the current supply line for corrosion, cracks, or leaks—if any signs of damage are evident, replace the entire line rather than attempting repairs. Consider that old plastic lines or non-standard fittings may not meet current plumbing codes, increasing risk of leaks or failure. During removal, carefully disconnect fittings using adjustable wrenches, ensuring you avoid applying excessive force to prevent damage to the connections or surrounding cabinetry. When selecting a replacement, opt for a stainless steel braided hose with brass fittings, as it’s more durable and less prone to bursting under pressure [https://appliancedoctorz.com/why-plastic-tubs-are-quieter-than-stainless-steel-ones](https://appliancedoctorz.com/why-plastic-tubs-are-quieter-than-stainless-steel-ones). Before installing the new line, clean the threaded connections with a wire brush to ensure a proper seal. Do not reuse old compression fittings; always install new ones to prevent leaks—tighten fittings hand-tight, then give a quarter turn with a wrench, avoiding over-tightening which can deform the fittings and cause cracks. Once the new line is connected, slowly turn on the water supply, checking for leaks at all fittings and connections. If any moisture appears, tighten fittings slightly. Finally, plug in the dishwasher and run a test cycle, monitoring for leaks or irregular operation. For optimal long-term performance, refer to detailed guidelines on parts to check during installation [https://appliancedoctorz.com/parts-to-check-when-installing-a-dishwasher-for-long-term-performance](https://appliancedoctorz.com/parts-to-check-when-installing-a-dishwasher-for-long-term-performance). Proper installation not only preserves your appliance warranty [https://appliancedoctorz.com/the-complete-list-of-dishwasher-parts-covered-by-warranty](https://appliancedoctorz.com/the-complete-list-of-dishwasher-parts-covered-by-warranty) but also shields your home from costly water damage.Many homeowners believe that choosing the right parts or understanding warranty coverage is straightforward, but there’s more beneath the surface. It’s a common misconception that all replacement parts are equal or that warranties are always comprehensive. In reality, the nuances between OEM and third-party components can significantly affect your dishwasher’s performance and longevity. For instance, while third-party parts might seem cost-effective initially, they often lack the precise engineering and materials that OEM parts provide, leading to premature failures and voiding your warranty. Moreover, some installers overlook subtle details like proper grounding or correct hose routing, which can cause leaks or increased energy consumption. Beware of the trap where a quick fix using incompatible parts can mask underlying issues, resulting in bigger damage over time. Installing a component without verifying its compatibility with your specific model might also invalidate warranty claims when problems arise. Additionally, many are unaware that certain warranties are conditional—require proper installation, usage of approved parts, and timely maintenance—to remain valid. Experts recommend checking your warranty’s fine print and consulting detailed guides on selecting the right parts for long-term performance, such as [here](https://appliancedoctorz.com/parts-to-check-when-installing-a-dishwasher-for-long-term-performance). Additionally, understanding the role of each component can help identify early signs of wear, preventing costly repairs. For example, knowing how a faulty float switch or a misaligned spray arm can compromise cleaning efficiency and cause leaks allows for proactive maintenance. This deeper knowledge underscores that dishwasher health isn’t just about replacement but also about informed choices and precise installation. Don’t fall into the trap of reusing old parts or rushing the setup—taking the time to understand these nuances saves money and preserves your appliance’s lifespan. Have you ever fallen into this trap? Let me know in the comments.
Tools I Recommend for Long-Term Dishwasher Care
Maintaining your dishwasher’s performance over time requires the right tools. My top choice is a high-quality digital multimeter, which I use to test heating elements and verify electrical connections accurately. A set of fine-tip screwdrivers is essential for delicate tasks like removing control panels or replacing small parts such as door gaskets. Additionally, a dedicated spray arm cleaning tool, which I detail in this guide, makes clearing clogs straightforward and prevents common spray arm issues.
An ultrasonic cleaner can be a game-changer for cleaning small parts like inlet valves or filters and extends their lifespan. I also rely on a good-quality magnetic leak detector for early signs of water issues, helping prevent costly damages. If you’re serious about troubleshooting and preventive maintenance, investing in a diagnostic clipboard or an app for keeping maintenance logs — like the ones discussed in this resource — can simplify monitoring your appliance over years. Reflecting on the future, I predict that smart diagnostic tools integrated with home automation will become standard, making preventive maintenance more accessible and automated.
How do I maintain dishwasher parts and installation for years of reliable service?
The key is regular inspections combined with using the right tools for specific tasks. For example, referring to this guide helps pinpoint components that often wear out or become misaligned over time, such as water inlet valves or door latches. Implementing routine checks every 6 to 12 months, especially after heavy use, can extend your dishwasher’s functional life significantly.
Another core maintenance practice involves keeping all connections tight and corrosion-free. I use a torque screwdriver to ensure fittings are properly secured without over-tightening, which can cause damage. When replacing or upgrading parts, always choose OEM components, as discussed in this article. Regularly updating your maintenance knowledge with detailed resources enhances both warranty protection and appliance longevity.
Finally, don’t forget routine cleaning of filters and spray arms—simple yet vital tasks that prevent clogs and ensure optimal cleaning cycles. Remember, the more proactive you are with maintenance, the less likely you are to face unexpected breakdowns. Using my recommended diagnostic tools and methods, such as checking for early signs of leaks with a leak detector or verifying electrical components periodically, will keep your dishwasher in top shape.
For more advanced maintenance insights, try implementing this trick: periodically run a hot water cycle with a tablespoon of vinegar to remove mineral build-ups. This simple step can drastically improve performance and extend the lifespan of internal parts. Don’t hesitate to explore these tools and techniques — they make a real difference in keeping your dishwasher working flawlessly for years to come.

Lessons From the Front Lines of Dishwasher Repairs
One of the most valuable insights I gained was that even small shortcuts in dishwasher installation or maintenance can lead to significant headaches later. Reusing old water lines seemed harmless at first, but it taught me that overlooked details—like inspecting fittings—can be the difference between a smooth operation and a flooded kitchen. Embracing thoroughness over convenience is a lesson that can save you hundreds in repairs and insurance claims.
Another revelation came from understanding warranty nuances. Many homeowners believe their warranty covers all issues, but the fine print often requires using OEM parts and following precise installation procedures. Recognizing this early on helped me avoid disputes and ensure my dishwasher remains protected under warranty, provided I adhere to the guidelines—something I now recommend to everyone.
The most surprising lesson involved the importance of knowing your dishwasher’s components. For instance, a faulty float switch or a misaligned spray arm can cause leaks or poor cleaning outcomes. Learning how to diagnose and address these specific parts has empowered me to tackle problems proactively, preventing minor glitches from escalating into costly repairs.
Tools and Resources That Make a Difference
Over the years, I’ve curated a set of tools that have transformed my maintenance approach. A durable digital multimeter, for example, helps verify electrical connections and heating elements with confidence, saving time and guesswork. A dedicated spray arm cleaning tool simplifies stubborn clogs, ensuring consistent water distribution. For leak detection, a magnetic leak detector has become indispensable—catching early signs of seepage before any damage ensues. These tools, combined with reliable resources like detailed guides on installing parts correctly and maintaining warranty eligibility, have significantly improved my DIY success rate.
Investing in a quality set of replacement parts, such as OEM water inlet valves and durable hoses, has also proven cost-effective over time. Upgrading to stainless steel braided hoses, for instance, reduces the risk of bursting—something I detail further in this guide. These choices not only enhance safety but also extend the lifespan of your dishwasher, making routine maintenance less stressful and more effective.
The Power of Informed Action for Long-Term Success
Taking charge of your dishwasher’s health isn’t just about fixing issues—it’s about cultivating habits that prevent problems before they start. Regular inspections of connection tightness, examining hoses for wear, and running periodic deep-clean cycles are simple steps that yield long-term benefits. Embracing a mindset of diligent care, supported by the right tools and knowledge, transforms a mundane appliance into a reliable kitchen workhorse.
Remember, your proactive efforts, combined with understanding your appliance’s core components, can avoid costly surprises. Whether you’re replacing a water supply line or verifying warranty conditions, every small step builds toward a more durable, leak-free dishwasher. Now, armed with insights and the right approach, you’re ready to keep your appliance humming smoothly for years to come.
The Insider Wisdom You Can’t Find Everywhere
- Rushing to reuse old parts might seem cost-effective but often leads to leaks and warranty voids. My big realization was that quality parts and proper installation are investments, not expenses.
- Most warranties aren’t all-inclusive; understanding the fine print about OEM parts and inspection requirements has saved me from denied claims and unexpected out-of-pocket costs. Don’t overlook this crucial detail.
- Knowing specific components like the float switch and spray arm allowed me to diagnose issues early—preventing small leaks from becoming major floods—or costly replacements.
Where to Go from Here
Equip yourself with essential tools like a multimeter, leak detector, and cleaning aids. Dive into trusted resources, focusing on detailed installation and maintenance guides available at this page. Select high-quality, OEM parts when replacing components, and adhere strictly to manufacturer guidelines. These investments and habits will pay off by keeping your dishwasher running smoothly and safeguarding your home from water damage.
Your Next Step Starts Now
The more you learn and implement, the more confident you’ll become in maintaining your dishwasher, avoiding costly repairs, and maximizing warranties. Embrace proactive care, stay informed, and don’t hesitate to get hands-on. A well-maintained dishwasher not only saves money but also gives peace of mind and more quality time in your kitchen.
What’s the most surprising thing you’ve discovered about dishwasher maintenance or warranty coverage? Share your experience below and let’s keep the conversation going!
Related Posts
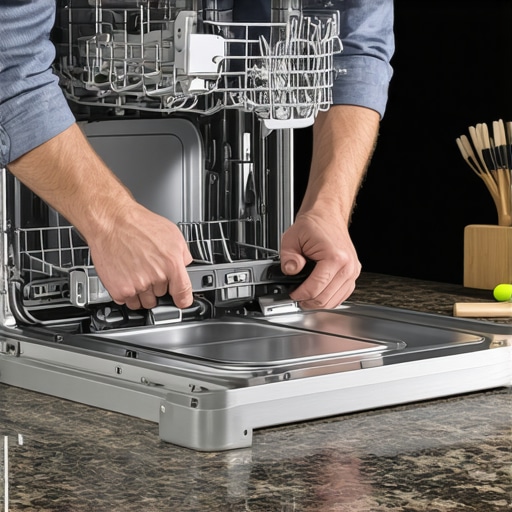
The Proper Way to Secure a Dishwasher to Granite Counters
I remember the first time I installed a dishwasher on…

How to Install a Dishwasher Sound Insulation Blanket Correcty
Ever pushed your dishwasher into place only to be greeted…
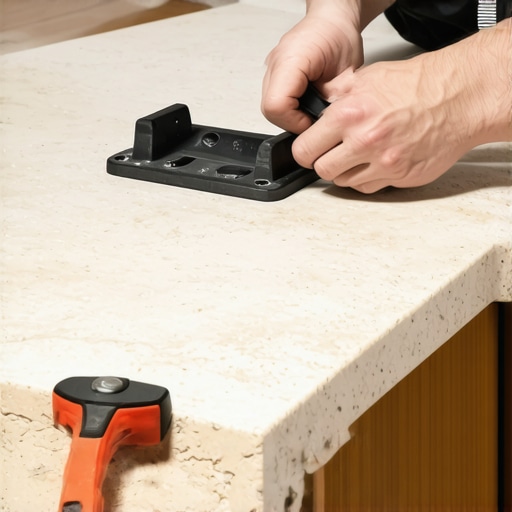
The Proper Way to Secure Your Machine to Stone Countertops
I'll never forget the morning I watched my new dishwasher…