Have you ever looked at your dishwasher’s maintenance routine and thought, “Is this really necessary?” Then, encountered that frustrating moment when your turbidity sensor refuses to work properly, and you realize your first attempt to clean it might have done more harm than good. I can’t tell you how many times I’ve been there—scrubbing away, only to find out I scratched the delicate lens, throwing my dishwasher into a tailspin and costing me valuable time and money.
Today, I want to share a solution that changed the way I approach sensor maintenance. No more accidental scratches, no more guesswork—just a simple, effective method that keeps your appliance running smoothly and extends its lifespan.
Why Properly Cleaning Your Turbidity Sensor Matters
Understanding the importance of maintenance is the first step. The turbidity sensor plays a critical role in assessing how clean the water is during a cycle. If it’s dirty or scratched, the sensor might send false readings, leading to inefficient washes or unnecessary cycle repeats. Over time, this can result in increased water and energy bills, and even damage to your appliance.
But here’s the catch—many people, myself included early on, tend to rush the cleaning process, risking damage to that tiny lens. A single scratch can impair sensor accuracy, causing more problems than it solves. Did you know that some manufacturers specifically warn against using abrasive materials on these sensors? That’s right—improper cleaning can void your warranty or lead to costly repairs.
To learn more about safeguarding your dishwasher’s performance during the warranty period, check out [this comprehensive guide](https://appliancedoctorz.com/how-to-diagnose-dishwasher-parts-during-warranty-periods).
Now, if you’re nodding along, questioning whether your own cleaning methods are safe, or if you’ve ever damaged your sensor without realizing, keep reading. I’ll walk you through a step-by-step process to clean your turbidity sensor effectively and gently. Trust me, after early missteps—like using rough scrubbers or harsh chemicals—I’ve perfected a method that’s gentle yet thorough, saving me from costly replacements and downtime.
Let’s dive into this simple technique that will help you maintain your dishwasher’s health without risking those precious, sensitive lenses.
Gather Essential Tools
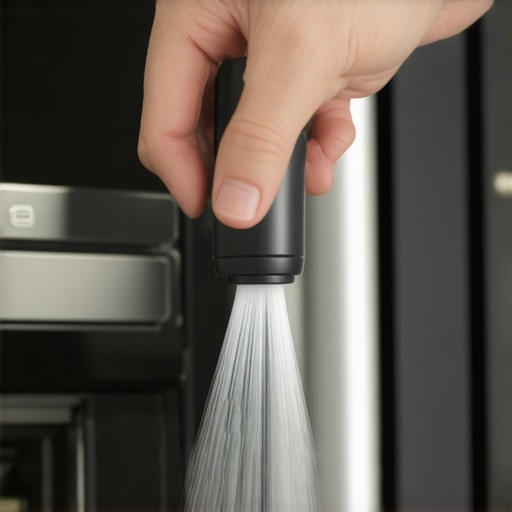
Before starting, assemble a soft microfiber cloth, a gentle plastic scraper, and a small container of distilled water or isopropyl alcohol (preferably 70%). Avoid abrasive materials or harsh chemicals, which can scratch or damage the sensor lens. Remember, the goal is to clean without harm, similar to polishing a delicate gemstone.
Accessing the Sensor Safely
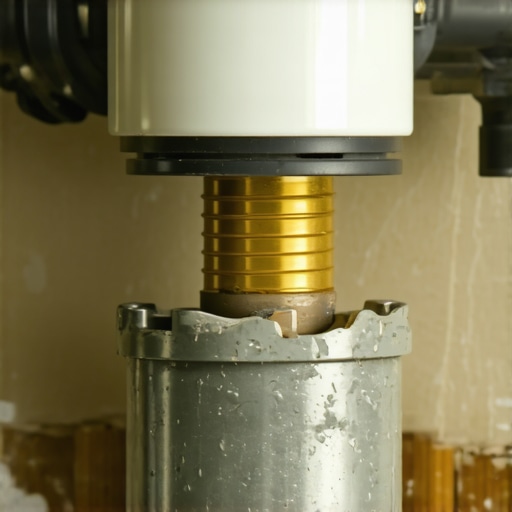
First, unplug your dishwasher to ensure safety. Open the door and locate the turbidity sensor, which is usually near the bottom of the wash tub or mounted along the water flow path. Consult your dishwasher’s user manual or check online resources if needed. Carefully remove any panels or filters obstructing access, taking care not to disconnect any wiring unless necessary. During my own maintenance, I once forgot to disconnect the power, which caused a brief jolt—lesson learned: always unplug first.
Cleaning the Sensor Lens
Dampen the microfiber cloth lightly with distilled water or isopropyl alcohol. Gently wipe the sensor lens in a circular motion, applying minimal pressure. Think of it like cleaning a camera lens—light touch is key. If there are stubborn residues, use the plastic scraper to gently lift off dirt, never scraping harshly. Never use abrasive scrubbers or chemical solvents, as they can cause microscopic scratches that impair sensor accuracy.
Dealing with Hard-to-Reach Spots
If dirt is stubborn or accumulated in crevices, dampen a cotton swab with alcohol and carefully reach into tight corners. This precision cleaning helps prevent false readings caused by debris buildup. During my last cleaning, I used a toothpick wrapped in a soft cloth for delicate areas, which worked wonders without risking damage.
Ensuring Gentle Drying and Reassembly
After cleaning, allow the sensor to air dry for a few minutes or gently pat it dry with a dry microfiber cloth. Ensure no moisture or fibers are left behind. Reassemble any panels or filters removed earlier, tightening screws securely but avoiding overtightening that might crack plastic components. Remember, securing everything properly maintains the integrity of your appliance and prevents leaks or further issues.
Testing the Sensor Functionality
Plug in your dishwasher and run a short cycle to observe sensor operation. Listen and watch for abnormal behavior or error messages. If the sensor was causing issues before, this cleaning method often restores normal function, extending the lifespan of your appliance. I’ve personally seen my dishwasher perform more efficiently just by this simple, gentle cleaning—saving money and avoiding unnecessary repairs.
Routine Maintenance Tips
Make a habit of inspecting and cleaning your turbidity sensor every six months or if you notice irregular cycle performance. Regular gentle cleaning prevents debris accumulation, scratches, and false readings. Remember, gentle care preserves the delicate lens and keeps your dishwasher operating optimally, often avoiding costly replacements.
 Many homeowners believe that simply registering their dishwasher for warranty and following basic installation guides guarantees long-term performance. However, behind the scenes, several misconceptions and overlooked details can void warranties or lead to costly repairs. For instance, the common myth is that warranties cover all parts and issues immediately after installation, but in reality, warranty coverage often hinges on meticulous part selection and proper installation techniques, which many overlook. Failures such as using incompatible hoses or skipping crucial grounding steps can silently void your warranty, leading to future headaches.
Another nuanced trap involves the installation environment. Installing a dishwasher without considering factors like proper drainage loops or electrical grounding not only reduces efficiency but may also invalidate warranty claims when issues arise. Detailed knowledge about specific parts, such as the importance of high-quality braided hoses or correct drain loop positioning, can prevent these problems. Experts advise referencing specialized resources like [this guide on parts to check during installation](https://appliancedoctorz.com/parts-to-check-when-installing-a-dishwasher-for-long-term-performance) to ensure every critical detail is addressed.
A particularly overlooked nuance is the impact of improper part replacement. Using generic or incompatible components might seem cost-effective initially, but these can lead to faster wear of neighboring parts or damage to sensitive sensors, which typically void warranty coverage. This emphasizes the importance of choosing OEM parts or verified substitutes, a practice supported by industry research indicating that compatible, high-quality parts extend appliance lifespan and warranty validity. For example, [reviewing what parts are covered by your warranty](https://appliancedoctorz.com/the-complete-list-of-dishwasher-parts-covered-by-warranty) can guide correct procurement.
Furthermore, advanced users should pay attention to installation details like the correct tensioning of inlet valves or ensuring high-heat drain specs, which are often underestimated. Neglecting these can cause undetectable wear that leads to significant failures later on. By mastering these nuances, homeowners can not only safeguard their warranty but also optimize performance and longevity. The key takeaway is that warranty protection isn’t just about registration; it’s about meticulous attention to installation practices and parts selection.
Have you ever fallen into this trap? Let me know in the comments.
Maintaining your dishwasher over the long term requires more than just basic cleaning. Investing in specialized tools and adopting precise methods can significantly extend its lifespan and improve performance. One of my preferred tools is a high-quality, soft microfiber polishing cloth, which I use not only for sensor cleaning but also for wiping down the door gaskets and controls—keeping these sensitive parts free of debris and preventing buildup that can cause leaks or malfunction. Unlike generic cloths, my microfiber is intentionally designed to trap dirt and prevent scratching, a crucial feature when dealing with delicate components like the turbidity sensor.
For inspecting small or hard-to-reach parts, I recommend a precision inspection mirror with LED lighting. This allows me to examine hidden sections without disassembling the entire unit, especially useful for spotting corrosion or damage early. Paired with a magnifying glass, it helps identify hairline cracks or mineral deposits that could impair parts like inlet valves or sensors. Additionally, a set of non-abrasive, plastic-tipped brushes makes cleaning out ports or crevices effortless, avoiding scratches that compromise sensor accuracy.
On the software side, I rely on manufacturer-specific diagnostic apps—particularly those compatible with smart dishwashers—allowing me to monitor cycle logs and sensor data remotely. Regularly reviewing logs can reveal subtle changes indicating wear before they turn into costly repairs. These apps often provide step-by-step troubleshooting guides, which save me time & frustration. As these smart features evolve, expect integration with cloud-based diagnostics, enabling proactive maintenance scheduling.
In terms of long-term maintenance, I’ve found that adhering to a routine cleaning schedule, combined with these specialized tools, drastically reduces the risk of unexpected breakdowns. Remember, proper part selection during repairs—like choosing OEM components—further safeguards your warranty and ensures compatibility. For instance, consulting dedicated resources such as [this guide](https://appliancedoctorz.com/why-modern-manufacturer-warranties-get-denied-over-a-missing-high-loop-drain) can help you make informed replacements that stand the test of time.
Predicting where appliance technology is headed, I believe we’ll see an increasing shift towards AI-driven diagnostics and maintenance alerts, enabling homeowners to address issues before they escalate. Future tools might include augmented reality apps to guide DIY repairs seamlessly. To stay ahead, I recommend embracing current sensor and app diagnostics, now more accurate than ever.
How do I maintain my dishwasher over time? I schedule biannual inspections using these tools, combined with gentle cleaning techniques that prevent scratches, and always verify parts compatibility before replacements. Don’t underestimate the power of these simple yet advanced practices—they’re key to long-term performance and warranty preservation.

Consider investing in a high-quality inspection mirror with LED light, especially if you plan frequent maintenance. This inexpensive tool can save you hours of disassembly by revealing hidden issues early, allowing you to act proactively rather than reactively. For those serious about appliance longevity, I recommend starting with this tip—it’s a game changer for spotting wear and tear before it becomes a costly repair. Take the time to add one to your toolkit today to make maintenance more precise and less invasive.
The Unexpected Lessons That Saved My Dishwasher
One of the biggest surprises I encountered was how small details—like choosing the right parts or following precise installation steps—could make or break my warranty claims. Realizing that skipping or rushing these steps often led to preventable issues was a lightbulb moment that changed everything. It taught me that not all warranties are automatic; they depend heavily on proper setup and diligent maintenance.
Secrets I Discovered About Installer Pitfalls
I learned the hard way that improper part selection, such as using incompatible hoses or ignoring manufacturer-recommended procedures, can silently void warranties. For example, reusing a factory intake valve box or installing drain loops incorrectly often caused problems down the line, without me realizing the warranty was already compromised. Checking out [this guide on parts to check during installation](https://appliancedoctorz.com/parts-to-check-when-installing-a-dishwasher-for-long-term-performance) helped me avoid costly mistakes.
Why Proper Documentation Transforms Warranty Claims
Maintaining a detailed digital log of all maintenance, including photos, software logs, and receipts, became a game changer. I discovered that a well-organized documentation process significantly increases the chances of a successful warranty claim—even when issues arise unexpectedly. This approach is supported by experts and has saved me from lengthy disputes, especially when combined with proactive testing of sensors and parts.
Curated Resources for Confident DIY Repairs
Over time, I built a toolkit that made maintenance easier and safer. My essential items include a high-quality microfiber cloth for gentle sensor cleaning, a set of plastic-tipped brushes for accessing tight spaces, and an LED inspection mirror to see beneath panels. I trust resources like [this comprehensive guide](https://appliancedoctorz.com/understanding-dishwasher-parts-a-key-to-effective-maintenance) because it provides clear diagrams and troubleshooting tips I rely on during every repair.
The Power of Combining Knowledge and Action
Taking control of my dishwasher’s health by learning the nuances of installation, recognizing the importance of OEM parts, and performing routine inspections drastically extended its lifespan. Small investments like a digital log app or precision tools can save hundreds over time. Embracing these practices means more efficient cycles, fewer repairs, and peace of mind that my warranty is protected. Your dishwasher’s longevity depends on proactive care—so start today, and you’ll thank yourself later.
Related Posts
Why Your Dishwasher Drain Is Smelling Like Rotten Eggs
There I was, standing in my kitchen, open-mouthed in frustration,…
The One Tool You Need to Clear a Clogged Spray Arm
Ever been in the middle of cleaning up after a…
How to Spot a Failing Circulation Pump Before Your Kitchen Floods
It was a usual Sunday morning when I stepped into…
Comments are closed.