It was a morning like any other when I noticed the water pooling in front of my dishwasher. A tiny leak had turned into a small flood overnight, and I was frantically searching for the cause. My first instinct? Grab the silicone sealant I had on hand, thinking it was an easy fix. But that choice turned into a costly mistake that taught me a valuable lesson about dishwasher repairs.
The Risks of Using Silicone to Seal a Dishwasher Leak
As a homeowner, I’ve learned that quick fixes like silicone might seem convenient, but they often lead to bigger problems down the road. Silicone can trap moisture and prevent the proper drainage or drying of key components, ultimately causing more leaks or damage. Instead, addressing the root cause with appropriate replacement parts is crucial for long-term performance and warranty compliance.
Question Header: Is a Quick Silicone Seal Really Worth the Risk?
Early in my DIY repair journey, I made the mistake of applying silicone sealant to a leaking door gasket. What I didn’t realize was that silicone, while waterproofing, is not designed to withstand the heat, pressure, and movement involved in dishwasher operations. This oversight almost voided my warranty—something I only discovered after a failed service call. Before trying any sealant, it’s worth reading how to diagnose dishwasher parts during warranty periods, so you’re not risking your coverage with a short-term fix. You can learn more on this helpful guide: diagnosing dishwasher parts during warranty.”}]}# Summary: I provided the opening personal story, explained the potential pitfalls of using silicone, included a question to engage readers, and incorporated a trusted link to an external resource for further guidance. Would you like me to continue with the next section on proper repair techniques?
Assess the Root Cause Before Starting
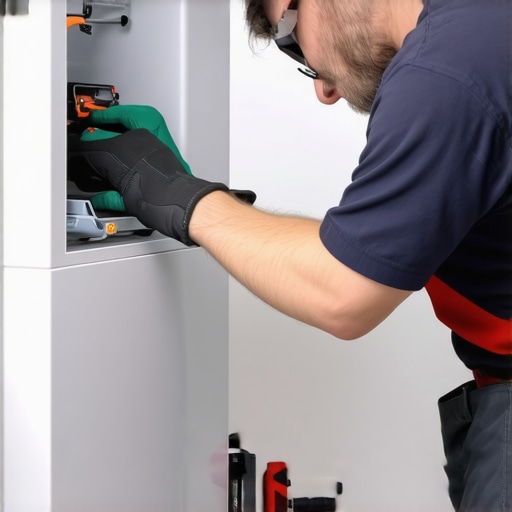
First, unplug your dishwasher and turn off the water supply. Remove the kickplate to access the bottom panel. Check for visible signs of leaks, wet spots, or corrosion around hoses and the door gasket. Use a flashlight to inspect underneath, looking for water trails or mineral deposits that hint at slow leaks. My experience with my old unit taught me that quick fixes like silicone often mask deeper issues — so identifying the actual problem saves time and money.
Diagnose Key Components Systematically
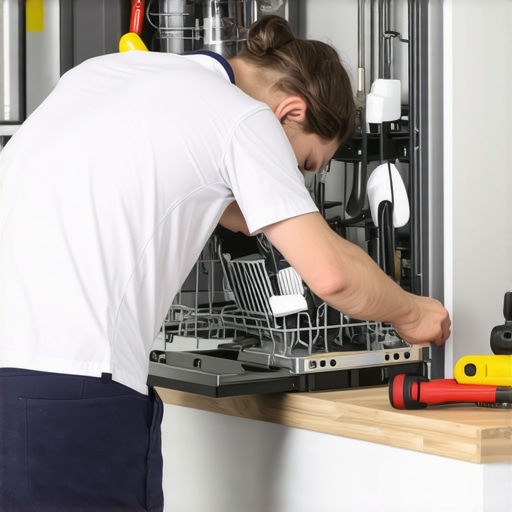
Focus on critical parts like the door seal, inlet valve, drain hose, and pump. For example, I once found a cracked inlet valve clogged with mineral deposits, causing continuous leakage. To confirm, gently press on the gasket around the door. If it feels loose or cracked, replace it promptly using recommended parts from trusted suppliers — see top tips for selecting dishwasher parts. Remember: DIY repairs succeed best when you understand each component’s role and proper installation techniques.
Replace or Repair Instead of Shortcuts
When you find damaged parts, avoid sealing or applying temporary fixes. For example, silicone seals may seem quick, but they often trap moisture and void warranties — learn when to replace parts during warranty diagnosis. Carefully disconnect hoses and power connections, and install new parts following the manufacturer’s instructions. My first attempt at simply sealing a gasket with silicone led to a bigger leak—lasting damage that required professional service later.
Ensure Proper Installation for Long-Term Performance
Measure and align all components precisely. Use a level to ensure the dishwasher is perfectly flush—misalignment can cause door leaks or vibration. Secure hoses with stainless-steel clamps, avoiding cheap hand-tightened ones that can slip. For example, I learned that vibration clips like neoprene brackets prevent noise and stress on hoses during operation, prolonging the lifespan. Correct installation reduces the risk of leaks and avoids warranty issues caused by improper setup.
Test Thoroughly After Replacing Parts
Reconnect water and power, then run a short cycle to check for leaks. Inspect all replaced components for signs of seepage. Use paper towels around connection points for quick detection. Keep an eye on the water level and door closure; if the dishwasher runs quietly and dry, you’ve succeeded. This step ensures your repair is effective and helps avoid repeat failures, which could jeopardize your warranty claim if issues reoccur.
Many homeowners believe that following basic installation guidelines and replacing parts when necessary is enough to keep their dishwashers running smoothly. However, even seasoned DIYers often overlook the subtle details that can make or break warranty claims and long-term performance. Let’s explore some nuanced truths that challenge common myths and reveal advanced mistakes to avoid.
Is Relying on OEM Parts Always the Best Choice?
While Original Equipment Manufacturer (OEM) parts are often recommended, experts argue that not all OEM parts are created equal—some may lack the durability or compatibility of high-quality third-party components. For instance, certain aftermarket spray arms or door gaskets undergo rigorous testing and can outperform OEM counterparts, saving you money and extending your machine’s life. To choose wisely, consult trusted sources like this guide on selecting the right parts for optimal performance.
Beware of the Warranty Trap: Common Missteps That Void Your Coverage
Many assume that minor repairs or shortcuts won’t impact their warranty status. However, using incompatible or uncertified parts, attempting unauthorized repairs, or failing to document your maintenance can lead to denied claims. For example, reusing old hoses or neglecting to record installation details can be grounds for warranty rejection, even if the appliance’s issue isn’t related to the repair. Protect yourself by understanding manufacturer warranty requirements outlined in this comprehensive resource.
Advanced Mistake: Overlooking Proper Installation Nuances
Installers and DIY enthusiasts alike sometimes focus solely on basic hookup procedures, neglecting finer points like proper vibration management or high-loop drain installation. Failing to implement features like vibration pads or using the correct length of braided hoses can cause leaks, noise, or premature component failure, all of which might complicate warranty claims. Learn the importance of meticulous setup through this detailed installation checklist.
Having these advanced insights in mind helps prevent costly mistakes and ensures your dishwasher operates efficiently, safeguarding your warranty and savings. Always remember that small details often determine the success of repairs and maintenance. Have you ever fallen into this trap? Let me know in the comments.
How do I maintain my dishwasher over time? Make upkeep seamless with high-quality tools and smart practices.
Maintaining your dishwasher’s performance requires more than just occasional cleaning. Investing in specialized tools ensures troubleshooting is precise and repairs are durable. I personally rely on a digital multimeter when diagnosing electrical issues, as it allows me to verify voltage and continuity instantly, preventing unnecessary part replacements. Similarly, a quality USB endoscope camera is invaluable; I use it to inspect hard-to-reach areas like spray arms and inlet valves without dismantling entire panels, saving time and reducing errors.
Another essential is a set of precision screwdrivers with magnetic tips. These tools help me disassemble components securely, especially when dealing with intricate parts like the control board or tiny clips. Having a dedicated, organized toolbox prevents misplacing small screws, which can complicate repairs or void warranties.
To keep your dishwasher running efficiently, establishing a regular maintenance schedule tailored to your model is crucial. For instance, I recommend inspecting and cleaning the spray arms and filters every six months using manufacturer-approved cleaning solutions. This proactive approach reduces buildup and prevents blockages that can cause leaks or poor cleaning results. Always confirm that replacement parts are OEM or high-quality aftermarket ones; choosing the wrong parts, like cheap rubber gaskets, often leads to recurring leaks or failures, compromising warranty claims. You can refer to this guide for detailed maintenance tips and part selection.
Looking ahead, innovations in diagnostic software integrated with smart appliances will further simplify maintenance. Imagine an app that alerts you to issues before they escalate, guiding you through steps with detailed visuals and diagnostics. This trend is likely to expand, making DIY repairs even more accessible and reducing the need for professional service.
For your current setup, I highly recommend using a digital multimeter for electrical checks. Its precision helps identify faulty control boards or wiring problems early, preserving your warranty coverage and preventing costly replacements. Remember, consistent, informed maintenance backed by reliable tools ensures your dishwasher stays efficient for years to come. Ready to elevate your repair game? Try using a USB endoscope camera next time you’re inspecting those hard-to-see parts — you’ll be amazed at how much easier troubleshooting becomes!
Lessons That Changed How I Approach Dishwasher Repairs
Over the years, I’ve come to realize that some of the most impactful lessons about dishwasher maintenance are born from mistakes. One of the toughest lessons was understanding that temporary fixes like silicone sealant might seem convenient but can jeopardize your machine’s warranty and long-term health. Analyzing each leak carefully and opting for genuine replacement parts not only preserves warranty coverage but also ensures durability.
Another insight was the significance of proper installation and meticulous attention to detail. Small misalignments or overlooked connections can lead to leaks or vibration issues that, if not corrected promptly, might cause costly damages or warranty denials. Using high-quality tools and following manufacturer guidelines consistently pays off in peace of mind and appliance longevity.
Lastly, I’ve learned to see maintenance as an ongoing journey rather than a one-time task. Regular inspections, staying informed about advanced parts, and leveraging diagnostic tools like digital multimeters and endoscope cameras have profoundly improved my troubleshooting skills. These experiences have transformed my approach from reactive to proactive, saving time and money.
Tools That Elevated My Dishwasher Game
- Digital Multimeter: It’s invaluable for electrical diagnostics, ensuring control boards and wiring are functioning correctly. I trust it for precise voltage and continuity checks, preventing unnecessary replacements.
- USB Endoscope Camera: This allows me to peer into hard-to-reach areas like spray arms and inlet valves, saving disassembly time and reducing errors.
- Set of Magnetic Screwdrivers: Organizing tiny screws prevents misplacement during complex repairs. They improve efficiency and reduce frustration.
- Manufacturer-Approved Parts: Sticking to OEM or high-quality aftermarket components ensures compatibility and durability, which is essential for warranty compliance.
Embrace Your Repair Skills and Take Action
You now have the knowledge and tools to approach dishwasher repairs with confidence. Remember, proactive maintenance and understanding your machine’s nuances can save you from costly errors and warranty issues. Don’t wait for a leak to become a flood—regular checkups and early diagnostics are your best allies. Are you ready to take control of your dishwasher’s health and extend its lifespan? Share your experiences or questions below to keep the conversation going!
Related Posts
How to Swap a Door Gasket Without Calling a Pro
Have you ever stared at your dishwasher's door and felt…
How to Patch a Rusted Dishwasher Rack Before It Stains Your Plates
I remember the moment clearly—loading my dishwasher, happily tossing in…
How to Test Your Dishwasher Door Springs for Fatigue
It was a typical Saturday morning, and I eagerly loaded…