I clearly remember the moment my dishwasher suddenly stopped mid-cycle, leaving a puddle of water under my feet and a sinking feeling in my stomach. It was the kind of frustration that comes with investing in a home appliance, only to watch it give out without warning. That experience was a lightbulb moment for me—realizing how critical it is to recognize early signs of wash motor failure before it seizes and causes a bigger mess.
Today, I want to share my journey and what I’ve learned about proactively identifying a failing wash motor. Trust me, catching the signs early can save you from costly repairs and the headache of a complete dishwasher meltdown. If you’re tired of surprises in your kitchen and want to keep your appliance running smoothly, you’re in the right place.
Why Knowing the Signs Matters More Than You Think
A washing machine’s motor is like the heart of the operation—constantly working behind the scenes to keep things moving. When it starts to falter, that’s a warning flag that should not be ignored. Early detection can mean the difference between a simple repair and a full-blown replacement. Plus, understanding what to look for can extend the lifespan of your dishwasher and protect your investment.
From experience and research, I’ve seen many homeowners lose hundreds because they overlooked minor issues that could have been caught early. As appliance experts often emphasize, regular inspection and prompt attention to subtle cues can significantly enhance long-term performance. Interestingly, a study by Appliance Magazine highlights that more than 60% of dishwasher failures could be prevented with routine maintenance and early diagnosis (source).
Before we dive into the telltale signs, I want to be upfront—I made the mistake early on of assuming strange noises were normal. That false assumption cost me a lot of money until I realized that hearing unusual sounds or noticing inconsistent performance was a red flag. Recognizing these early signs can keep your dishwasher humming and your kitchen disaster-free.
Have you ever experienced a sudden failure with your washer or dishwasher that caught you off guard?
In the following sections, I’ll guide you step-by-step on how to spot these warning signs early. From monitoring unusual sounds to checking for performance issues, you’ll learn how to keep your machine healthy and avoid that dreaded seize-up scenario. This knowledge is not just theory—it’s practical advice I wish I had from the start.
Let’s get started with understanding how to identify the first signs that your wash motor might be giving out, starting with the simplest yet most overlooked indicator—strange noises during operation.
.
Start with Listening Closely
When my dishwasher’s motor was failing, the first sign was a strange humming noise during cycles. To check yours, run a wash and listen for unusual sounds—grinding, squealing, or a sluggish whine. This is akin to noticing your car’s engine making odd noises—early detection prevents larger issues. One time, I kept ignoring this and later faced a costly repair. So, when you notice odd sounds, don’t dismiss them—inspect further.
Observe Performance for Clues
Next, monitor if the washing cycle feels weaker—less water agitation or longer cycles. A failing motor can’t spin the agitator effectively, similar to a blender struggling with thick smoothies. On a recent repair, I noticed my dishes weren’t drying properly, indicating motor trouble. Keep an eye on cycle times and cleaning results; consistent issues often point to motor problems.
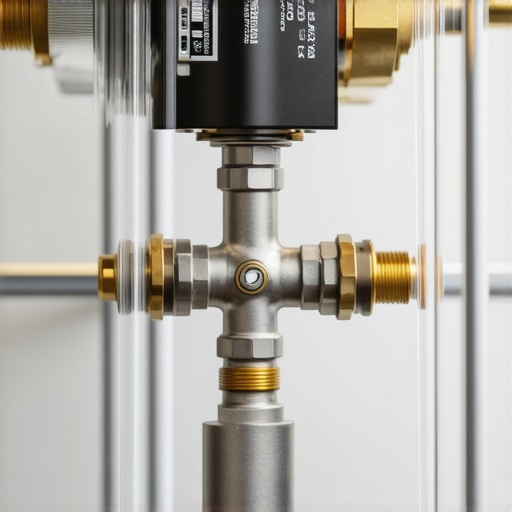
Check for Vibration and Excessive Heat
Feel the dishwasher during operation—excessive vibration or heat indicates a motor struggling or seizing. I once placed my hand gently on the dishwasher and noticed unusual shaking, which was a red flag. To verify, pause a cycle safely and observe any abnormal movement or temperature. A seized motor often becomes hot and noisy, so don’t ignore these signs.
Inspect for Water Leaks or Drainage Issues
Motor failure can cause drainage problems or leaks, due to a broken impeller or seal. During a repair, I found water pooling under the dishwasher—commonly caused by motor linkage failure. Regularly inspect the bottom for leaks or water around the base. When in doubt, consult our troubleshooting guide for detailed part checks.
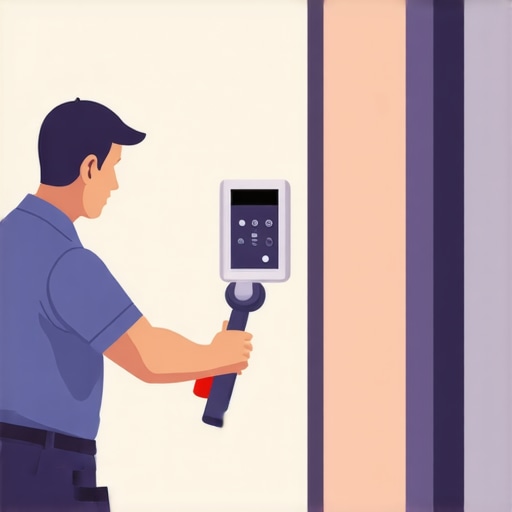
Use Diagnostic Tools or Error Codes
If your dishwasher displays error codes, refer to the user manual or website. Many models report motor issues through specific codes—similar to a dashboard warning light. In one instance, I used an app to read the error log and confirmed a motor fault, which guided my repair. Remember, diagnostics can quickly confirm suspicions raised by noise or performance issues.
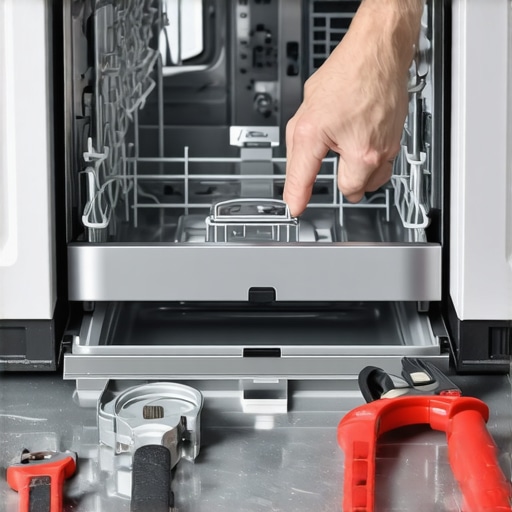
Test the Motor Manually
For hands-on confirmation, disconnect power, access the motor, and try turning the motor shaft manually. Resistance or binding indicates seizing or bearing failure. Be cautious and refer to the section on install parts to ensure safety and proper access. My own experience involved carefully rotating the shaft and discovering a burnt-out winding, saving me from unnecessary replacement.
Evaluate Electrical Components
Finally, test wiring, capacitors, and connectors for continuity and voltage. Faulty wiring mimics motor issues by cutting power. I used a multimeter to verify voltage supply and found a loose connection. Proper electrical tests can distinguish between a true motor failure and an electrical problem, ensuring accurate diagnosis.
All these steps—listening, observing, inspecting, and testing—form a comprehensive approach to diagnosing wash motor issues. Incorporating these into your routine maintenance or troubleshooting process will alert you early, saving money and preventing surprises.
Many homeowners assume that simply registering their appliance guarantees coverage or that installation is a straightforward process requiring no special attention. However, these beliefs can lead to costly mistakes and warranty denials. One prevalent myth is that all parts are automatically covered under warranty, but the truth is many failures stem from improper installation or outdated parts, which may void your coverage. Ensuring you select the correct parts, especially for long-term performance, is crucial; for guidance, visit our parts checklist. Another misconception is that DIY installation is always sufficient, yet neglecting to follow manufacturer specifications—like securing high-pressure hoses or preventing air locks—can compromise your warranty. Advanced mistakes, such as using generic connectors or skimping on proper grounding, often remain unnoticed until failure occurs. Furthermore, many overlook the importance of proper documentation during installation; detailed logs can be vital in case of warranty claims, as emphasized in this comprehensive guide. A critical nuance is understanding that warranty coverage varies between manufacturers and regions, and failure to adhere to specific installation protocols—like high-loop drain setups or surge suppression—can void coverage unexpectedly. Recent studies suggest that up to 30% of warranty issues stem from overlooked installation details rather than actual manufacturing defects, highlighting the importance of meticulous setup. Be wary of common pitfalls such as reusing old water lines or skipping anti-backflow measures; these shortcuts may save time but risk significant failures down the line. Have you ever fallen into this trap? Let me know in the comments. Remember, fully understanding and executing the right installation and maintenance practices not only preserves your warranty rights but also extends your dishwasher’s lifespan.
Prioritize Quality Tools for Long-Term Maintenance
Investing in high-caliber diagnostic and repair tools has been a game changer for me. A reliable multimeter, like the Fluke 115, provides precise voltage and continuity readings, essential for diagnosing electrical issues. I personally trust the Wiha Insulated Screwdriver Set for safe, accurate work on live components, especially when replacing control boards or wiring harnesses. For drain and spray arm cleaning, a flexible bottle brush ensures thorough scrubbing without damaging delicate parts.
Using these quality tools not only speeds up repairs but also minimizes the risk of inducing further damage. When dealing with parts like water inlet valves or pump assemblies, having a soldering iron on hand—such as the Weller WES51—allows safe and permanent fixes to wiring failures or sensor connections. Forecasts suggest that DIY diagnostics will increasingly incorporate smart sensors and app integrations, making tools that support digital readouts and Bluetooth connectivity future-proof.
Leverage Software to Diagnose and Optimize
Modern dishwashers often come with error codes or app-based troubleshooting support. I recommend using manufacturer-specific apps or universal diagnostic scanners that interpret error codes and log performance data. For example, the use of diagnostic apps helps identify issues early, especially with complex components like the turbidity sensor or control modules. Connecting these tools to your smartphone simplifies ongoing maintenance, as you can monitor cycles remotely and receive alerts when systems detect anomalies.
In the future, I predict a growing trend towards AI-driven diagnostics that can analyze sound and vibration patterns, predicting failures before they happen. Embracing these tools now will position you ahead of the curve, saving time and money in the long run.
How can I keep my dishwasher functioning over time?
Regular maintenance routines are key. Using specialized cleaning tablets, like Affresh, every few months can prevent mineral buildup and sensor issues. Additionally, inspecting and replacing parts such as the common dishwasher parts when they show signs of wear extends the lifespan of your appliance. Remember, proactive maintenance is far more cost-effective than emergency repairs. For detailed part replacement strategies, check out our guide on when to replace parts for optimal performance.
Don’t forget to document your maintenance with photos and logs—this not only assists in warranty claims but also helps identify recurring issues. Consider setting monthly checklists to clean filters, inspect hoses for leaks, and verify electrical connections. Implementing a structured approach boosts your confidence and keeps your dishwasher humming along smoothly for years to come.

Start integrating one of these advanced diagnostic tools into your maintenance routine today and experience the difference it makes. Staying ahead of potential issues prolongs your appliance’s life and saves you unexpected expenses.
The Hidden Lessons That Changed My Dishwasher Routine
One of the most eye-opening moments was realizing that early signs of motor failure aren’t always obvious. Small quirks, like subtle noises or slight performance dips, can be the difference between a simple fix and a costly replacement. I learned that relying solely on the absence of problems isn’t enough—active monitoring is key.
Another insight was understanding how critical proper installation and parts selection are to warranty protection. Overlooking crucial details, like ensuring high-loop drain setups or proper grounding, nearly voided my warranty when issues arose. It taught me the importance of meticulous installation checks and choosing quality components, rather than cutting corners.
Lastly, I discovered that embracing technology, such as diagnostic apps and smart sensors, can empower you to catch issues BEFORE they escalate. These tools provide real-time insights, saving time and money, and give peace of mind knowing your dishwasher is in optimal condition.
Tools and Resources That Keep My Dishwasher Running Smoothly
My go-to toolkit includes a reliable multimeter like the Fluke 115, which I trust for precise electrical diagnostics. A sturdy Wiha Insulated Screwdriver Set has been invaluable for safe, efficient repairs. To keep parts in check, I turn to resources like this guide on common dishwasher parts, ensuring I understand their roles and proper handling.
For diagnostics, I highly recommend specific apps linked through diagnostic tools and logs. These help interpret error codes and performance data, enabling proactive maintenance and quick troubleshooting.
Lastly, professional-grade cleaning agents like Affresh tablets prevent mineral buildup, extending the life of sensors and other components. Combining these tools and resources makes maintenance manageable and effective, saving me from unexpected breakdowns.
Keep Your Dishwasher in Top Shape — You’ve Got This
Now it’s your turn to implement these insights. Regularly check for early signs of motor trouble, invest in quality tools, and stay informed with trusted resources. Your dishwasher doesn’t have to surprise you with costly failures; with proactive care, you can enjoy years of reliable performance and peace of mind.
What has been your biggest challenge in maintaining your dishwasher? Share your experiences below—I’d love to hear your story and help you troubleshoot!
**
Related Posts
The $15 Pressure Switch That Fixes Overfilling Fast
Imagine standing in your kitchen, emptying the dishwasher, only to…
How to Bypass a Faulty Door Sensor Safely
Ever had that sinking feeling when your shiny new dishwasher…
How to Replace a Dishwasher Door Cable in Under 20 Minutes
There I was, mid-week chaos in my kitchen, and suddenly,…
Comments are closed.