Have you ever opened your dishwasher after what you thought was a complete cycle only to find your plates and glasses still dripping wet? It’s frustrating, isn’t it? I remember one particular evening, after a long day, I eagerly unloaded my dishwasher, only to be greeted by a puddle of water pooling at the bottom and dishes that looked like they had just come out of a rainstorm. That moment of disappointment was a real lightbulb for me.
The Hidden Culprit in Your Dishwasher
At first, I thought it was a faulty heating element or maybe a clogged drain. But after some digging and a bit of trial and error, I discovered that the real reason my dishes weren’t drying wasn’t what I expected. It was a simple oversight during installation or maintenance—specifically, an improperly set drain hose or a missing high loop. These small details can make a huge difference in the efficiency of your heat cycle and drying process.
Is It Worth the Hassle to Fix Small Installation Errors?
Early on, I made the mistake of overlooking the importance of correct hose positioning, thinking it was a minor detail. Turns out, that small oversight was causing my dishwasher to underperform. Proper installation, including ensuring the drain hose is looped at the correct height, is crucial for optimal drying results. Neglecting this can void your warranty or lead to more serious issues down the line. For a comprehensive understanding of what parts might be contributing to your washing woes, check out when to replace dishwasher parts.
Are you facing a similar problem? If so, don’t worry—you’re not alone. Many homeowners encounter this issue, and the good news is that most can be resolved with some attention to detail and proper maintenance. Let’s dive into why this happens and how you can fix it once and for all.
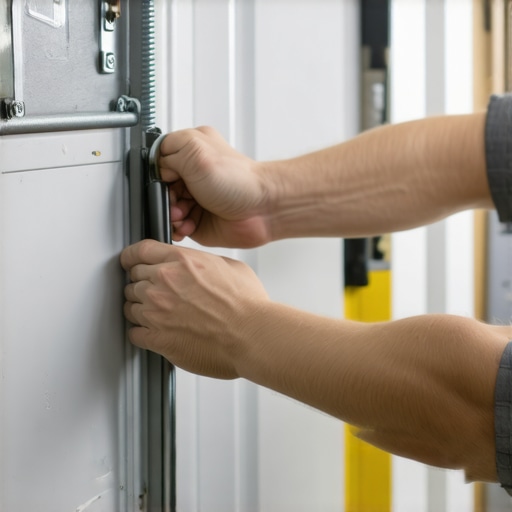
Inspect and Correct Drain Hose Placement
Start by unplugging your dishwasher and pulling it out to access the drain hose underneath. Check if the hose is looped at the appropriate height—typically, a high loop about 32 inches above the floor is required to prevent drainage issues and ensure proper drying. I once had a misrouted hose that was barely above the floor, causing the water to siphon back and impair drying. To fix this, secure the hose with a clamp and create a proper high loop, following the guidelines in this detailed article.
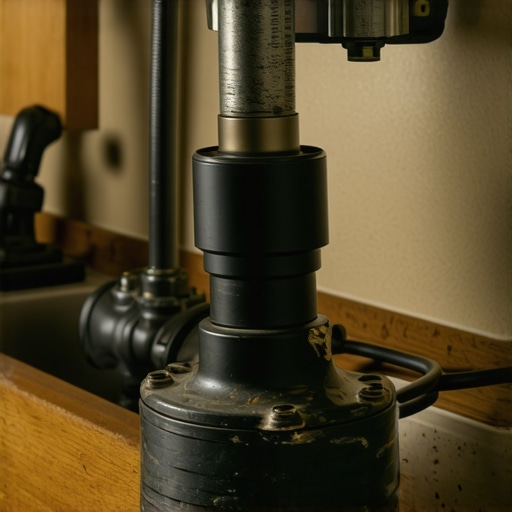
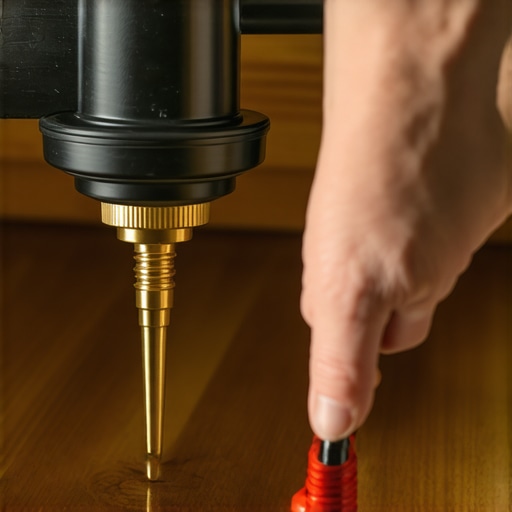
Use a Brass Elbow Fitting for Durability
Replacing plastic fittings with a brass elbow can significantly enhance your installation’s longevity and reduce leaks. I learned this the hard way when a plastic elbow cracked after a year. Upgrade with a brass one from this guide. Brass fittings resist corrosion, ensuring a secure connection that supports optimal heat and air circulation for drying.
Verify Proper Leveling and Stability
A dishwasher that’s uneven or unstable can hinder water drainage and cause poor drying. Use a bubble level to check the unit, and adjust the leveling feet accordingly. I once ignored a slightly tilted dishwasher that, over time, developed leaks and poor drying performance, prompting me to learn about this important step. Proper leveling promotes even water flow and improves heat circulation during drying cycles.
Inspect Filter and Turbidity Sensor
A clogged filter or dirty sensor can mislead your dishwasher into ending cycles prematurely, leaving dishes wet. Remove the spray arm and clean the filter thoroughly with warm, soapy water. I once ignored this for months, resulting in persistent residual water. Regular cleaning is essential; consult this resource to identify critical parts. Additionally, check the turbidity sensor for buildup, and clean with a soft cloth to restore its function.
Check for Proper Ventilation and Door Seal
An airtight door seal prevents warm, moist air from escaping, directly impacting drying efficiency. Examine the gasket for cracks or debris and replace if necessary. I found that grime buildup on the seal was trapping moisture, which I remedied by cleaning with vinegar and a soft brush. For detailed steps, see this guide. Ensuring proper sealing and ventilation guarantees that heat remains inside during the drying cycle, leading to better results.
Upgrade or Replace Heating Elements
If your dishwasher’s heating element is malfunctioning or failed, it won’t dry dishes properly. Use a multimeter to test for continuity; if no continuity is present, replacement is necessary. I had my heating element tested and replaced after noticing no heat during cycles, which dramatically improved dry performance. For parts and detailed instructions, visit this resource. Regular maintenance and timely replacements can prevent longer-term issues that void your warranty.
Maintain and Prevent Future Problems
Regularly clean filters, inspect hoses, and check seals to keep your dishwasher operating at peak performance. Implement routine maintenance to avoid costly repairs, and document your work with photos if needed for warranty claims, as outlined in this article. Separately, understanding the role of each part—like drains, sensors, and heaters—is crucial for troubleshooting and maximizing your warranty benefits. Proper care prevents breakdowns and keeps your dishes dry after every cycle.
Many homeowners assume that selecting the cheapest parts or neglecting proper installation practices won’t impact their dishwasher’s performance or warranty coverage. However, this is a misconception that can lead to costly repairs and voided warranties. For instance, using substandard drain hoses or ignoring the importance of correct hose looping can cause drainage issues that invalidate warranty claims. According to experts at this guide, choosing quality parts isn’t just about longevity—it’s a strategic move to safeguard your warranty coverage.
Could Overlooking Small Details Cost You Your Coverage?
Absolutely. One of the most overlooked aspects is the proper installation of drain hoses and fittings. Many homeowners think that once a dishwasher is installed, their work is done. But improper high loops or incompatible fittings can create siphoning problems or leaks, which may be misinterpreted as damages caused by user error. Interestingly, a study highlighted in this article emphasizes that minor installation oversights are the leading causes of warranty claims denial. Consequently, paying attention to detail during installation is critical for maintaining warranty integrity.
Another common myth is that all replacement parts are created equal. In reality, using generic or incompatible parts—like plastic elbows instead of brass—can accelerate wear and tear, ultimately leading to more frequent breakdowns. A beneficial practice is to refer to OEM recommended parts, which are designed to meet the specifications necessary for optimal performance and warranty compliance. For expert advice on selecting parts, explore this resource.
Why the Details Matter in Long-Term Performance
Advanced users know that the positioning and quality of installation components influence not just initial performance but also long-term durability. For example, a poorly leveled dishwasher or a misrouted drain hose might not cause immediate issues but can lead to leaks or drainage problems down the line. Regularly inspecting and adhering to proper instillation guidelines, like those outlined in this checklist, helps prevent small mistakes from becoming major failures.
Remember, manufacturers often specify that proper parts and installation practices are prerequisites for warranty eligibility. Ignoring these can leave you paying out-of-pocket for repairs that could have been covered. So, don’t underestimate the significance of small nuances—investing in quality and following precise procedures pays off in the long run. If you’d like to dive deeper into the intricacies of warranty policies and what parts are covered, check out this comprehensive guide.
Have you ever fallen into this trap? Let me know in the comments. Paying attention to these hidden nuances can save you time, money, and frustration in maintaining a reliable dishwasher that performs optimally for years to come.
,
Keeping It Working: Tools and Techniques
Maintaining your dishwasher’s optimal performance over time requires precision tools and disciplined habits. As a homeowner who values longevity and peace of mind, I rely on a handful of specialized equipment and methods that ensure my appliance keeps running smoothly. First, a quality multimeter is indispensable for diagnosing electrical components like heating elements and sensors. I personally prefer models with true RMS capability, such as the Fluke 115, because they provide accurate readings even on complex circuits. These allow me to quickly identify faulty parts during routine maintenance or troubleshooting, saving time and preventing unnecessary replacements.
Next, a detailed service manual specific to your dishwasher model is crucial. I keep printed copies from the manufacturer’s website, which include wiring diagrams and troubleshooting steps. Having this information handy simplifies diagnosis and guides appropriate repairs, reducing the risk of voiding your warranty. I also recommend regularly checking for signs of wear on parts like door seals, filters, and hoses.
For cleaning, I exclusively use soft brushes and microfiber cloths to prevent scratches on sensors and delicate surfaces. Cleaning the turbidity sensor, for instance, can dramatically improve cycle accuracy, which directly impacts drying performance. A soft, lint-free cloth dampened with a mixture of warm water and vinegar allows me to remove grime without risking damage.
Predicting Future Trends in Dishwasher Maintenance
Looking ahead, I predict an increase in smart diagnostics and IoT integration, enabling homeowners to receive real-time alerts about potential issues before they escalate. Apps linked to dishwasher systems could offer step-by-step troubleshooting guides based on error codes, much like how modern appliances currently provide diagnostic data. This evolution will make ongoing maintenance more accessible, reducing costly repairs and extending service life.
How do I Keep My Dishwasher in Top Shape Long-Term?
Establishing a routine maintenance schedule is vital. Regularly inspecting and cleaning parts such as filters, spray arms, and seals prevents buildup and corrosion. Using proper parts during installation and replacement ensures longevity. Investing in high-quality fittings like brass elbows, for example, can prevent leaks that undermine performance and warranty coverage. And don’t forget to record your maintenance activities — photos and logs can be invaluable when submitting warranty claims or troubleshooting future issues.
Finally, always keep a basic set of repair tools, including screwdrivers, pliers, and a silicone gasket scraper. These enable DIY fixes that prolong your dishwasher’s lifespan without immediate professional help. For more detailed guidance on maintaining your appliance, I recommend reviewing this comprehensive resource.
Be proactive with your maintenance to avoid unexpected breakdowns, and consider integrating smart sensors and diagnostic tools in your renovation plans. Small investments in quality tools and habits today can lead to significant savings and performance benefits tomorrow. For instance, testing your heating element with a multimeter once a year can prevent inefficient cycles and potential damage, safeguarding your warranty coverage. Give it a try this weekend and notice the difference in your dishwasher’s reliability.
What I Wish I Knew Before Tossing in That First Load
One of the biggest lessons I learned is that paying attention to tiny installation details, like high-loop hoses and proper fittings, can prevent months of frustration. Overlooking these aspects led me to unnecessary repairs, but once I understood their importance, my dishwasher’s performance and warranty coverage improved significantly. Remember, those small steps safeguard your investment and keep your appliances working smoothly for years.
My Secret List of Must-Have Tools and Resources
Having a reliable diagnostic multimeter and a detailed service manual revolutionized how I maintain my dishwasher. I also swear by high-quality brass fittings to avoid leaks and the specialized tools for installation. These resources and tools not only save money but empower me to troubleshoot confidently, ensuring my warranty stays intact.
Why Small Details Will Change How Long Your Dishwasher Lasts
From leveling the unit to correctly looping the drain hose, I discovered that it’s often the small, overlooked details that cause long-term damage or void warranties. Regular inspections and proper installation practices have prevented costly repairs and improved my dishwasher’s efficiency. Investing a little extra time now pays dividends by extending the life of your appliance and maintaining warranty coverage.
Are you curious about specific parts that matter most? Dive into this guide to understand how each component contributes to your dishwasher’s health and warranty eligibility.
Related Posts
How to Replace a Snapped Door Spring in Ten Minutes
Ever had that gut-wrenching moment when you open your dishwasher…
How to Spot a Failing Drain Pump Before Your Kitchen Floods
Ever had that sinking feeling when you open your dishwasher…
The 10-Cent Fix for a Noisy Drain Pump
Ever stood in your kitchen, hearing that relentless grinding or…