I remember the moment clearly—my dishwasher suddenly leaked during the middle of a busy week. Water pooled beneath the cabinet, and my heart sank. It was a small crack in a plastic hose, a classic oversight that I later learned many DIY installers make early on. That lightbulb moment made me realize how much I had underestimated the importance of choosing the right hoses. Since then, I’ve become a firm advocate for braided stainless steel hoses, and I want to share why they might just save you from a similar headache.
Protect Your Home from Unexpected Water Damage
It’s shocking how a tiny, seemingly insignificant part can cause major issues. Plastic hoses are often cheaper initially, but their fragility and susceptibility to cracking or bursting under pressure make them a risky choice. I discovered that braided stainless steel hoses are far more durable and resistant to typical wear-and-tear—plus, they can handle higher water pressures without cracking. This added resilience can prevent leaks that lead to expensive repairs or damage to your flooring and cabinetry.
Is the hype about stainless steel hoses really justified?
Believe me, I was skeptical at first. I thought, “Isn’t this just overhyped marketing?” Well, early in my installation process, I made the mistake of reusing an old plastic hose, thinking it would suffice. Within a few months, it showed signs of wear—including tiny cracks that could have turned into catastrophic leaks. Changing it out for a braided stainless steel hose was one of the best decisions I made. According to experts, stainless steel hoses can last up to 5 times longer than their plastic counterparts—impressive durability that pays off over time.
Start with the Correct Tools and Parts
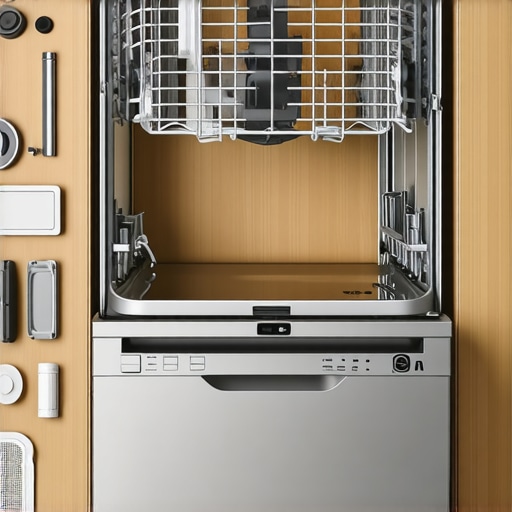
Gather high-quality braided stainless steel hoses, adjustable wrench, plumber’s tape, and safety gloves. Using inferior parts or tools can lead to improper connections, increasing leak risks. I once attempted to reuse an old plastic hose during installation, which resulted in a small leak that could have been avoided by choosing the right parts from the start. Always opt for new, certified hoses to ensure durability and compatibility.
Prepare Your Space Thoroughly
Clear the area beneath the dishwasher and shut off the main water supply. Remove any debris or old hoses. This step prevents dirt from contaminating new connections and gives you clear access, reducing installation errors. I recommend reviewing your cabinet’s plumbing setup beforehand to ensure the hoses will fit correctly, avoiding last-minute adjustments.
Connect the Inlet Valve First
Attach the inlet hose to the water inlet valve, wrapping plumber’s tape around the threads to prevent leaks. Tighten with an adjustable wrench, but avoid over-tightening to prevent damaging the fittings. When I installed my new dishwasher, I double-checked the connection with the leak test early in the process to catch any issues before completing the full installation.
Check the High Loop Placement
Ensure the inlet hose has a high loop—a U-shaped bend elevated above the flood level. This prevents backflow contamination. I used a temporary zip tie to hold the hose in place while testing, then secured it permanently once I confirmed no leaks or kinks. Proper positioning here is crucial for maintaining warranty compliance, as improper loops can void coverage.
Attach the Drain Hose Securely
Connect the drain hose to the drain outlet, ensuring it is also looped approximately 32 inches high to prevent siphoning. Use a clamp to prevent slipping. I once neglected this step, which caused drainage issues during my first load—learning the importance of proper drain setup saved me time and potential water damage repairs. For detailed guidance, consider reviewing parts to check during installation.
Verify Tightness and Test for Leaks
Before fully sealing everything, turn on the water supply and run a short cycle to check connections. Use paper towels around fittings to detect leaks early. I found that a slight readjustment of the inlet connection stopped a persistent drip, preventing future water damage. This step is critical, as loose fittings are a common cause of post-installation leaks.
Document Your Installation Process
Take photos of all connections and compile receipts for parts purchased. This documentation can be vital during warranty claims or troubleshooting. I kept detailed records, which proved invaluable when I needed to verify professional installation for my warranty service. For more tips on safeguarding your warranty, see this guide.
Final Check and Cleanup
Double-check all fittings for tightness, clear the area of tools, and run a complete cycle to ensure everything functions correctly. Proper cleanup not only prevents trip hazards but also ensures no tools are left behind that could damage the new hoses. Remember, continued monitoring over the first few cycles helps catch issues early, extending the life of your installation.
Many homeowners believe that choosing the right parts and proper installation guarantees worry-free dishwasher operation, but the truth is more nuanced. One common misconception is that all parts are created equal; in reality, using generic or third-party components can sometimes void your warranty or cause costly damage. Experts recommend selecting certified parts, like those detailed in top tips for part selection, to ensure longevity and compliance.
Another critical aspect often overlooked is the significance of correct installation practices. Even small errors, such as improper high loop placement or loose fittings, can lead to leaks or component failure down the line. A frequent mistake is reusing old hoses, which may seem economical but significantly increases the risk of bursts or leaks. As highlighted in this article, investing in new hoses is a smarter choice.
A particularly insidious trap involves misunderstandings about warranties. Many assume that any repair or part replacement is covered, but warranty policies are often limited or exclude certain damages. For instance, improper installation can void your warranty entirely, leaving you unprotected when issues arise. To verify your coverage, check your warranty policy.
A hidden nuance that deserves attention is the importance of documentation. Taking detailed photos and keeping receipts can be decisive if you need to file a claim or prove professional installation, especially since many issues stem from minor oversights. Remember, a well-documented process can make the difference between a covered repair and a costly out-of-pocket expense.
Make sure to avoid these pitfalls by selecting high-quality parts, following proper installation procedures, and understanding your warranty coverage. Don’t forget to routinely inspect hoses and fittings to catch early signs of wear. For comprehensive guidance, visit this resource.
Have you ever fallen into this trap? Let me know in the comments! Your experiences can help others avoid costly mistakes and keep their dishwashers running smoothly for years.Maintaining your dishwasher’s peak condition over time requires more than just minimal care; it involves using the right tools and adopting effective methods that ensure long-term reliability.
Choosing Precision Tools for Reliable Repairs
One of my go-to tools is a high-quality digital leak detector, like the RIDGID Digital Leak Finder. Unlike traditional methods, it can locate even the smallest leaks behind cabinetry without tearing everything apart. To diagnose issues accurately, I also rely on a multimeter capable of testing the continuity of electronic components, which helps identify faulty control boards before replacing entire units. These tools give me confidence that repairs are precise and prevent unnecessary part replacements.
The Power of Diagnostic Software
For those keen on tech, integrating diagnostic apps designed for smart appliances can be game-changing. These applications interface with your dishwasher, pulling error logs and operational data, so you can spot emerging problems early. I recommend tools like the Whirlpool Diagnostic App, which connects via Wi-Fi, giving detailed insights. Tracking data over time allows you to recognize patterns—say, frequent inlet valve failures—that hint at underlying issues like water quality affecting parts lifespan. Continual monitoring with these tools enables proactive maintenance, ultimately extending your dishwasher’s longevity.
Implementing Effective Maintenance Routines
Regularly inspecting and cleaning key components such as filters, spray arms, and inlet valves is vital. I suggest scheduling monthly visual inspections with a flashlight and a mirror, especially for hard-to-see areas. Using a toothbrush or small brush to remove debris minimizes wear and prevents clogs. I also recommend placing a small amount of food-grade vinegar in the detergent dispenser once a month—this naturally dissolves mineral deposits and keeps sensors clean. These small steps can greatly reduce breakdowns, saving money and preventing water damage.
Predicting Future Trends in Appliance Care
The future of dishwasher maintenance looks towards automation and AI integration. Expect diagnostic tools that not only alert you of issues but also suggest corrective actions or even predict failures before they happen. Advanced sensors could monitor water quality and adjust parameters automatically, prolonging part life. Staying ahead means investing in smart diagnostics now—it’s an approach that’s catching on among DIY enthusiasts and professionals alike.
How do I keep my dishwasher running smoothly over the years?
To maintain your dishwasher’s performance long-term, focus on routine inspections, using precision tools like leak detectors and diagnostic apps, and staying informed about technological advances. When problems arise, diagnosing early with proper tools prevents costly repairs later. Remember, investing in quality parts and regular care pays off by reducing warranty issues and extending service life. For detailed guidance on troubleshooting, see this resource. Try setting a monthly check schedule and employ a digital leak detector—these steps can make a significant difference in your appliance’s lifespan.
Lessons the Toughest Leaks Taught Me About Reliable Installation
One unexpected leak pushed me to realize that even tiny details—like the high loop placement—can prevent major water damage. Over-tightening fittings seemed harmless until I saw the cracks forming in my plastic hoses. I learned that every step, from choosing durable braided stainless steel hoses to verifying proper connections, has a ripple effect on long-term performance.
Tools and Resources That Changed My Approach to Dishwasher Care
Investing in a digital leak detector and diagnostic apps was a game changer. These tools provided early warnings and deeper insights, helping me catch issues before they escalated. For anyone serious about home appliance longevity, tools like the RIDGID Leak Finder and the Whirlpool Diagnostic App are worth exploring. Additionally, consulting resources such as this guide deepened my understanding of critical parts.
The Power of Mindset and Action in Maintaining Your Dishwasher
Taking proactive steps—scheduled inspections, timely part replacements, and documenting every detail—transformed my maintenance routine. It’s easy to overlook minor signs; I’ve learned to trust my vigilance and tools over assumptions. Remember, a little effort today saves you from costly repairs tomorrow. Keep your dishwasher running smoothly by staying informed and attentive, and your home will thank you for it.
Related Posts
The Replacement Parts Every Dishwasher Owner Should Keep on Hand
There was a morning not long ago when I opened…
The $15 Sensor That Fixes Your ‘Empty Water’ Error Code
If you've ever been halfway through a cycle only to…
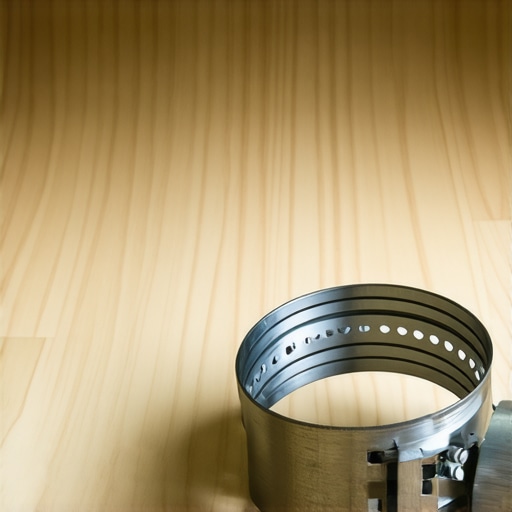
The $5 Drain Hose Clamp That Saves Your Kitchen Floor
It happened on a hectic Saturday morning. I was hurriedly…