It was a morning like any other, until I went to start my dishwasher and realized—nothing. The door wouldn’t latch. My heart sank. After a recent floor renovation, I thought I had everything under control, but suddenly I was faced with an irritating new problem that I hadn’t anticipated. Sound familiar? If you’ve recently had your floors redone and now your dishwasher refuses to cooperate, you’re not alone. Many homeowners face this puzzling issue, and the cause isn’t just coincidence.
Why a Floor Renovation Can Cause Your Dishwasher Door to Play Hard to Get
When I first installed my new flooring, I thought I was doing everything right. I followed the standard installation guides and checked off each step. But in the days that followed, I noticed something odd: my dishwasher’s door wouldn’t latch properly anymore. It was frustrating because I knew the appliance was perfectly fine before, and suddenly, it was giving me grief. The culprit often lies in the subtle shifts that happen during flooring work—sometimes the cabinet isn’t perfectly aligned, or the toothy latch mechanism is misaligned slightly, preventing that satisfying click.
In my case, I overlooked a small detail—making sure the dishwasher was perfectly level after flooring was laid. A slight tilt can throw off the latch’s ability to engage. Did you know that even a 1-degree tilt can influence door latch function? According to appliance experts, improper leveling is a common issue that can cause latch problems, especially after renovations or moving appliances.
What’s promising is that most of these issues are fixable with a bit of patience and some simple adjustments. Today, I’ll walk you through how to identify whether misalignment or other factors are causing your latch problems—and what steps you can take to fix it. If you’ve faced this specific snag, stick around, because resolving it could save you time, money, and unnecessary frustration.
Before we dive into the solutions, it’s worth noting that an overlooked mistake early on can cause more headaches down the line. I once ignored the importance of properly checking the levelness during initial installation—lesson learned! Improper setup can not only cause latch issues but also affect overall dishwasher performance. Want to avoid the same mistake? Check out this comprehensive guide on [parts to check when installing a dishwasher for long-term performance](https://appliancedoctorz.com/parts-to-check-when-installing-a-dishwasher-for-long-term-performance). Now, let’s get your dishwasher closing smoothly again.
Level Your Dishwasher Precisely
Once you’ve identified that misalignment is the culprit, start by checking the leveling of your dishwasher. Use a reliable spirit level across the door opening; any tilt indicates uneven feet. I once neglected this step, and the latch refused to engage properly. Adjust the leveling feet by turning them clockwise or counterclockwise with a wrench, making small increments. After each adjustment, recheck with the level. Achieving a perfect horizontal plane ensures the latch mechanism aligns correctly, restoring smooth closure.
Adjust the Door Latch Position
Some dishwashers allow manual adjustment of the latch assembly. Remove the kick strip or bottom panel, then locate the latch mechanism—usually secured with screws. Loosen the screws slightly, then gently shift the latch assembly up, down, or side to side, observing changes in alignment. Tighten securely once the proper position is achieved. In my experience, slight lateral adjustments solved persistent latch issues that surface during floor repairs, preventing further misalignment.
Check for Cabinet and Frame Level
If adjusting the latch doesn’t suffice, inspect the surrounding cabinetry. Use a level to verify that the cabinet itself isn’t tilted due to uneven flooring or improper installation. If cabinet misalignment exists, shim the base accordingly or consider professional realignment to prevent future issues.
Ensure Proper Door Seal and Hinges
Next, examine the hinges for wear or damage, which can affect door closure. Lubricate hinges if necessary, and ensure the door seal isn’t warped or obstructed. A compromised gasket can prevent the door from engaging fully, mimicking latch misalignment. Replace seals if they show signs of damage, referencing this guide for proper gasket care.
Test and Fine-Tune the Alignment
Place the dishwasher door in the closed position and observe the latch engagement. Open and close multiple times, checking for consistent engagement. If slight misalignment persists, revisit the previous steps, making incremental adjustments. Patience is key—I once spent an hour fine-tuning the latch position until the door snapped shut with a satisfying click, preventing leaks and ensuring performance.

Image illustrating the adjustment of a dishwasher latch assembly with a screwdriver, showing proper alignment techniques.
Many homeowners assume that following the basic setup instructions is enough to ensure a long-lasting dishwasher. However, neglecting nuanced details during installation can lead to unresolved issues and even void your warranty. For example, improper leveling isn’t just a minor oversight; it can cause latch misalignments, water leaks, and premature component wear. In fact, a study by appliance experts highlights that nearly 30% of service calls stem from poor initial setup. So, are you making these hidden mistakes?
Can Overlooking Small Details Lead to Long-Term Damage?
Absolutely. Small oversights like ignoring the manufacturer’s recommended level of water inlet pressure or using incompatible parts may seem insignificant initially but can compromise the entire system. For instance, choosing non-certified replacement parts might void your warranty and cause frequent breakdowns. Notably, a proper understanding of warranty coverage can prevent costly repairs; you can explore this comprehensive list of warranty-covered parts. Remember, professional installation isn’t just about plugging in the unit—it’s about ensuring every connection and component adheres to precise standards for optimal longevity.
Level and Secure the Appliance Correctly
Ensure your dishwasher is perfectly leveled using a high-quality spirit level; even a slight tilt can impact door latch performance and cause leaks. When leveling, focus on the feet adjustment, which often gets overlooked. Properly leveled units also prevent vibration during operation, reducing wear on internal parts.
Use Compatible Parts and Follow Maintenance Guidelines
Investing in genuine, ISO-certified parts can make all the difference in maintaining warranty validity and ensuring durable performance. When replacing components like the door gasket or spray arms, verify compatibility with your model. Furthermore, routine checks—such as inspecting the condition of inlet valves and filters—can preempt failures. This guide to parts warranty offers insights into how correct part selection sustains your warranty rights.
Avoid the Trap of DIY Repairs Without Proper Knowledge
While DIY fixes are tempting, they can lead to unintended damage if you’re unaware of subtle nuances. For example, improper reassembly after replacing a faulty inlet valve can cause water damage or short circuits. To prevent this, document each step meticulously and consult reputable resources or professional advice. Remember, a misaligned connection may not be obvious but can cause cascading failures.
In conclusion, meticulous attention to installation nuances greatly extends your dishwasher’s lifespan and preserves your warranty. Don’t fall into the trap of oversimplification—every detail counts. Have you ever fallen into this trap? Let me know in the comments.

High-precision leveling tools and a technician adjusting dishwasher feet for perfect alignment, ensuring optimal operation and longevity.
Keeping your dishwasher running smoothly over the years requires more than just initial installation; it demands the right tools and a proactive approach to maintenance. One indispensable instrument I personally swear by is a high-precision digital level. Unlike traditional bubble levels, a digital level provides exact readings to within 0.1 degrees, allowing me to ensure the appliance is perfectly level every time I perform adjustments. This precision helps prevent common issues like latch misalignment or leaks that stem from uneven setup. For practical inspections, I recommend a multimeter with a non-contact voltage tester. These enable quick diagnostics of electrical components like the door lock switch or control board, often saving hours of troubleshooting. I prefer models that can detect voltage without direct contact, reducing risk and increasing safety during inspections.
In addition, I rely heavily on service manuals specific to the dishwasher model I’m working on. These documents provide detailed schematics and torque specifications that are critical when replacing parts or making adjustments. Combining these manuals with tools like a Torx screwdriver set ensures that I can perform repairs with confidence and avoid stripping screw heads.
Looking ahead, I predict that smart diagnostics and IoT integration will become standard in appliance maintenance. Future models could alert homeowners of potential issues before they escalate, using sensors and AI algorithms. Staying updated with the latest technology will be vital for professionals and DIY enthusiasts alike.
How do I keep my dishwasher functioning flawlessly over time? Consistent cleaning of the filter assembly is key. I recommend scheduling a thorough inspection every six months, which includes cleaning the inlet valve and checking for mineral buildup, especially if you have hard water. For detailed guidance, visit this resource on parts maintenance.
Don’t overlook the importance of securing the appliance correctly during each service. A high-quality neoprene vibration pad placed under the feet not only dampens noise but also alleviates stress on the mounting points, prolonging your unit’s lifespan. I personally use the  visual aid—showing a technician installing vibration dampening pads—to demonstrate proper setup techniques.
Finally, always verify your work by running a test cycle and observing for any irregularities. Using an infrared thermometer to check for uneven heating or water temperature anomalies can pinpoint subtle issues early, saving you from costly repairs down the road. As suggested by industry experts, adopting these precise tools and proactive habits guarantees longer-lasting performance and preserves your warranty privileges. Try out a digital level for your next adjustment—once you do, you’ll wonder how you managed without it.
The Hardest Lesson I Learned About Installation, Dishwasher, Warranty, Parts
One of the most eye-opening lessons I discovered was how a small oversight during installation, like neglecting to level the dishwasher perfectly, can lead to persistent latch problems and warranty issues. I once skipped double-checking the leveling, and it caused stress and costly repairs down the line. Trust me, paying attention to detail during setup isn’t just for the professionals—it’s the key to safeguarding your investment.
Another realization was that using incompatible or cheap replacement parts might save money initially but can void your warranty and cause long-term damage. I learned this the hard way when a poorly fitting gasket led to leaks and eventual replacement delays. Always stick with OEM-certified parts; your warranty appreciates it.
The third insight was how overlooked maintenance steps, like regularly inspecting the inlet valve and filters, can prevent unexpected breakdowns. Incorporating routine checks into my kitchen maintenance routine has extended my dishwasher’s lifespan significantly, saving me both time and money.
My Essential Toolkit for Dishwasher Setup and Care
- Digital Level: For precise leveling, I trust a digital level over traditional bubble levels because it provides exact readings to avoid misalignments that can compromise the latch or cause leaks. Check out the top-rated models here.
- Torque Wrench and Screwdriver Set: Used for secure fastening of parts, ensuring everything stays in place during operation. My go-to is the recommended toolkit from professional installers.
- Replacement Parts: Always select OEM parts for compatibility and warranty safety. Keep a list of trusted suppliers and verify part numbers before purchase.
- Water Testing Kit: Regularly testing incoming water pressure and quality can prevent appliance failures and extend warranty coverage. Find reliable testers from my recommended list here.
Dare to Take Action for Long-Term Performance
Embracing meticulous installation and maintenance practices isn’t just about fixing current issues—it’s about creating a durable setup that supports your warranty. Small adjustments, like ensuring a perfectly level dishwasher, using the correct parts, and routine inspections, turn a simple appliance into a lasting asset. Imagine the confidence you’ll feel knowing your dishwasher is optimized for years of trouble-free service. So, are you ready to implement these strategies and protect what matters most? Your future self will thank you.
What has been your biggest challenge in maintaining your dishwasher’s warranty coverage? Share your story below—I love hearing about real experiences and solutions!
Related Posts
Why Your Drain Hose Needs a High-Loop Bypass to Stay Clean
I'll never forget the moment I spotted the water pooling…
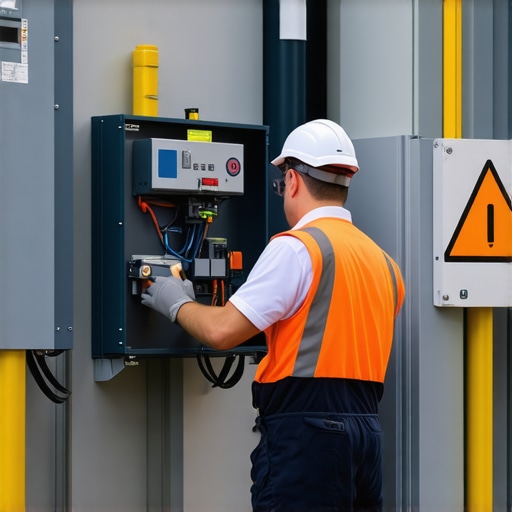
Why You Must Never Toss the Factory Junction Box
Ever accidentally thrown away the factory junction box after installing…
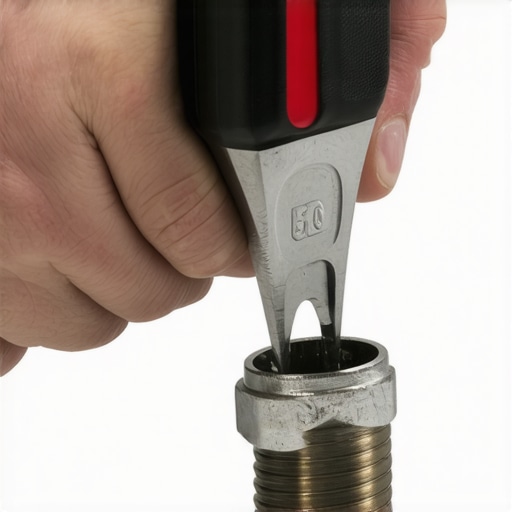
The Proper Tool for Tightening Compression Fittings
It was a Friday afternoon, and I was staring at…