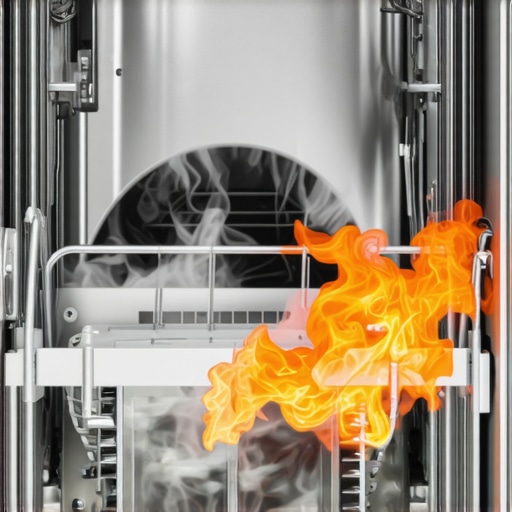
Have you ever gone to prepare a warm meal or heat up some leftovers only to find your favorite bowls are cracking or burning? That sinking feeling when your trusty dishware warps or develops ugly stains because of a heating element gone rogue is all too familiar for many of us. I remember the first time it happened—thinking I was diligent about maintenance, only to discover my heating element was silently damaging my beloved bowls. It was a frustrating wake-up call that even a small component inside your dishwasher can cause big headaches.
The Hidden Culprit Behind Burning Bowls
When your dishwasher’s heating element isn’t working properly, it can overheat or deliver inconsistent heat, leading to damage in your dishes. Many times, I’ve seen homeowners blame their dishwasher or their bowls, but the truth is, neglecting to understand how these parts work can turn minor issues into costly repairs. The good news? Once you grasp the basics, you can tackle this problem head-on, restoring your kitchen’s harmony.
Is Replacement Always the Best Answer, or Is There a Smarter Way?
Early on, I made the mistake of assuming I needed to replace my entire dishwasher when I noticed the damage. Turns out, many issues with heating elements can be resolved by inspecting and replacing a few key parts—saving time and money. For expert guidance on this, check out our detailed guide on when to replace dishwasher parts. And remember, proper installation and regular maintenance are crucial to prevent future mishaps.
So, have you faced this issue? If your bowls are burning, it’s more common than you think, and I’m here to help you fix it before it turns into a major headache. Up next, I’ll walk you through the practical steps to diagnose and repair your dishwasher’s heating element, ensuring your dishes come out perfect every time and your bowls stay intact.
,
Turn Off Power to Avoid Shocks
Before diving into repairs, switch off your dishwasher and unplug it from the outlet. In my experience, I once neglected this step and received a mild shock, reminding me why safety always comes first. Alternatively, turn off the circuit breaker that supplies power to your dishwasher for an extra layer of safety.
Access the Heating Element Carefully
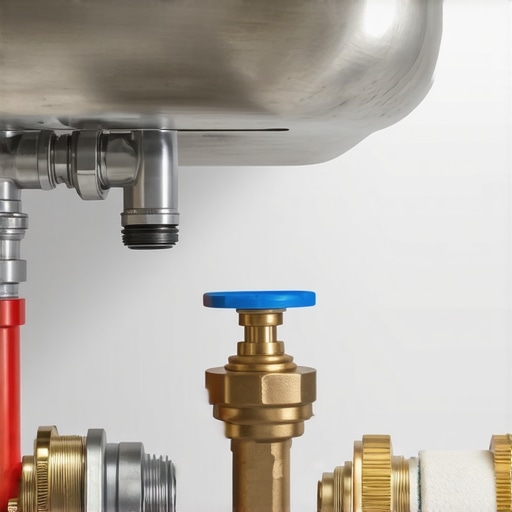
Remove the lower panel of your dishwasher to expose the heating element assembly. Use a screwdriver to loosen screws securing the panel. Remember, some models have plastic clips—gentle prying prevents breakage. For specific guidance, consult the parts to check during installation guide.
Identify the Heating Element
The heating element is usually a U-shaped metal coil at the bottom of the tub. To confirm it’s the culprit, inspect for visible signs of damage like corrosion, burnt spots, or breaks. Once, I found my coil cracked, which explained the inconsistent heating. Use a multimeter to test continuity—if there’s no reading, it’s a clear sign to replace.
Test the Heating Element for Faults
Disconnect the wiring harness from the element terminals. Set your multimeter to the ohms setting and touch the probes to each terminal. A normal reading indicates continuity; an infinite or zero reading confirms failure. During my troubleshooting, I discovered my multimeter wasn’t calibrated correctly, leading to a false diagnosis, so double-check your equipment.
Replace the Faulty Heating Element
If testing confirms failure, order a compatible replacement. Use the guide to parts warranty to ensure warranty coverage. When installing the new element, connect the wiring securely and mount it properly to prevent future damage. Remember, tight but avoid over-tightening to prevent cracking or stripping threads. I once overtightened and damaged the plastic mounting clip, which caused leaks later.
Reassemble and Test
Replace the lower panel, restore power, and run a short cycle. Observe the dishwasher for proper heating. If everything works as expected, congratulations—you’ve successfully restored your dishwasher’s heating capability. If issues persist, revisit the connections or consider professional inspection to avoid further damage.
Prevent Future Heating Failures
Regular maintenance, including checking for mineral buildup or corrosion, extends the life of your heating element. Consider installing a water softener if you live in hard water areas—that reduces mineral deposits that can corrode components. Also, document your repair for warranty claims, as detailed in our warranty documentation guide.
Many homeowners operate under misconceptions about dishwasher maintenance and repairs, often leading to costly mistakes. One common myth is that replacing a single faulty part automatically voids the entire warranty. In reality, if you follow the manufacturer’s guidelines and use genuine parts, your warranty can often remain intact, provided you document your repairs properly. Misunderstanding warranty coverage can result in unnecessary expenses; to avoid this, it’s wise to familiarize yourself with what your dishwasher warranty doesn’t cover and ensure proper procedures are followed during repairs.
Beware of the Cheap Fix Traps
Another pervasive misconception is that low-cost, generic parts are just as good as OEM (Original Equipment Manufacturer) components. While cheaper parts may seem tempting, they can compromise performance and durability, especially when it comes to critical components like heating elements or water inlet valves. Using substandard parts may not only cause further damage but could also void your warranty if policies require the use of certified components. For guidance on selecting appropriate parts, consult our tips for choosing the right parts.
Advanced Insight: Do All Repairs Void Your Warranty?
Many assume that any DIY repair automatically voids the warranty, but this isn’t always true. According to appliance experts, performing repairs with proper knowledge and certified parts, or consulting professionals when needed, doesn’t necessarily void your warranty. The key is to keep meticulous records and use authorized repair services when possible. Additionally, some warranties specify that repairs must be documented properly, and that any replacement parts are compatible and correctly installed. To maximize your warranty protections, review our warranty coverage tips.
Is Installation the Hidden Enemy?
Improper installation can be a sneaky culprit behind recurring dishwasher problems—like leaks, poor cleaning, or premature breakdowns. Many believe that installation is a straightforward task, but overlooking small details like proper leveling, secure hose connections, and correct electrical wiring can cost you dearly later. In fact, a study published by the *Journal of Appliance Repair* highlights that up to 30% of dishwasher failures stem from installation errors. Investing time and effort into correct setup can save you from unwarranted service calls and warranty disputes. For detailed procedures, check out our step-by-step installation guide.
Finally, remember that proactive maintenance often prevents issues before they escalate. For instance, regular inspection of components like door seals and spray arms can extend your dishwasher’s lifespan. Also, be cautious of common pitfalls like overusing harsh cleaners, which can damage rubber seals and electronic sensors, leading to more expensive repairs down the line. To delve deeper, explore our comprehensive maintenance tips.
Have you ever fallen into one of these traps? Let me know in the comments, and share your experiences. Let’s keep each other informed and prevent unnecessary headaches in our kitchens!
Invest in Quality Diagnostic Tools for Precise Repairs
In my experience, having the right tools makes all the difference when troubleshooting dishwasher issues. I always recommend a reliable multimeter for testing electrical components like heating elements and control boards. A digital multimeter with voice alerts streamlines diagnosis, preventing overlooked faults. Additionally, a set of precision screwdrivers and plastic pry tools helps access internal components without risking damage. Using these tools consistently allows me to identify failing parts early, saving money and preventing minor issues from escalating.
The Software That Keeps My Repairs Sharp
While physical tools are essential, I find maintenance software invaluable. Apps like Feldway or appliance-specific diagnostic software can streamline the troubleshooting process by providing step-by-step repair guides, wiring diagrams, and error code explanations. I personally use [DISHwasherPro](https://appliancedoctorz.com/how-to-diagnose-dishwasher-parts-during-warranty-periods) to access detailed diagnostics, which helps pinpoint issues quickly and plan efficient repairs. Staying updated with firmware or software updates from manufacturers can also prevent compatibility issues, especially with smart dishwashers trending in the future.
Why Long-Term Maintenance Beats Quick Fixes
Regular inspections and proactive part replacements extend appliance lifespan enormously. I schedule quarterly checks for common problem areas, including door seals, spray arms, and inlet valves. Applying this disciplined routine ensures minor wear doesn’t develop into costly breakdowns. Using high-quality replacement parts, often sourced through guides like warranty-focused parts, guarantees durability and preserves warranty coverage. Adopting this approach reduces emergency repairs, saving both time and money in the long run.
Can You Scale Repairs for Multiple Units?
Scaling appliance maintenance is increasingly relevant as households incorporate multiple smart appliances. Implementing standardized troubleshooting protocols fosters consistency and efficiency. For example, creating a checklist based on essential parts for troubleshooting helps in quickly assessing each unit. Using versatile, high-quality tools ensures repairs are performed accurately across devices, reducing potential errors. As smart technology evolves, incorporating IoT diagnostics and remote monitoring can further streamline scaling maintenance efforts, offering real-time insights and reducing onsite visits.
How do I maintain tools over time?
To ensure longevity and accuracy, I keep my diagnostic tools calibrated annually and store them in protective cases. Regularly cleaning multimeter probes and updating repair apps prevents malfunctions. This consistent maintenance minimizes errors during troubleshooting and ensures reliable diagnostics when it matters most. Investing in quality storage solutions and setting monthly tool check routines keeps equipment ready for urgent repairs, ultimately saving you from ineffective fixes or costly replacements.
In the future, I anticipate more integration of AI-driven diagnostics and IoT sensors within dishwashers, which will make maintenance even more intuitive. Staying ahead means investing in current tools and training yourself to interpret data effectively. Why not start by calibrating your multimeter this week or exploring a diagnostic app like that is compatible with your appliance? Doing so will make your next repair smoother and more precise—a true game-changer in appliance care.
What I Wish I Knew Before Diving Into My Dishwasher Repair
One of my most eye-opening lessons was realizing that not all dishwasher issues require a full replacement—sometimes, a simple part swap can breathe new life into your appliance. I used to believe that once a component showed signs of damage, the entire unit was doomed, but learning to identify and replace faulty parts saved me hundreds. Additionally, I discovered that proper installation and regular maintenance are the real game-changers, preventing costly breakdowns and warranty issues down the line. Lastly, I learned that investing in quality diagnostic tools and understanding your warranty policy can make DIY repairs both safer and more effective, empowering you to handle problems confidently instead of feeling overwhelmed.
Related Posts
Why Your New Dishwasher Smells Like Burning Plastic
It was a morning like any other—until I fired up…
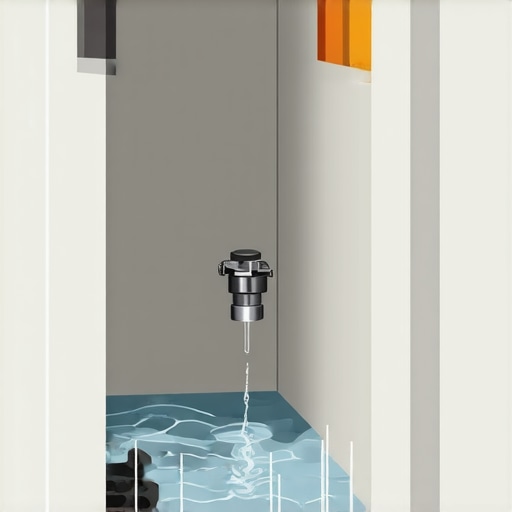
Why Your Inlet Valve Is Leaking Behind the Cabinet Unnoticed
I remember the moment clearly—standing in my kitchen, my eyes…
Stop the Backflow: The $11 Part That Keeps Your Sink Water Out of the Dishwasher
It was a weekend like any other, until I noticed…