
Ever had that sinking feeling when your brand-new dishwasher refuses to drain properly, and you realize you didn’t keep any records of how it was installed? I remember a time when a dishwasher leak caused water damage, and neither I nor the repair technician could pinpoint when or how the installation went awry. That moment was a lightbulb flickering—
why was I so careless about documenting such crucial work?
Why Documenting Your Dishwasher Installation Changes Everything
From my own experience, I’ve learned that keeping detailed records of your appliance installations isn’t just a good habit—it’s a game-changer. When issues pop up, having those notes, photos, or receipts can make the difference between getting warranty service approved swiftly and spending weeks arguing with customer service. Plus, for DIY enthusiasts and homeowners taking on installation projects, it’s the ultimate safeguard against future headaches.
Imagine this: your dishwasher suddenly stops working, and your warranty is on the line. Without proof of proper installation—like photos of your hookup, the parts used, or a step-by-step record—you might find yourself caught in a maze of unclear policies and uncooperative support reps. According to industry experts, documentation significantly increases the chances of successful warranty claims, saving you both time and money (source).
So, why aren’t more homeowners doing this? A lot of us underestimate a simple truth: details matter. If you’ve ever scrambled for a receipt or tried to recall the exact parts you installed months ago, you know how frustrating it can be. That’s precisely what prompted me to start documenting every detail of my projects, and I want the same for you.
Now, you might be wondering if this is worth it. Maybe you’re skeptical, thinking, ‘Will this really save me someday?’ The short answer: absolutely yes. In this post, I’ll walk you through the real benefits of documenting your dishwasher installation and share some practical tips to get you started. Trust me, it’s one thing you won’t regret down the road.
Is Documentation Just Overkill or Actually Worth the Hype?
Early on, I made the mistake of skipping detailed notes after my first DIY install. When issues arose, I had no records to prove what I’d done or what parts I’d used. It turned a simple fix into a drawn-out saga. That experience taught me the importance of simple documentation habits, like taking photos during the install, saving receipts, or maintaining a dedicated journal. If you’ve faced something similar, you’ll understand why this habit is the smartest move you can make now. Want to learn how to make this process effortless? Dive into the upcoming sections to find out!
Get Organized Before You Start
Begin by gathering all relevant materials—receipt, user manual, and any previous installation photos. Think of this as assembling your backup crew before a big project. Having everything in one spot makes subsequent steps smoother and ensures no detail gets overlooked. I once kept everything in a dedicated folder on my phone, which saved me when I needed to verify part specifications later on. For example, during my recent dishwasher upgrade, I snapped photos at each step, making troubleshooting months later a breeze.
Photograph Your Installation Process
Take clear photos of each critical point—connections, wiring, and secure mounting. Use good lighting and focus on details like hose clamps, electrical wiring, and leveling brackets. I recommend capturing multiple angles; a top-down shot of the drain connection, for instance, can clarify for future reference. My mistake was rushing through initial installs without photos—later, when a leak appeared, I spent hours trying to recall how I set everything up. Now, I document every step, turning my process into a visual guide that’s invaluable during warranty claims or repairs.
Note Down Part Details and Installs
Record the model and serial numbers of your dishwasher and parts used, such as hoses, filters, and mounting brackets. Keep a dedicated notebook or digital note with this info—it’s like building a parts inventory. During my last setup, I used a password-protected note app to log each component, including their installation date and supplier. This habit helped me identify compatible replacement parts quickly, especially when I noticed issues with the spray arm. For more detailed guidance on selecting the right parts, check out this resource.
Save and Secure Your Documentation
Store digital copies of receipts, photos, and records in cloud storage or a dedicated hard drive. Label folders clearly—something like ‘Dishwasher 2025 Install’—to find files swiftly when needed. I once kept all my records in a cloud folder linked directly to my phone, so I could access them in seconds during a service call. Additionally, consider printing hard copies for easy access. This comprehensive documentation becomes your safeguard when applying for warranty services or disputing installation issues.
Share and Review Your Records Regularly
Review your documentation once a year, especially if you move or upgrade appliances. Passing this info to future homeowners or tenants can be a courtesy and a smart move for property management. During a recent home sale, I handed over my detailed records and photos, which reassured the buyer and sped up the inspection process. For continued peace of mind, keep your records updated with any repairs or upgrades, and revisit this contact page if you need professional advice.
Keep It Simple, Keep It Useful
The goal is to create a straightforward, reliable archive. Avoid overcomplicating—just consistent, clear records that you update periodically. A quick photo after each step and a brief note about what you did save me hours of pain when troubleshooting a misaligned spray arm months later. Think of your documentation as an insurance policy: the more thorough, the more confident you can be about your install and your warranty rights.
Many homeowners believe that as long as they follow basic installation instructions, their dishwasher’s warranty remains intact. However, this misconception overlooks several critical nuances that can invalidate coverage despite seemingly correct setup. One common myth is that using generic parts or skipping professional installation won’t affect warranty status. In reality, many manufacturers specify that only genuine parts and certified installation practices qualify for coverage, which means cutting corners can silently sabotage your warranty.
Why Do Equipment Makers Care So Much About Installation Details?
They want to ensure proper performance and prevent damage caused by incorrect setup, which can lead to costly repairs and voided warranties. Experts emphasize that even minor deviations—like improper leveling or incompatible parts—can cause long-term issues that aren’t immediately obvious. For instance, using an off-brand inlet valve might seem harmless, but as highlighted in this article, incompatible parts can increase the risk of leaks or component failure, ultimately jeopardizing your warranty rights. Many people neglect to verify the compatibility of replacement parts, assuming standard sizes suffice. Yet, even small mismatches in hose diameter or mounting fittings can create pressure issues or leak paths, which some manufacturers cite as grounds for denying warranty claims. Furthermore, misaligned installation can accelerate wear on internal components, leading to premature failure. This brings us to a crucial point: paying attention to the details during installation isn’t just about performance but also about protecting your legal rights. To avoid such pitfalls, consult trusted resources like this guide for insight on selecting appropriate parts and proper installation techniques. Regularly reviewing your setup can also prevent accidental misalignment or overlooked issues that might be contested later. Remember, the fine print in warranty policies often hinges on adherence to specific installation and maintenance procedures—oversights here can be costly. If you’re unsure whether your current setup meets manufacturer standards, don’t hesitate to seek professional advice through this contact page. These experts can verify compliance and help you document correct practices, reinforcing your claim if problems arise. Ultimately, the key is to treat installation as a process that warrants meticulous attention—this ensures your warranty remains valid and your dishwasher functions reliably for years to come. Have you ever fallen into this trap? Let me know in the comments.
Investing in Reliable Tools for Lasting Performance
To ensure your dishwasher continues to perform optimally over the years, selecting the right maintenance tools is crucial. I personally prefer using a high-quality digital multimeter like the Fluke 117. This tool allows me to precisely measure electrical continuity and voltage, which is essential when diagnosing complex issues such as faulty control panels or wiring problems. Relying on accurate readings prevents unnecessary part replacements and saves time. Additionally, a good set of precision screwdrivers and a torque wrench are indispensable when tightening fittings during repairs, ensuring connections are secure without risking damage. As this resource explains, using the correct tools minimizes errors and extends your appliance’s lifespan.
Software Solutions That Keep You in Control
Beyond physical tools, I recommend leveraging diagnostic apps designed for modern dishwashers. Apps like Smart Appliance Manager sync with Wi-Fi-enabled models, providing real-time troubleshooting data, firmware updates, and maintenance reminders. These digital solutions empower homeowners to monitor their appliance’s health proactively. I’ve found that scheduling regular diagnostics through these apps helps catch issues early before they escalate into costly repairs. Looking ahead, I believe integration of AI-driven monitoring will further revolutionize appliance maintenance, predicting failures before they occur and prompting actions automatically.
How do I maintain these tools over time?
Maintaining your diagnostic tools and software is straightforward but vital. Regularly calibrate digital multimeters according to the manufacturer’s guidelines—this often involves using a known voltage source or calibration kit. Keep your software updated to access the latest features and security patches; most apps offer automatic updates, which I highly recommend. Storing your physical tools in a dedicated, organized toolbox with moisture-resistant liners prolongs their lifespan. For example, I keep my multimeter and screwdrivers in a Pelican case, protecting them from dust and humidity. Proper upkeep ensures your tools remain reliable, making diagnosis and repairs more efficient, which ultimately helps you keep your dishwasher in excellent shape for years to come.
Long-Term Results Through Consistent Maintenance
By investing in quality tools and digital solutions, I’ve managed to reduce emergency repairs and extend the life of my appliances significantly. Regularly testing components like the inlet valve, spray arms, and heating elements—even just once every six months—prevents minor issues from turning into major failures. When combined with thorough documentation, these practices guarantee your warranty remains intact and that you’re prepared for any unexpected challenges.
Scaling Your Dishwasher Care Effortlessly
If you manage multiple appliances or properties, automation becomes your best friend. Setting up scheduled diagnostic checks via smart apps across your units reduces the hands-on workload. Investing in professional-grade tools now, such as a reliable multimeter and calibration devices, pays dividends as your maintenance needs grow. As experts outline in this guide, systematic care with the right equipment ensures longevity and dependable performance. Take the initiative today: try calibrating your multimeter following manufacturer instructions, and notice how much more confident you’ll be diagnosing issues next time.
4 Things I Wish I Knew Before Starting My Dishwasher Journey
One of the most surprising lessons I uncovered was that even small details during installation can have a huge impact on warranty validity. For example, using incompatible parts or neglecting to document your setup can silently void coverage, costing me later on. Another insight was realizing that regular preventive checks, like inspecting spray arms or water lines, save money and frustration over time. I also learned that a dedicated maintenance log, including dates and component details, transforms troubleshooting into a straightforward process instead of a guessing game. Lastly, understanding manufacturer-specific warranty requirements, such as professional installation or exclusive parts, is essential to protecting your investment—something I overlooked initially but now swear by.
Related Posts

Why Professional Leveling Is More Than Just Aesthetics
It was mid-morning, and I stepped into my kitchen only…
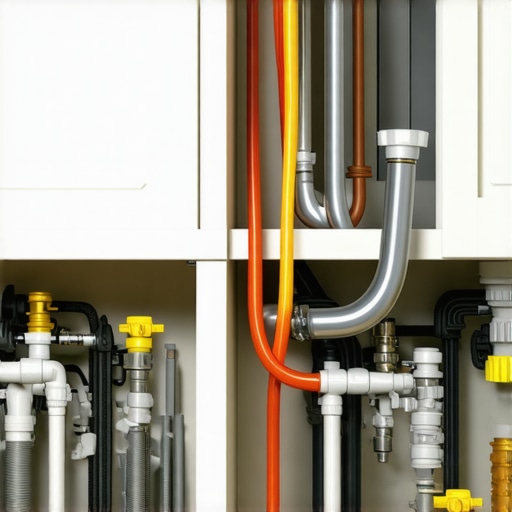
The Best Way to Route Your Drain Hose Through Your Cabinets
Ever had that sinking feeling when you open your dishwasher…
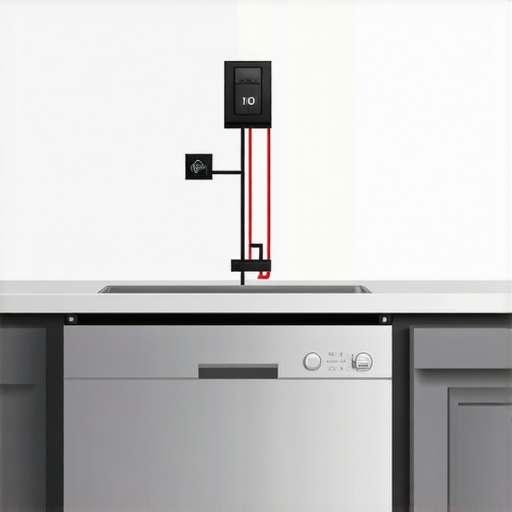
Why Your Dishwasher Needs a Dedicated 20-Amp Circuit
It hit me one morning—the terrible, gut-wrenching sound of my…