
I’ll never forget the faint, acrid smell of burning rubber that started wafting through my kitchen three years ago. I had just finished a massive Sunday dinner, and the dishwasher was humming along. Or so I thought. When I pulled back the kickplate, I saw it: my ‘heavy-duty’ orange extension cord was literally fusing itself to the kitchen floor. It was a terrifying realization that my ‘quick fix’ nearly cost me my home. I’d made the classic amateur mistake of thinking a cord is just a cord, but high-wattage appliances play by a different set of rules. Today, I’m going to show you why that gap between your plug and the outlet is a safety chasm you should never cross with a temporary wire. We are going to look at the physics of why these machines fail and how you can fix your setup the right way without risking a catastrophe.
Your Kitchen Isn’t Built for Temporary Wiring
Modern dishwashers are power-hungry beasts. They don’t just slosh water; they heat it to nearly 160 degrees using high-resistance heating elements. This draws a massive amount of current. When you introduce an extension cord into that equation, you’re creating a bottleneck. Most people don’t realize that why you shouldn’t use extension cords for any appliance usually comes down to voltage drop. As electricity travels through that extra length of wire, it meets resistance, which generates heat. If that heat builds up, the insulation melts, and you’re looking at a structural fire before the rinse cycle even finishes.
Can’t I just use a heavy-duty cord for a week?
It’s a tempting thought, especially when you’re dealing with the most common mistakes professional installers see during a renovation. You think, ‘It’s just for a few loads until the electrician comes.’ But the National Fire Protection Association (NFPA) warns that extension cords are only intended for temporary use with light portable appliances, and using them with major appliances like dishwashers is a leading cause of electrical fires in residential kitchens. I learned the hard way that even a single cycle can be enough to compromise the integrity of your damaged power cord. Have you ever felt the cord behind your appliance while it’s running? If it’s warm to the touch, you’re already in the danger zone. Have you ever caught yourself using a ‘temporary’ cord for much longer than you intended?
The Hidden Threat to Your Appliance Electronics
Beyond the fire risk, using an extension cord is terrible for the health of your machine. When the voltage drops because of the resistance in the cord, the motor has to work twice as hard to maintain the same torque. This leads to premature wear on the circulation pump and can cause the control board to glitch out. Often, this is why your dishwasher trips the GFCI outlet—it’s not always a leak, but a power draw issue caused by improper cabling. By avoiding the extension cord, you are actually protecting the expensive internal components from burning out. We need to look at how to properly route power through your cabinets to ensure a safe, direct connection that meets local building codes.
Stop Chaining Cords and Start Routing Properly
If you’re staring at a tangle of wires under your sink, you’re already behind the curve. Think of your kitchen wiring like a high-pressure plumbing line; you wouldn’t use a leaky garden hose to supply your main shower, and you shouldn’t use a thin, flexible wire to feed a high-wattage heater. The first thing you need to master is the correct way to route wiring through a kitchen cabinet. You need a dedicated, protected path that keeps the electrical lines away from the constant moisture of the water supply and drain lines. I remember helping my neighbor, Dave, who had essentially shrink-wrapped his drain hose and a cheap extension cord together with duct tape to keep things ‘neat.’ When the drain hose got hot during a heavy-duty cycle, it softened the plastic insulation on his cord until the copper was exposed. We had to rip the whole mess out and start over with proper protective grommets to prevent a catastrophic short circuit. This is why understanding common dishwasher parts and their role in proper installation is so critical—these components aren’t just suggestions; they are your primary safety barriers. 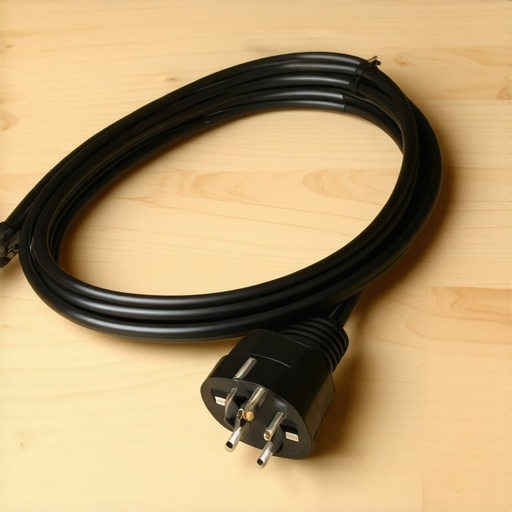
Ditch the Quick Fix for an Appliance-Rated Cord
Instead of reaching for that dusty orange extension cord in the garage, you should be looking at how to replace a damaged power cord safely by installing a longer, appliance-rated cord directly to the unit’s internal junction box. This eliminates the ‘middle man’ plug that often becomes a point of high resistance and melting. When you take this path, you are also maximizing your dishwashers warranty through proper parts selection. If a professional technician comes to your home and sees a melted generic cord, they will almost certainly deny any claim related to the control board or the motor. Direct connections are the only way to ensure the machine gets the consistent voltage it was designed to consume.
Protect Your Machine with the Right Hardware
You wouldn’t put cheap, off-brand tires on a luxury SUV, so why use ‘all-purpose’ hardware on a machine that handles high-pressure water and extreme heat simultaneously? Using the top tips for selecting the right parts for dishwasher installation will ensure that your power connection remains solid for years, not just weeks. This includes using a metal strain relief clamp where the cord enters the dishwasher frame. Without it, every time the machine vibrates during the high-speed drain cycle, the wire insulation rubs against the sharp metal edge of the frame. Eventually, that vibration turns the frame into a saw, cutting through the wire and electrifying the entire outer tub of the machine.
Your Warranty Depends on Clean Power
Most homeowners don’t realize that the complete list of dishwasher parts covered by warranty often explicitly excludes damage caused by ‘unstable power supply’ or ‘improper external wiring.’ By wiring the unit directly to a wall outlet—or hardwiring it if your local building code requires it—you remove the variables that cause voltage spikes and drops. If you are in the middle of a kitchen refresh, take the extra hour for how to prepare your kitchen for dishwasher installation by moving the electrical outlet to a reachable, dry spot behind the adjacent cabinet. It feels like more work in the moment, but it beats the alternative of a midnight electrical fire caused by a ‘temporary’ cord that stayed in place for five years.
Let’s talk about the dirty secret of the appliance world: those shiny ’10-Year Warranty’ stickers you see on the front of new machines. Most homeowners assume this covers the entire unit, but if you look closer, you’ll see it usually only applies to the motor or the tub. I’ve seen countless people ignore the the truth about those 10 year motor stickers on the door only to realize that the expensive control boards and sensors are often only covered for a single year. This is why establishing a solid baseline with the right components from day one is more than just a recommendation—it’s your only real insurance policy.
Stop Buying Generic Parts for High-Stakes Jobs
Everyone loves a bargain, but when it comes to internal components, ‘cheap’ often translates to ‘catastrophic.’ A common myth is that all water valves are created equal. In my experience, generic valves often use thinner plastic housings that can’t handle the pressure spikes of a modern home’s plumbing. This is exactly the difference between oem and generic water inlet valves that determines whether you’ll wake up to a flooded kitchen. High-end machines are calibrated for specific flow rates; if a generic part restricts that flow by even 10%, your smart sensors will start throwing error codes that are a nightmare to diagnose. I always tell my clients that why oem pumps outlast cheap alternatives every time is down to the quality of the seals and the precision of the motor windings. Using a knock-off part to save twenty dollars is the fastest way to turn a high-performance appliance into a glorified drying rack.
Can You Actually Prove a Professional Installed It?
Here is the ‘Oops’ factor that catches almost everyone off guard: the paperwork trap. You can follow every guide on parts to check when installing a dishwasher for long term performance, but if you don’t have a specific paper trail, your warranty is effectively useless. Most manufacturers require a professional installation receipt to honor claims for major component failures. According to the Association of Home Appliance Manufacturers (AHAM), improper installation is cited as a leading cause of early-life failures, and manufacturers use this to deny coverage. By the risks of skipping the professional installation receipt, you are essentially betting the cost of the machine that nothing will go wrong in the first 12 months. Have you ever fallen into this trap? Let me know in the comments.
The $5 Drain Mistake That Makes Your Kitchen Smell
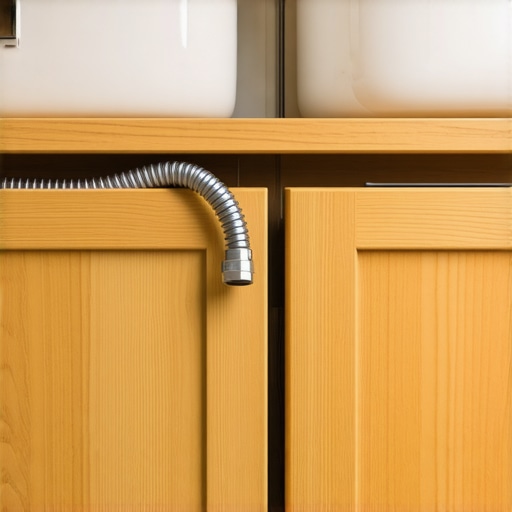
The most sophisticated installation nuance that DIYers miss is the ‘high loop.’ I can’t tell you how many times I’ve been called to a house because ‘the new dishwasher smells like a sewer.’ It’s rarely the machine’s fault. If the drain hose isn’t looped higher than the sink’s drain connection, dirty sink water siphons back into your clean dishwasher. This is why your dishwasher smells like a swamp and how to fix it without spending a dime on cleaners. It’s a simple mechanical fix that requires a single plastic zip-tie, yet it’s the number one thing people get wrong. Beyond just the smell, this backflow introduces bacteria into your wash cycle, completely defeating the purpose of the sanitize setting. To avoid these headaches, you need to be maximizing your dishwashers warranty through proper parts selection and ensuring the physical geometry of your plumbing is working for you, not against you. Take the time to look under your sink right now—is your hose sagging? If so, you’re one heavy sink load away from a contamination issue.
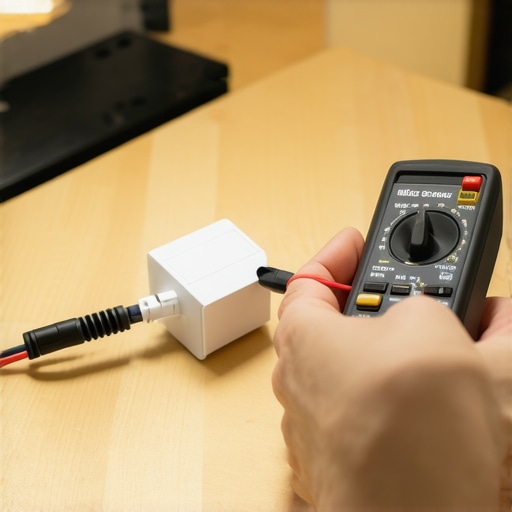
I’ve learned that the most expensive part of any dishwasher isn’t the motor or the control board; it’s the cost of neglect. Once you’ve handled the initial installation, the real work of homeownership begins. I personally swear by a simple digital multimeter—specifically the Klein Tools MM300—to keep tabs on my machine’s health. If my dishwasher won’t start, I don’t call a repairman; I spend two minutes on the most reliable way to test a thermal fuse. This tiny component is designed to blow if the machine overheats, and being able to diagnose it myself has saved me hundreds in service fees. It is all about knowing how to diagnose dishwasher parts during warranty periods so you can tell the technician exactly what is wrong before they even step through the door.
Stop Ignoring the Hidden Filters That Kill Pumps
Most people think the little mesh basket at the bottom is the only filter, but there is a deeper layer of defense you are probably missing. In my own kitchen, I make it a habit every six months to perform the best way to clean the hidden filter under the spray arm. If you let seeds, glass fragments, or labels from jars bypass this screen, they head straight for the impeller. This is usually how to spot a failing wash motor before it siezes—you’ll hear a low, rhythmic growl during the wash cycle. According to technical documentation from the Electrical Safety Foundation International (ESFI), mechanical strain on a motor due to blockages is a primary driver of electrical resistance spikes that can damage your home’s wiring over time. By keeping these paths clear, you ensure your machine operates within its designed electrical parameters.
How do I keep my dishwasher running like new for a decade?
The secret isn’t a magic chemical; it’s consistency and understanding dishwasher parts as a key to effective maintenance. I recommend keeping a small kit of the replacement parts every dishwasher owner should keep on hand, such as an extra door gasket and a spare water inlet valve. These are the components that wear out through friction and mineral buildup. When you see a drip, you should already know when to replace dishwasher parts for optimal performance rather than waiting for a flood. I predict that in the next few years, we will see ‘predictive maintenance’ sensors become standard, where your machine’s firmware will alert your phone the moment a seal begins to lose elasticity. Until then, you are the sensor. Take a moment tonight to pull out that bottom rack and check the hidden drain screen you probably forgot to clean. If it’s covered in slime, your pump is working 30% harder than it needs to. Your homework is to grab a flashlight, look under your spray arm, and clear out any debris you find—it’s the easiest way to add five years to your machine’s lifespan.
I’ve realized over the years that the difference between a dishwasher that lasts fifteen years and one that dies in three isn’t just the brand name—it’s the respect you show the installation process. When we ignore the physics of high-wattage appliances, we aren’t just risking a repair bill; we are risking the safety of our families. Taking the time to do things correctly might feel like a chore today, but it is the ultimate insurance policy for your home.
The Hardest Lessons I Learned from My Own Kitchen Fails
Reflecting on my early DIY mistakes, I realized that modern appliances simply don’t forgive “close enough” wiring or plumbing. First, never underestimate the power draw of a heating cycle; it is the silent killer of generic cords and the primary reason what your dishwasher warranty doesnt cover and how to avoid fees often surprises homeowners. Second, always keep your installation paperwork in a dedicated folder. I’ve seen many neighbors lose out on hundreds of dollars in coverage because they couldn’t verify your professional installation receipt for insurance when a major component failed. Finally, remember that your machine is a delicate ecosystem; a small leak at the inlet valve can eventually lead to a massive electrical short if you aren’t proactive about maintenance.
The Diagnostic Kit Every Smart Homeowner Needs
You don’t need a truck full of professional gear to keep your unit running, but a few essential parts every dishwasher owner should know about will make your life much easier. I personally rely on a digital multimeter for checking continuity on sensors and braided stainless steel hoses to prevent the kind of catastrophic bursts that ruin hardwood floors. I also suggest keeping a small stash of essential parts for troubleshooting dishwasher installation issues, such as spare mounting clips and a high-quality drain hose clamp. Having these on hand means a fifteen-minute fix won’t turn into a week-long wait for a service call during the holidays.
#IMAGE_PLACEHOLDER_E#
Build a Legacy of Reliability in Your Kitchen
Your kitchen should be a place of efficiency and comfort, not a source of constant electrical anxiety. By taking the time to address your dishwasher parts installation warranty requirements correctly today, you are buying yourself years of quiet, reliable service. Whether you are learning how to diagnose dishwasher parts during warranty periods or simply committing to running a why the heavy cycle is actually better for your machine health once a week to clear out grease, these actions define your success. Don’t wait for a burning smell or a puddle to start paying attention to your machine. Have you ever had a “temporary” fix like an extension cord become a permanent part of your kitchen? Let me know your stories in the comments below!
Related Posts
Why Your Professional Installer Insists on a New Braided Hose
It was a frustrating morning when I found my brand-new…

Why You Should Inspect Your Installation Every Six Months
I remember a time not too long ago when I…

Why Professional Leveling Prevents Costly Door Seal Failures
I vividly remember the day my dishwasher started leaking right…