
I still remember the sinking feeling of stepping onto my kitchen floor at 6:00 AM only to hear a distinct, squishy splash. My relatively new dishwasher had decided to leak overnight. Standing in a puddle of soapy water, I comforted myself with one thought: At least it is still under warranty. I eagerly called the manufacturer, confident they would send someone to swap out the door gasket and fix the mess. Instead, I got a polite but firm denial. I had made a simple, rookie mistake during my DIY setup, and that tiny error completely voided my coverage. It was an expensive lesson, but it forced me to learn the hard way how strict appliance companies are about installation details. Today, I want to save you from that same frustration by pulling back the curtain on why manufacturers reject these claims and how you can protect yourself.
How a Simple Installation Slipup Ruins Your Coverage
Many homeowners assume that a leaking gasket is always a manufacturer defect. However, the brand views your appliance as an ecosystem. If you installed the unit yourself and slightly warped the tub by over-tightening the mounting brackets, the door won’t align. Over time, that misalignment tears or deforms the rubber gasket. When the technician arrives and spots those twisted brackets, they will immediately write down “improper installation” on their report. To keep your protection intact, you must understand understanding dishwasher warranty policies for peace of mind before you even pick up a screwdriver. A single unlevel leg or a slightly pinched door seal can instantly shift the financial burden of a repair from the manufacturer’s wallet straight to yours.
Is a leaky seal actually worth the hassle of a claim?
You might wonder if it is easier to just buy a twenty-dollar replacement gasket online and swap it out yourself. While tempting, DIY repairs on a machine that is still under its active coverage period can permanently void the remainder of your policy. If your control board or motor fails next month, the manufacturer might deny that expensive claim because you performed unauthorized work on the door seal. I made this exact mistake early on, thinking a quick home fix was harmless. According to a study by the National Fire Protection Association, water damage from major household appliances remains one of the leading causes of non-weather-related property damage, which is why manufacturers strictly enforce their installation guidelines to limit liability. If you do not follow the exact guidelines, you are entirely on your own. It pays to understand what your dishwasher warranty doesnt cover and how to avoid fees so you can spot potential denial triggers before the technician walks through your door.
The Sneaky Culprits Behind Water Around the Door
Often, the seal itself is perfectly fine, but external factors are forcing water past the barrier. For instance, if your unit is not draining fast enough, water pools in the bottom of the tub and sloshes over the lower door lip during a cycle. This often traces back to how your drain hose was routed under the sink. If you do not have a proper high loop, dirty sink water can back up into your machine. When this happens, it is not a part defect; it is a plumbing error. If you are struggling with a unit that refuses to empty properly, you should look into why your dishwasher still has standing water in the filter area to diagnose the root cause before calling for service. Have you ever had a warranty claim denied for a silly technicality like this? I would love to hear your story in the comments below. Let us get down to the exact steps you need to take to ensure your next claim gets approved without a fight.
Actionable Installation Practices That Keep Your Warranty Valid
When you unbox a brand-new appliance, it is tempting to rush through the setup to get your first load of dirty dishes running. However, minor installation shortcuts will show up instantly on a field technician’s inspection sheet if something goes wrong later. To prevent this, you must treat the installation process like a precise engineering project. Let’s look at the exact physical steps and critical parts you need to manage to keep your coverage intact.
Always Replace Your Old Supply Line and Fittings
It is highly tempting to save fifteen dollars by reusing the brass elbow or the flexible water line from your old machine. Do not do it. Professional installers refuse to reuse these components because metal threads wear down and rubber washers degrade under constant water pressure. To safeguard your kitchen, you must understand why your professional installer insists on a new water valve and fresh supply lines. When a technician sees aged fittings connected to a new machine, they have the perfect excuse to blame any subsequent leaks on your old parts rather than a manufacturer defect. Using new, high-quality components is the cheapest insurance policy you can buy.
Achieve True Level on Every Type of Subfloor
A dishwasher that is tilted even slightly forward or to the side will distribute water unevenly inside the tub. This causes the wash arms to spray water at incorrect angles, directly hitting the door gasket with high-pressure jets it was never designed to block. I learned this the hard way when installing a unit in my utility room on a piece of raw, uneven plywood. The machine constantly dripped from the bottom right corner of the door. I assumed the door latch was faulty, but when I finally checked with a bubble level, the front-right leg was nearly a half-inch too low. If you are dealing with tricky, uneven surfaces, you need to know how to balance a dishwasher on unfinished subflooring to ensure the tub remains perfectly square. 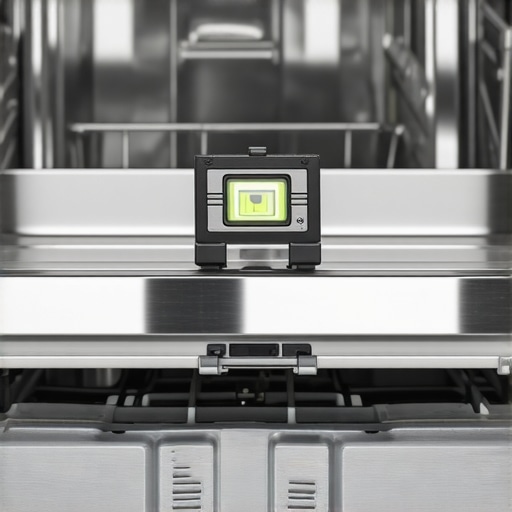
Secure the Tub Without Warping the Frame
When anchoring your machine to the surrounding cabinetry, the type of brackets and how you mount them matters immensely. If you have granite or quartz countertops, you cannot screw upward into the stone, which tempts many DIYers to secure the brackets sideways into the cabinets with whatever drywall screws they find lying around. Over-tightening these side screws pulls the outer metal or plastic tub out of square, warping the frame. This slight warp prevents the door latch from sealing tightly. You must learn the proper way to secure brackets to quartz countertops to avoid twisting the appliance chassis and voiding your door-seal coverage.
Document Your Installation Step by Step
If you want to win a warranty dispute, you need hard proof. Before you slide the dishwasher fully into the cabinet opening, take high-resolution photos of your work. Document the high drain loop under the sink, the brand-new copper or braided steel water line, the level resting on top of the open door, and the dedicated electrical junction box. Having these photos on your phone is like having an airtight legal defense. When a manufacturer claims your leak was caused by ‘improper installation,’ you can instantly email them clear photos showing that every single step was executed perfectly according to their manual. Knowing how to prove a manufacturer defect before the service tech arrives is your ultimate shield against unfair claim denials.
The Great Brass Myth That Technicians Love to Exploit
Most DIY guides and hardware store employees will tell you that a solid brass fitting is practically indestructible and can be reused forever. In my years of troubleshooting, I have found this to be a massive trap. While the brass itself doesn’t easily crack, the thread taper deforms slightly under pressure when first tightened. Reinstalling that same brass elbow on a new water valve almost guarantees micro-gaps. The worst part? If you experience a slow, hidden leak, the manufacturer will instantly deny your claim by pointing to the recycled fitting. To avoid this costly issue, you should discover why your installer refuses to reuse your old brass fittings before you begin your project. Skipping this cheap replacement part is the single biggest catalyst for claim rejections I see today.
Why does your extended warranty provider care so much about your plumbing invoice?
Many homeowners think that third-party protection plans offer more lenient terms than the factory warranty. The reality is actually the opposite. According to a consumer study by the Federal Trade Commission, third-party warranty administrators deny claims at a significantly higher rate than manufacturers, often citing pre-existing conditions or unapproved installation materials. If you cannot produce a receipt proving you purchased brand-new, certified installation parts alongside the dishwasher, they will claim the leak was caused by pre-existing plumbing wear. This is why understanding why your warranty claim fails without an authorized receipt is critical if you want your coverage to actually pay out when things go wrong. 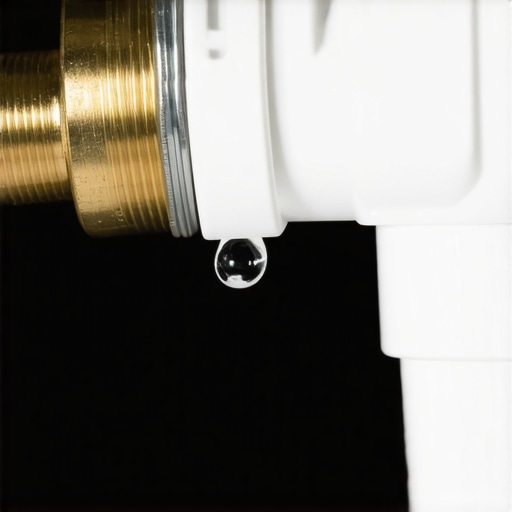
The Cabinet Screw Trap That No One Talks About
Another massive mistake is using standard wood screws when anchoring the dishwasher to your surrounding kitchen cabinets. It seems like a minor detail, but standard drywall or wood screws have thick, aggressive threads. When you drive them into side cabinets, they can easily push the thin wooden walls outward, putting pressure against the dishwasher outer housing. Over time, this pressure causes structural stress on the plastic tub, leading to hairline fractures. To prevent this silent damage, you must stop using standard wood screws for metal-lined cabinets and stick exclusively to the low-profile, fine-threaded machine screws provided in the official installation kit. Have you ever fallen into this trap or had a service tech blame your cabinet screws for a leak? Let me know in the comments below.
My Personal Toolkit for Bulletproof Installations
To consistently avoid these silent structural issues, I have developed a highly specific toolkit and physical inspection routine. I do not rely on standard hardware store adjustable wrenches, which have a loose tolerance and easily strip brass fittings. Instead, I exclusively use a calibrated, low-profile torque wrench. This tool allows me to apply exactly the manufacturer-specified inch-pounds of force to the water inlet valve, eliminating both micro-leaks and structural frame cracking. To guarantee your water lines are perfectly secure, you should use the proper tool to use when tightening your water supply line rather than guessing by feel. I also rely on a heavy-duty shop vacuum to clear standing water from plumbing lines before installing new components. According to the Master Plumbers Association guidelines, flushing your household lines of solder slag and sediment before final connection prevents premature solenoid valve failure. I always recommend learning about the critical reason to flush your water lines before hooking up a new machine to ensure your warranty coverage starts on a clean slate.
How do I maintain my dishwasher installation over time?
Keeping your machine in peak condition requires a proactive inspection schedule. Every six months, I pull off the bottom kickplate to check for tiny, slow drips around the water valve and motor housing. I also verify that my drain system remains unimpeded. To keep your machine running at its absolute best and avoid unexpected breakdowns, check out our guide on when to replace dishwasher parts for optimal performance. If you spot signs of scaling on your internal elements, consider introducing a dedicated water softener. Using the benefits of installing a dedicated water softener for appliances is one of the most effective ways to protect internal heating elements from burning out prematurely.
What Lies Ahead for Smart Kitchen Installations?
Looking ahead, I predict a significant shift in how manufacturers verify installation quality. Over the next few years, I expect brands to integrate internal digital pressure and level sensors directly into the appliance’s control board. If your machine is tilted or if your household water line has too much pressure, the dishwasher’s onboard software will simply refuse to run the initial cycle until you adjust it. This smart-checking system will send real-time installation logs directly to the manufacturer’s database. This means physical proof of a proper setup will be automatically recorded, completely transforming the warranty claim process. 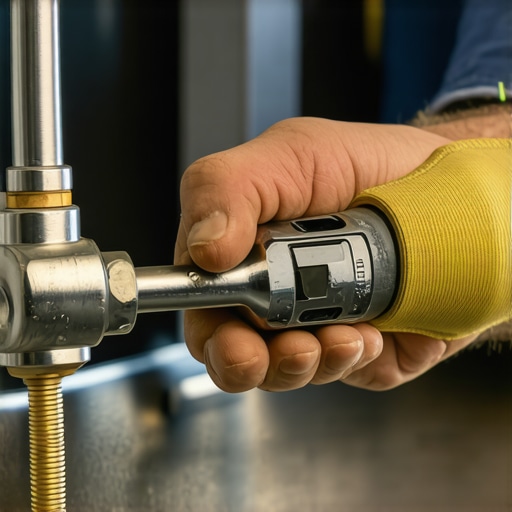 I highly encourage you to take my advice today: grab a physical level and check your machine’s alignment right now before your next cycle starts. If it is off-center, take ten minutes to adjust those leveling legs; your floor, your dishes, and your future warranty claim approval will thank you.
The Hardest Lessons I Learned on the Kitchen Floor
My journey from a flooded kitchen to becoming an advocate for precise appliance maintenance taught me that manufacturers look for any technicality to decline coverage. First, never assume a small part is insignificant. A minor oversight, like using an old brass fitting, can void your entire claim. Second, always prioritize professional-grade components when setting up your machine. To ensure you set up your machine for long-term success without risking your coverage, review the parts to check when installing a dishwasher for long-term performance. Finally, keeping a meticulous paper trail of your purchase is non-negotiable. If you need to make a claim down the line, check out maximizing your dishwashers warranty coverage today to guarantee your documentation is completely bulletproof before the technician inspects your home.
My Personal Toolkit for a Flawless Installation
When it comes to safeguarding your kitchen and your warranty, these are the exact tools and resources I keep in my service bag:
- Digital Torpedo Level: Absolute precision is required because standard bubble levels can easily misread minor slopes on uneven subfloors.
- Calibrated Torque Wrench: This prevents the common mistake of over-tightening the water inlet valves, which can warp the internal plastic threads.
- The Unified Installation Manual: I always study top tips for seamless dishwasher installation in 2025 to stay ahead of the latest technical specifications and guidelines.
- OEM Certified Parts Catalog: Keeping a reference of authorized components ensures you never accidentally install a third-party piece that could void your coverage. Read our guide on essential parts every dishwasher owner should know about to keep your system fully compliant.
Step Into Your Next Kitchen Project with Confidence
Installing a major appliance does not have to feel like a high-stakes gamble with your home insurance or manufacturer coverage. By slowing down, using fresh hardware, and leveling your machine with mathematical precision, you are taking control of your kitchen’s future. Armed with the right techniques, you can enjoy a spotless, leak-free home while keeping your financial safety net completely intact. What is the most challenging roadblock you have faced while tackling a DIY appliance setup? Let me know in the comments below, and let’s troubleshoot it together!
Related Posts

How to Claim Your Warranty When the Manufacturer Disappears
It happened on a hectic Tuesday morning. I was unloading…

Why Your Warranty Doesn’t Cover Pests in the Control Board
It was a frustrating Saturday morning when I finally opened…

How to Get a Free Replacement Part from the Manufacturer
It was a typical Saturday morning when my dishwasher suddenly…