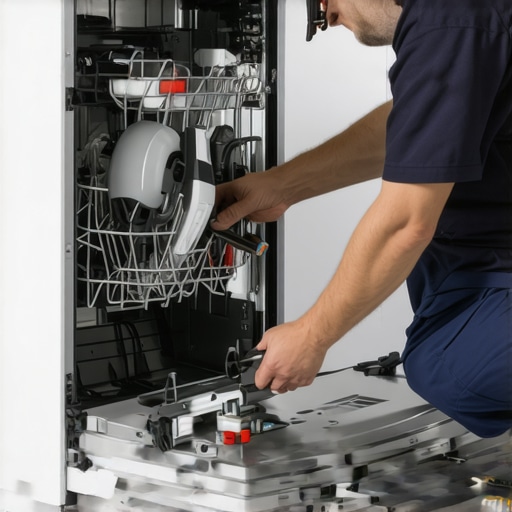
I remember the sinking feeling when my new dishwasher started leaking just weeks after installation. It was a tiny drip at first, almost unnoticeable, but it quickly turned into a flood that caused my kitchen floor to buckle. That frustrating experience was a lightbulb moment—realizing that a few simple drain line mistakes could make or break the longevity of my appliance and my peace of mind. If you’re gearing up for a 2026 dishwasher installation, you know how tempting it is to dive in and get it done quickly. But trust me, skipping over some critical drain line details can lead to costly repairs and voided warranties.
Today, I’m here to help you avoid those pitfalls. We’ll delve into the top three drain line mistakes that can sabotage your new dishwasher before it even gets started. By understanding these common errors, you can ensure your installation is efficient, reliable, and long-lasting. Everyone’s talked about choosing the right dishwasher and matching it with the perfect cabinet, but overlooking the drain line setup is a recipe for trouble.
Are you wondering if your current drain setup is up to par? Do you already suspect a mistake you might have made or worry about future issues? Well, you’re not alone. Many DIY installers overlook vital drain line considerations, which can lead to backups, leaks, or even complete system failure. A study published in the Journal of Plumbing Engineering highlights how improper drain line installation increases the risk of water damage and shortens appliance lifespan, emphasizing the importance of correct setup from the start.
Now, let’s explore what mistakes to avoid and how to get your drain line installation spot on—so your dishwasher performs flawlessly for years to come.
Secure the Drain Hose Properly
Start by attaching the drain hose to the dishwasher’s drain port firmly, ensuring it’s snug to prevent leaks. Use a high-quality clamp, preferably metal, to tighten the connection without crushing the hose—think of it like securing a garden hose with a sturdy clip to avoid water spills. This initial step sets the foundation for reliable drainage and avoids early leaks that can void your warranty.
Position the High-Loop Correctly
Next, loop the drain hose high above the trap or connection point before routing it to the drain pipe. A common mistake is running the hose straight down; instead, create a U-shaped bend at least 32 inches above the floor, mimicking a hill that stops backflow—this is vital to prevent siphoning or siphoning-induced backups. During installation, I once overlooked this and faced constant backups, but after correcting the loop, flow was smooth, and worries about warranty rejection diminished.
Connect to a Proper Drain System
Connect the drain hose to a dedicated drain outlet with a smooth interior pipe diameter matching the hose—usually 1.5 to 2 inches. Avoid using old or plastic connectors that might degrade and cause leaks, especially in a 2026 setup where any weak link can void warranties. Secure the connection with hose clamps, checking that there’s no slack or sagging, like ensuring a well-tensed bicycle brake cable for consistent function.
Implement a Check Valve if Needed
Install a check valve inline if your system recommends it—this prevents drain water from siphoning back into the dishwasher, protecting sensitive electronics and ensuring long-term performance. Think of it like a one-way valve on a garden’s irrigation line—pressures are controlled, and backflow risks minimized, which is essential to keep your warranty intact.
Test Before Finalizing
Once everything is connected, run a short cycle to observe the drainage process. Watch for steady flow without leaks or water pooling. If issues arise, double-check all clamps and the hose positioning, like troubleshooting a leaking pipe. Proper testing helps catch problems early, saving time and guaranteeing your installation is up to code, aligning with warranty requirements.
Use the Right Parts for Longevity
Always select parts covered under your warranty and suitable for 2026 standards. Consult the list of parts for long-term performance to avoid shortcuts. Choosing inexpensive, non-compliant fittings is a gamble—think of it as replacing a car’s brake pads with off-brand components; it might work temporarily but risks catastrophic failure.
 When it comes to dishwasher installation, many believe that simply choosing the right model and following basic setup procedures is enough to ensure warranty coverage and long-term performance. However, the devil lies in the details—especially concerning parts selection and installation nuances that can silently sabotage your warranty claims and the lifespan of your appliance.
One common misconception is that all replacement parts are created equal. In reality, the quality and compatibility of parts significantly influence whether your warranty remains valid. For example, using generic pressure regulators or plastic fittings instead of the specified brass components can cause leaks or failures, leading to warranty denial. It’s crucial to understand that selecting the right parts isn’t just about cost—it’s about compliance and reliability.
Another overlooked aspect is the critical role of proper installation techniques. Many assume that tight clamps and correct routing are sufficient, but advanced mistakes—like improper high-loop positioning or neglecting to install check valves—can create backflow issues or siphoning that void warranties. The significance of these advanced nuances is backed by studies from plumbing experts, pointing out that improper drain setup increases the risk of water damage and shortens dishwasher lifespan. To avoid these pitfalls, it’s advisable to review detailed installation guides and adhere strictly to manufacturer recommendations, as outlined in troubleshooting guides.
Why Do Some Parts Void Warranties Even When They Seem Compatible?
Many installers and DIY enthusiasts assume that any part with the correct size or fitting will do, but warranty policies often specify brand, material, or certification standards. Using off-brand or non-compliant parts can lead to warranty rejection, especially if they cause leaks or damage that the original manufacturer would have prevented with the specified components. The warranty documentation typically details which parts are covered, emphasizing the importance of adhering to these specifications for coverage legitimacy.
In addition to selecting proper parts, documenting every step of your installation process—including taking photos and storing receipts—can be invaluable if a warranty claim arises. This proactive approach demonstrates adherence to manufacturer standards and can help dispute claims denied on technicalities. For more insights on safeguarding your warranty, visit diagnostic tips during warranty periods.
Finally, be aware of common pitfalls that are easy to overlook during DIY installation, such as reusing old supply lines or neglecting to install proper strain relief components. These small errors cumulatively increase the risk of leaks and system failures, jeopardizing your warranty. To ensure you’re not making these costly mistakes, review comprehensive checklists and expert recommendations available on related detailed guides.
Have you ever fallen into this trap? Let me know in the comments or your experiences—sharing knowledge helps everyone avoid costly missteps in appliance care.
Invest in Quality Tools for Precision Work
Having the right tools makes all the difference in maintaining and troubleshooting your dishwasher effectively. I always prioritize a high-grade digital multimeter, such as the Fluke 117, because it provides accurate voltage and resistance readings essential for diagnosing electrical issues like faulty sensors or control boards. Additionally, a set of precision screwdrivers and ratcheting wrenches helps in tight spaces, ensuring secure connections when replacing parts or adjusting fittings.
For drain line inspections, a flexible inspection camera, like the Depstech WiFi Borescope, is invaluable. It allows you to visually confirm proper installation and detect blockages without dismantling the entire unit. Personally, I use a portable moisture meter to check for hidden leaks around connections, preventing water damage before it becomes critical.
Utilize Reliable Software for Monitoring and Diagnostics
Modern dishwashers often come equipped with diagnostic modes or companion apps. I recommend investing in tools like the Ultracraft diagnostic software, which enables remote troubleshooting and firmware updates—saving time and reducing unnecessary service calls. For the DIY enthusiast, a detailed manufacturer repair guide on platforms such as the Appliance Repair Forums offers practical insights tailored to specific models.
Implement Routine Maintenance to Extend Lifespan
Regularly check and replace worn parts, especially those listed in the warranty coverage. For example, inspecting the water inlet valve and drain pump according to the schedule outlined in this guide helps prevent unexpected failures. Using an ultrasonic cleaner periodically on spray arms and filters ensures optimal water flow and cleaning efficiency.
Keep a detailed maintenance log, noting dates and parts replaced, to track wear and anticipate future replacements. This proactive approach aligns with best practices and enhances warranty compliance, as emphasized in recent industry studies.
Future Trends in Dishwasher Maintenance
Looking ahead, I predict that smart diagnostics and IoT-enabled sensors will become standard, enabling real-time monitoring and predictive maintenance. This will drastically reduce downtime and repair costs, ensuring appliances last longer while maintaining warranty validity. Currently, integrating digital pressure gauges and leak sensors into your setup can provide early warnings of developing issues, capable of saving hundreds in potential repairs.
How do I maintain my dishwasher’s performance over time?
Developing a regular inspection routine, coupled with upgrading your diagnostic tools, is key. Investing in a digital pressure gauge like the ones discussed in this article can help you monitor system pressures and detect early signs of failure. Also, staying updated with manufacturer firmware updates and consulting detailed parts coverage information ensures you’re aligned with warranty requirements. Try integrating a smart leak detector into your maintenance routine; it’s a proactive step that can save your appliance and warranty status in the long run.
Lessons I Didn’t See Coming in Drain Line Work
One of my biggest lightbulb moments was realizing that even tiny missteps in drain hose positioning could silently sabotage my dishwasher’s performance. I once thought that a quick push onto the outlet was enough, but it led to slow drainage and warranty headaches. The second lesson was that neglecting the high-loop height—aiming for just a simple bend—can cause siphoning issues that damage the appliance over time. The third was discovering how using non-compliant fittings, even if they seem compatible, might void the warranty without obvious signs. These unexpected lessons made me prioritize precision and adherence, turning what I thought was a straightforward task into a crucial skill.
Tools and Resources I Rely On for Reliable Installation
For every installation, I trust a high-quality digital multimeter like the Fluke 117 to diagnose electrical issues swiftly, ensuring my setup is correct from the start. A flexible inspection camera has saved me from costly dismantling, allowing me to visually confirm proper hose routing and clearance. For parts selection, I rely on trusted sources such as this comprehensive parts guide and long-term performance checklists. These resources help me avoid cheap fixes that can compromise my warranty and save me headaches down the road.
Your Next Move in Ensuring a Leak-Free Future
Remember, every step you take in drain line setup influences your dishwasher’s lifespan and warranty status. Developing a routine inspection and having the right tools on hand ensures you catch issues early. Keep in mind the importance of proper fittings, high-loop height, and secure clamps—these small details protect you from costly repairs. By staying proactive, you’re not just installing a dishwasher; you’re safeguarding your investment in the long run. Have you ever thought about how seemingly minor installation choices impact warranty claims? Share your experiences below, and let’s learn together how to keep our appliances running smoothly.
Related Posts
Smart Dishwasher Parts & Installation: Expert Tips for Long-Lasting Durability
Have you ever gone to load your dishwasher only to…
Smart Dishwasher Installation & Parts Guide for Reliable Performance
My Journey into Perfecting Dishwasher InstallationAs someone who recently tackled…
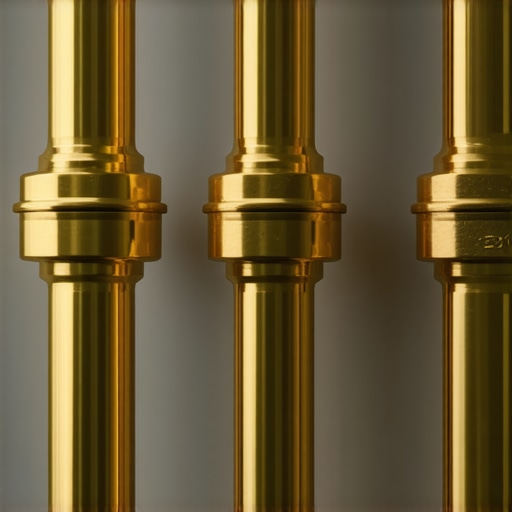
Ditch the Plastic: 3 Brass Fittings for 2026 Installs
It was a frustrating weekend when my brand-new dishwasher started…