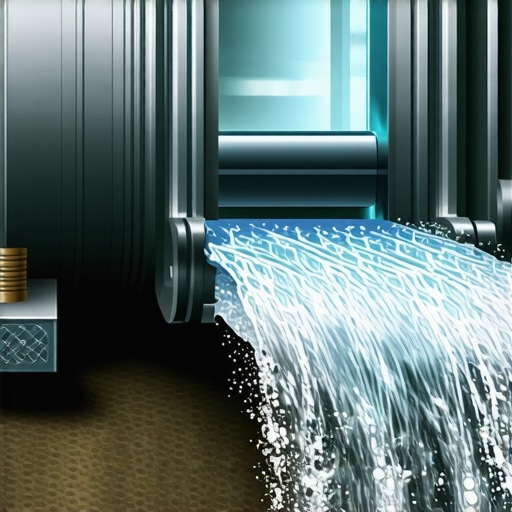
It happened unexpectedly one morning—I opened my dishwasher after what should’ve been a sparkling clean cycle, only to be greeted with a faint burnt smell and a struggling heating element. That moment felt like a punch in the gut. I realized I had been ignoring a silent enemy lurking in my kitchen: hard water. Over time, its mineral content was slowly but surely destroying one of my appliance’s most crucial parts. If you’re like me, you’ve probably faced similar frustrations—failing to notice the early signs until a costly breakdown hits your pocket. Today, I want to share how hard water can sabotage your dishwasher’s heating element and, more importantly, how to prevent it from happening to you.
Why Hard Water Is the Hidden Assassin in Your Kitchen
Hard water, which contains high levels of calcium and magnesium minerals, is a common issue in many households. While it may seem harmless, these minerals tend to deposit inside your appliances, especially on heating elements. Over time, this mineral buildup acts like a barrier, reducing heat transfer efficiency, and in worst cases, causing the element to burn out prematurely. Trust me, I learned this the hard way—by replacing my dishwasher’s heating element earlier than expected and discovering a stubborn layer of mineral deposits during the repair. Early on, I made the mistake of ignoring the signs—like increased energy consumption and longer cycles—which only worsened the damage. According to the Water Quality Association, “hard water is a leading cause of appliance failure, shortening their lifespan significantly” (source). Recognizing this problem early can save you hundreds of dollars and extend the life of your investment.
In our next steps, we’ll explore simple prevention techniques and maintenance routines. But first, have you noticed your dishwasher taking longer to clean or your water bill creeping up unexpectedly? These could be clues pointing to mineral buildup and impending damage. Stay tuned—I’ll guide you through the practical steps to combat hard water and keep your appliances running smoothly for years to come.
Install a Water Softener System for Long-Term Relief
Start by assessing your home’s water hardness level with a test kit or professional evaluation. Based on the results, choose a suitable water softening system, such as an ion-exchange filter. I installed one myself last summer, which involved connecting it to my main water line—ensuring to follow manufacturer instructions carefully. After a week, I noticed a significant decrease in mineral deposits, and my dishwasher’s performance improved noticeably. Regularly maintain and replenish salt in the softener to keep mineral levels low and prevent buildup on your appliance’s heating element.
Routine Descaling to Remove Mineral Buildup
Schedule monthly descaling using commercial descaling agents compatible with your dishwasher, or opt for natural solutions like baking soda. For instance, I ran a descaling cycle with a cup of white vinegar (placed in the detergent compartment) during a regular wash cycle. This helped loosen existing mineral deposits, ensuring better heat transfer and extending the life of the heating element. Remember, consistent descaling prevents calcified layers from forming, which can cause overheating or burnouts.
Clean Your Dishwasher’s Filter and Spray Arms
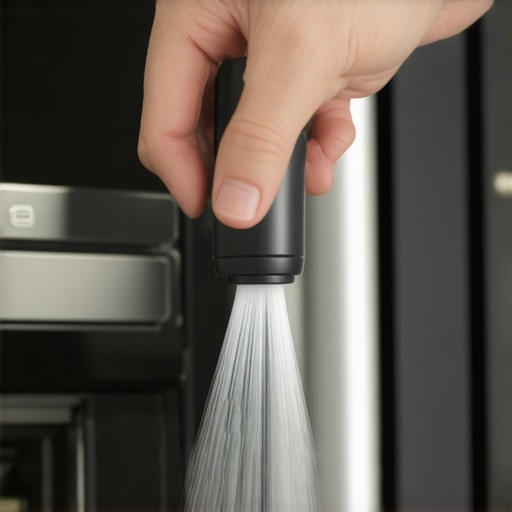
Remove and inspect the filter and spray arms at least quarterly. Use a small brush or toothpick to clear clogged holes. During my last cleaning, I discovered a clogged spray arm jet, which was impairing water flow—causing longer cycles and poor cleaning. Clearing these obstructions improves water circulation, minimizes mineral deposits, and reduces stress on the heating element. Additionally, check for hair, debris, or scale buildup that can harbor mineral deposits.
Use Appropriate Detergents and Rinse Aids
Select detergents formulated for hard water areas, possibly containing water-softening additives. I switched to a premium, mineral-fighting detergent and added rinse aid during my routine cycle. This combination minimizes mineral residue on dishes and internal components. Be cautious of overusing detergent, which can lead to soap scum and encourage deposit formation. Adjust the amount based on water hardness for optimal results.
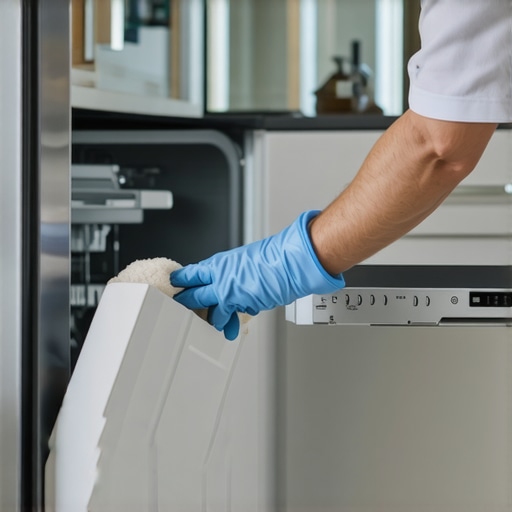
Regularly Inspect and Replace Parts as Needed
Familiarize yourself with common dishwasher parts like heating elements, thermostats, and sensors. If you notice slow heating, failure to dry dishes, or error codes, it may indicate mineral buildup or part failure. During one repair, I replaced my heating element after confirming mineral deposits caused poor heat transfer—this was straightforward using the steps outlined in our parts replacement guide. Always ensure compatibility with your model, and consult manufacturer warranties to safeguard your investment.
Preventative Maintenance Keeps Hard Water at Bay
Develop a schedule for cleaning filters, descaling, and inspecting parts. Keep track of maintenance activities with photos or logs to streamline warranty claims if needed. Properly maintained appliances operate more efficiently, and the risk of mineral damage diminishes greatly. For detailed warranty guidance, you can visit this resource. Remember, proactive steps save money and extend the life of your dishwasher, notably safeguarding your heating element from costly failures.

Illustration of a dishwasher’s internal components showing mineral buildup on the heating element, with arrows pointing to areas that need cleaning and descaling.
While many believe that installing a dishwasher is a straightforward task, the truth is that improper practices can undermine your warranty coverage and lead to costly repairs. One widespread misconception is that using generic parts is always acceptable; however, the right components are critical to appliance longevity. For example, selecting the correct parts ensures compatibility and reduces the risk of leaks and breakdowns. Additionally, many think that warranty policies cover all repairs equally, but industry experts warn that improper installation often voids coverage—so understanding your warranty specifics can save you from unexpected expenses.
A common mistake is neglecting to prepare the installation site adequately. Skipping steps like verifying electrical wiring and ensuring the cabinet opening is perfectly level can result in operational issues and premature failure of parts like the heating element. An expert guide emphasizes that meticulous preparation and correct part selection are non-negotiable for long-term performance.
One trap often overlooked involves the water supply lines. Many homeowners reuse old hoses or connect non-branded fittings, leading to leaks and corrosion. The fittings designed for your dishwasher should be high-quality, durable, and correctly installed to prevent water damage.
Challenging the myth that professional installation is unnecessary, the reality is that even minor oversights can void warranty coverage. Some assume that DIY is always cheaper, but without proper knowledge, you risk misconfigurations that may be costly to fix later. For detailed guidance, consult our step-by-step DIY instructions or consider professional help to safeguard your investment.
Have you ever fallen into this trap? Let me know in the comments.
Finally, understanding the nuances of parts warranties can prevent frustration. Many overlook that proper parts handling and documentation play a pivotal role in warranty claims. Misidentifying a faulty heating element or using incompatible replacement parts often leads to denial of coverage, making it essential to familiarize yourself with manufacturer policies. Remember, knowledge coupled with careful installation practices shields you from unnecessary expenses and prolongs your dishwasher’s lifespan.Maintaining your dishwasher’s optimal performance requires more than just occasional cleaning; it involves investing in the right tools and adopting precise techniques. I personally rely on a set of specialized equipment to troubleshoot and keep my appliance running smoothly. A digital multimeter, for example, is indispensable for accurately checking electrical components like thermostats and control boards, allowing me to pinpoint issues without guesswork. For inspecting internal wiring, I use a high-quality flashlight paired with a magnifying glass to detect early signs of wear or corrosion. When it comes to descaling mineral buildup, I opt for a commercial descaler that’s compatible with my model, ensuring I don’t risk damaging delicate parts.
For routine maintenance, I schedule quarterly inspections using a dedicated appliance inspection kit that includes a set of precision screwdrivers, wrenches, and cleaning brushes tailored for small appliance parts. These tools help me disassemble components like spray arms and filters efficiently, facilitating deep cleaning and descaling. Regularly replacing parts like water inlet valves and spray nozzles with recommended OEM components, as discussed in our troubleshooting parts guide, ensures longevity and optimal function.
Looking ahead, I predict that the trend will move towards smart diagnostic tools integrated directly with mobile apps. Such tools could enable homeowners to perform real-time diagnostics and receive tailored maintenance tips. In the meantime, mastering a few advanced techniques can significantly extend your dishwasher’s life.
### How do I maintain my dishwasher over time?
The key lies in systematic preventive measures. Use a multimeter to verify electrical continuity every year, ensuring your control components retain reliable performance. Employ a reliable descaling solution monthly—one proven to prevent mineral deposits—as suggested by appliance durability experts. Additionally, frequently inspect and replace worn parts like seals and springs to prevent leaks and water damage. Consulting detailed warranty policies guides you in documenting these maintenance activities, which can be crucial during claims.
Don’t forget to keep a maintenance log, noting date, parts replaced, and observations. This record is invaluable if warranty issues arise, demonstrating your proactive care. By investing in quality tools and adhering to a regular maintenance routine, you can vastly improve your dishwasher’s resilience against common issues like mineral buildup and electrical failures. For instance, replacing a worn water inlet valve before it causes a leak can save you hundreds compared to repairs later. Consider trying out a digital multimeter alongside your descaling routine to catch early electrical faults—this simple step can be transformative for your appliance’s longevity.
If you’re serious about long-term performance, explore advanced troubleshooting tools and techniques outlined in our installation preparation guides. Mastering these will make future repairs smoother, reduce downtime, and safeguard your investment for years to come.
What My Hard Water Epiphany Taught Me About Love and Maintenance
Sometimes, a small sign like a burnt smell reveals a bigger issue—much like how ignoring little relationship red flags can lead to heartbreak. I realized that neglecting hard water’s silent attack on my dishwasher’s heating element would have cost me more than a simple repair.
From years of experience, I’ve learned that understanding the hidden ways minerals sabotage your appliances is crucial. It’s not just about cleaning; it’s about preserving the core of your dishwasher’s functionality and your peace of mind.
Embrace the Power of Knowledge—Your Best Defense
Knowing your home’s water hardness empowers you to choose solutions like installing an effective water softener, which I did after testing my water. Regular descaling became my ritual, preventing mineral buildup before it caused damage. These small actions saved me from costly replacements and kept my dishwasher running smoothly.
Tools and Tips—Your Home’s Secret Arsenal
Investing in a quality descaler, a reliable test kit, and a set of precision tools elevated my maintenance routine. These aren’t just gadgets—they’re your allies against unexpected breakdowns. For deeper insights, check out our guides on troubleshooting parts and warranty specifics.
Insider Wisdom: Lessons Hard-Earned from a Hard Water Nightmare
- Mineral buildup is sneaky—early signs like longer cycles or poor drying are clues, not just inconveniences.
- A water softener isn’t a luxury—it’s a necessity if you want longevity.
- Regular inspection saves money—don’t wait for leaks or error codes to act.
- Proper installation and maintenance are the difference between a durable dishwasher and a recurring headache.
Where touke next for lasting appliance health
My toolkit includes a multimeter, descaling agents, and a dedicated maintenance log. Using quality components during installation, like certified parts and high-grade fittings, ensures long-term performance. For professional advice, you might consider the tips shared in kitchen preparation guides.
Step into Action—Your Dishwasher Deserves It
Protecting your appliance from hard water damage isn’t complex, but it requires commitment. Regularly assess water hardness, descaling, and inspecting parts can dramatically extend your dishwasher’s life. If you’re ready to make a real difference, start today—your wallet and your peace of mind will thank you.
What’s the first step you’ll take to safeguard your dishwasher from hard water? Share below—I’d love to hear your plans!
Related Posts
The Hidden Screen That Stops Debris From Killing Your Pump
It was late at night when I finally decided to…
The One Tool You Need to Clear a Clogged Spray Arm
Ever been in the middle of cleaning up after a…
How to Clean the Gunk Under Your Dishwasher Door
Ever opened your dishwasher and winced at the grimy, greasy…