It was a frustrating morning when my brand-new dishwasher refused to drain properly. Despite following every installation guide I could find, water remained stubbornly trapped, causing a foul odor that lingered long after the cycle finished. That lightbulb moment made me realize: I had overlooked a seemingly small detail—the correct length of the drain hose. This oversight isn’t just a minor annoyance; it can be the root of persistent problems, costly repairs, or even voided warranties.
The Hidden Power of Proper Drain Hose Length
Many installers, whether DIYers or professionals, often ignore the critical drain hose length rule. They might think, “As long as water drains, what’s the big deal?” But in reality, an improperly routed or excessively long drain hose can cause siphoning issues, slow draining, or backups. Conversely, a hose that’s too short might strain the connection, increasing the risk of leaks and floods. The proper length ensures optimal flow, prevents odors, and upholds your warranty coverage.
Is It Really Worth the Fuss?
I’ll admit, I once dismissed this detail as trivial. I believed that as long as the dishwasher drained, I was good to go. I made the mistake early in my DIY installations, reusing old hoses without checking length specifications. That cost me time, extra parts, and sometimes the dreaded call to support. Trust me, overlooking this rule can turn a simple install into a troubleshooting nightmare. For solid advice, it’s worth consulting [expert suggestions on installation troubleshooting](https://appliancedoctorz.com/expert-advice-on-dishwasher-installation-troubleshooting).
The key is understanding why this seemingly small detail matters so much. When the drain hose is too long or incorrectly positioned, it can cause siphoning—that’s when water keeps trying to flow back, leading to odors and potential leaks. Too short, and you risk disconnects or strain on fittings. The optimal length, typically around 20-30 inches depending on your setup, balances these factors perfectly.
Knowing and applying this rule ensures your dishwasher performs efficiently, lasts longer, and keeps warranties intact. As I learned the hard way, taking the time to get this detail right upfront saves headaches later. Next, we’ll dive into step-by-step instructions for measuring and installing your drain hose properly—so you can avoid my mistakes and enjoy peace of mind with your appliance.
Measuring the Right Length
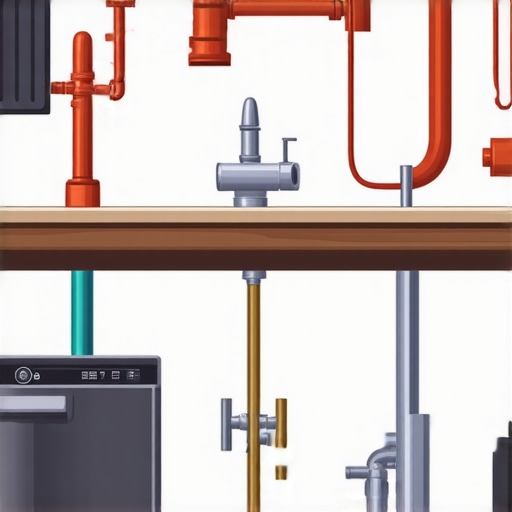
Start by pulling out your dishwasher and disconnecting the current drain hose if any. Use a flexible measuring tape to determine the distance from the outlet drain connection to the position where the hose will connect to your sink or garbage disposal. Keep in mind that you need a little slack—about 10-15 inches—to accommodate movement and prevent kinking.
Creating an Accurate Loop
Imagine your drain hose as a garden hose; it needs a gentle, upward curve to prevent siphoning. Aim for a loop height of at least 20 inches above the connection point, referring to your appliance’s specifications. Use a drain hose anti-siphon loop, which keeps water from flowing back into the dishwasher, protecting your warranty and maintaining cleanliness.
Cutting and Assembling the Hose
Mark the measured length on your new hose with a marker, then use scissors or a utility knife to cut it cleanly. Always cut straight to ensure a snug fit and avoid leaks. Attach the hose to the fittings—don’t reuse old clamps, as worn clamps can cause leaks and compromise warranty coverage. Tighten with a screwdriver or pliers, ensuring no gaps or loose fittings. For secure connections, follow the tips outlined in professional installation advice.
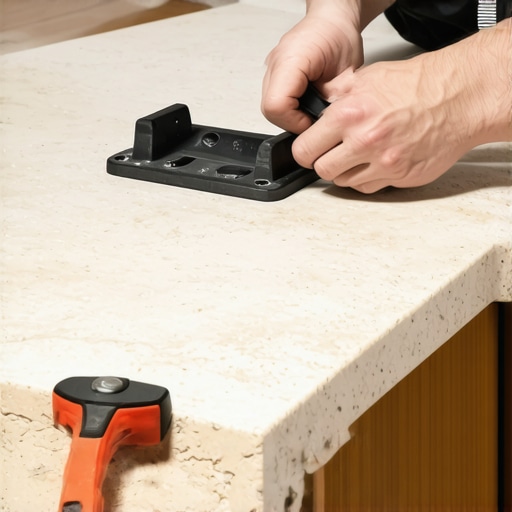
Securing and Routing the Hose
Route the hose so it doesn’t kink or bend sharply, which can cause drainage issues. Use clamps or brackets to secure the hose along cabinets or walls. Keep the hose elevated in the loop, attaching it to the underside of the countertop or cabinet frame to meet the minimum height requirements. This step is crucial—incorrect routing can lead to odors or water backups, risking your warranty and appliance performance. I once neglected this step, resulting in water pooling in my dishwasher, which prompted a costly service call. Routing properly saved me from future headaches and ensured my warranty stayed intact.

Secure your drain hose with high-quality clamps and routing to avoid leaks and ensure efficient drainage, protecting your appliance warranty.
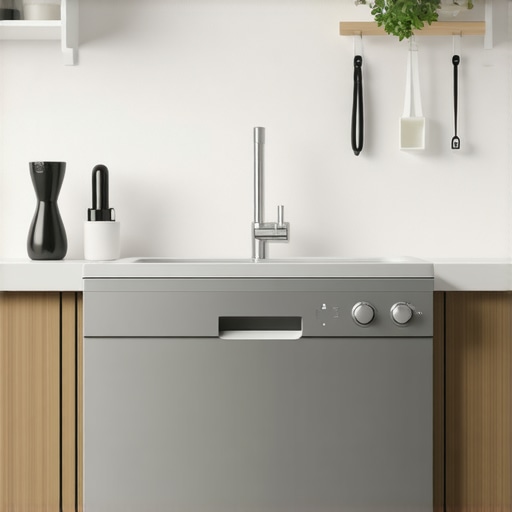
Testing Your Installation
Once everything is connected and secured, run a short cycle to verify that water drains properly without leaks or odors. Watch for signs of siphoning or water backflow. If something isn’t right, recheck the hose length and routing, focusing on the loop height. Proper installation isn’t just about correct measurements; it’s about ensuring long-term performance and peace of mind, as outlined in our comprehensive guide.
When it comes to dishwasher maintenance and installation, many homeowners operate under assumptions that could jeopardize their appliance’s longevity and warranty coverage. Let’s consider a common misconception: that using generic replacement parts is just as good as OEM components. In reality, subpar parts often lack the precise specifications required for optimal performance, increasing the risk of breakdowns and voiding warranties. For expert insights on selecting the right parts, visit our [comprehensive parts guide](https://appliancedoctorz.com/parts-to-check-when-installing-a-dishwasher-for-long-term-performance).Keeping your dishwasher running smoothly over the years requires more than just regular use; it demands strategic maintenance and the right tools. I personally rely on a few key pieces of equipment that save me time and ensure my appliance stays in tip-top shape. First, a **digital multimeter** is invaluable for diagnosing electrical issues. I prefer the **Fluke 117** because of its durability and accuracy, allowing me to quickly verify the voltage at various components without guesswork. For cleaning, a **small Cincinnati brush** helps clean out spray arms and filters thoroughly, preventing clogging and ensuring optimal spray patterns, which prolongs parts life and maintains warranty coverage.
Another tool I swear by is a **filter inspection mirror**—the flexible, LED-lit kind. It allows me to peek behind the dishwasher’s interior panels and check for dust or debris buildup that might impede performance. Regular inspections using this tool help catch minor issues before they become costly repairs.
In terms of software, I recommend using a **maintenance tracking app** like
The Hardest Lesson I Swallowed About Dishwasher Drain Hoses and Warranty Security
One of the biggest mistakes I made early on was dismissing the importance of proper drain hose length, thinking it was just a small detail. That led to persistent odors, leaks, and a few costly warranty disputes that could’ve been avoided. It taught me that sometimes, the smallest overlooked detail can have the biggest impact on your appliance’s lifespan and your peace of mind.
Another insight I uncovered was the significance of precise routing. An improperly looped or kinked hose doesn’t just impede drainage; it risks siphoning, which can cause lingering foul smells and even void your warranty if it leads to damage. The value of strategic routing and correct loop height is worth every homeowner’s attention, especially if you want trouble-free operation.
Additionally, I realized that investing in quality clamps and tools isn’t just about making the job easier—it’s about safeguarding your warranty. Cheap clamps and sloppy fittings can cause leaks, undermining the entire installation and saving you money in the short term but costing more long-term repairs or warranty claims.
Finally, measuring twice and testing your setup is a practice I now swear by. Running a short cycle after installation helps catch issues early—like odors or draining problems—saving time and avoiding warranty headaches. The lesson? Patience and precision during installation pay dividends in appliance longevity and peace of mind.
Related Posts
The Proper Method for Connecting a Dishwasher to a Garbage Disposal
It was a mess. I remember the frustration bubbling up…
The Proper Way to Secure Your Machine to Stone Countertops
I'll never forget the morning I watched my new dishwasher…
Why Your Dishwasher Drain Hose Needs a High-Loop Bypass
It was a typical Saturday morning when I leaned into…