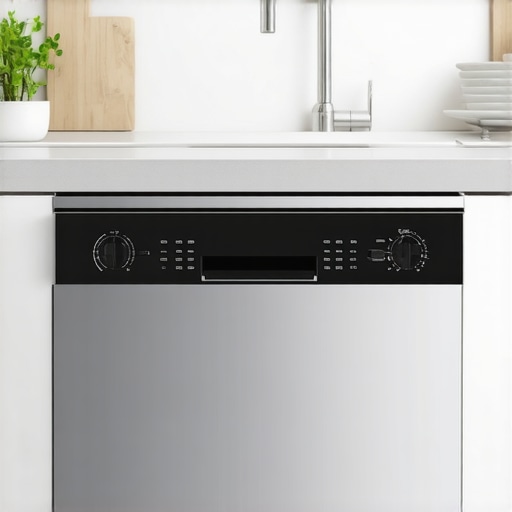
It was a typical Saturday morning when I leaned into my kitchen to start the dishwasher—only to be greeted by a faint gurgling sound, followed by water slowly backing up beneath the sink. I had just finished a busy week and honestly didn’t want to deal with another appliance hiccup. But a sudden leak or malfunction can turn a peaceful weekend into a stressful weekend—and that’s exactly what happened to me. That lightbulb moment revealed a frustrating truth: I didn’t understand the importance of a high-loop bypass for the dishwasher drain hose, and it nearly cost me a costly repair.
The Hidden Power of Proper Drain Hose Setup
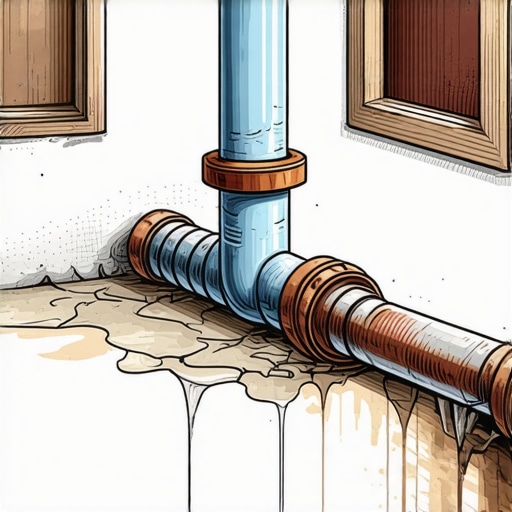
Many homeowners overlook how critical the drain hose configuration is to their dishwasher’s health. A common mistake I made early on was installing the hose without a proper high-loop—thinking that a simple loop behind the dishwasher would suffice. But I learned the hard way that this approach can lead to siphoning issues, foul odors, or worse, prevent water from draining entirely. The good news? Once I discovered the importance of a high-loop bypass, my dishwasher operated smoothly, and I avoided repeated plumbing problems.
Is the High-Loop Bypass Overhyped?
The notion that a high-loop drain hose is essential might sound like an exaggeration. After all, how much difference can a simple bend make? Well, I found out that skipping this step can void your warranty and set you up for premature failures. According to experts at Appliance Doctorz, improper drain hose installation—like neglecting a high-loop—can cause backflow and even impact warranty coverage, especially as manufacturers get more precise with their rules for 2026 models. I made the mistake of assuming that gravity alone was enough—that’s a rookie error I won’t repeat.
So, what exactly is a high-loop? Essentially, it’s a carefully positioned bend—usually above the level of the sink drain—that prevents dirty water from siphoning back into your dishwasher. It’s a simple step, but one that makes all the difference. Next, I’ll walk you through how to ensure your drain hose is set up correctly and share tips I wish I had known from the start. If you’ve faced water backing up during cycles or suspect your installation isn’t quite right, keep reading. This little detail can save you time, money, and a whole lot of frustration.
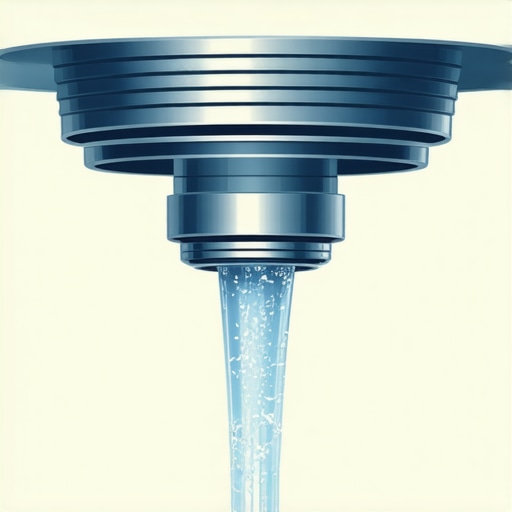
Securely Position the Drain Hose Above Sink Level
Begin by removing your existing hose and ensure the area behind your dishwasher is clean. Use a sturdy hook or mounting clip to elevate the drain hose to a height at least 18 inches above the sink drain level. Visualize it as creating a hill that prevents backflow, akin to a mountain range directing water away from your home’s plumbing. This high-loop configuration prevents siphoning of contaminated water into the dishwasher, which can compromise your warranty and lead to foul odors. I recall installing mine with a simple zip tie, which held only temporarily. To fix this, I replaced the zip tie with a permanent metal clip, which held the loop firmly, ensuring consistent elevation and avoiding costly repairs.
Use Reliable Mounting Hardware for Stability
Don’t rely on flimsy or makeshift solutions. Use dedicated dishwasher drain hose clamps and secure the high-loop with metal brackets designed for Plumbing applications. Proper mounting hardware prevents the hose from slipping down over time, which could cause drainage issues or leaks. Think of it as giving your hose a sturdy saddle to ride on, providing stability amidst the regular vibrations of your dishwasher. I learned this lesson the hard way when a loose hose caused water to spill under the cabinet—something easily avoided with the right clamps and brackets. For optimal results, check out options at this resource.
Ensure Proper Connection to the Drain System
The hose end must connect securely to the countertop drain or garbage disposal unit. Use a stainless steel clamp to tighten the connection, preventing leaks and disconnections. Imagine this like tightening a lid on a jar—if it’s loose, contents spill out. Remember, a tight connection not only prevents water leaks but also keeps contaminants from entering your dishwasher, preserving warranty validity as explained in warranty coverage list. During my installation, I used a high-quality clamp and checked it twice, which paid off when the dishwasher ran without any leaks for months.
Test Your New Setup Before Full Use
Once everything is in place, run the dishwasher through a cycle to verify proper drainage. Keep an eye out for water backing up or leaks. Visualize this step as test-driving a new vehicle—the final check before committing. If water drains smoothly without backflow, your high-loop setup is correct. If issues occur, re-evaluate the hose height and clamps, consulting guides like troubleshooting resources. When I did my test, a quick tweak on the hose elevation solved minor drainage hiccups, saving me from future headaches and potential warranty problems.
Keep It Tight, Keep It Safe
Regular inspections are key. Check your hose elevation and clamps periodically—think of it as routine health checkups. Over time, vibrations or accidental bumps can loosen connections. A simple tightening can prevent catastrophic leaks. Remember, neglecting this step can result in water damage or warranty claims being denied due to improper installation, as emphasized in warranty guidelines. During my own maintenance, a quick inspection saved me from the mess of a water leak that could have cost hundreds in repairs.While many homeowners focus on choosing the right dishwasher model or basic installation steps, the real shot at long-term performance and warranty benefits lies in understanding nuanced installation details that some overlook. A prevalent misconception is that installing a dishwasher is a straightforward task—many assume that if water flows and cycles run, everything’s fine. However, skipping critical steps like proper drain hose setup, secure mounting hardware, or correct wiring can lead to premature failures and even void your warranty. For example, the importance of a high-loop drain hose is often underestimated, yet correctly positioning it above sink level is vital in preventing backflow issues that could damage your unit. Moreover, selecting incompatible parts or neglecting to follow manufacturer-specific installation guidelines can trigger warranty claims denials, since manufacturers often list detailed part and connection standards in their warranty policies. Advanced installers know that using flexible, reinforced hoses and stainless steel clamps is not just for durability but also for warranty compliance, especially for 2026 models where new smart sensor integrations demand exact part specifications. An overlooked trap is reusing old parts, like plastic drain connectors, which deteriorate over time and can cause leaks—something that voids warranty and invites costly repairs. If you’re considering DIY, consult comprehensive guides such as this resource to ensure your parts meet exact standards. Do you think your installation might be missing these critical nuances? A simple misstep could compromise your warranty coverage or lead to early failures. Remember, advanced knowledge about proper part compatibility and installation techniques is underappreciated but essential. For instance, using the right grounding components and verifying all electrical connections align with manufacturer specs are high-stakes details that prevent warranty rejection. The key is to view installation not just as a task but as a safeguard for your investment. So, reevaluate your setup tonight: have you ever fallen into this trap? Let me know in the comments.
Keeping Your Dishwasher in Peak Condition
Maintaining optimal performance of your dishwasher requires more than just routine cycles. I rely heavily on specialized tools and precise methods to troubleshoot and ensure longevity. One of the most invaluable items I use is a digital multimeter, which allows me to verify electrical continuity and check sensor voltages directly. Having a high-quality multimeter like the Fluke 117 has made diagnosing electrical issues faster and more accurate, preventing unnecessary part replacements.
Another crucial tool in my kit is a set of automotive-style vacuum gauges. These help in assessing the integrity of the dishwasher’s drain and fill ports, especially when diagnosing complex leaks or air locks that could affect efficiency. Regularly inspecting these components with the right gauges prevents small problems from escalating into costly repairs.
For software diagnostics, I recommend using OEM-specific diagnostic apps on a tablet or smartphone. For example, some brands offer apps that connect via Bluetooth, providing real-time error logs and sensor data. This approach is especially helpful in the era of smart-enabled dishwashers, where issues like sensor failure or communication errors can be spotted without invasive disassembly.
Maintaining these tools involves regular calibration and keeping their battery compartments clean. For digital sensors, I also recommend periodically updating firmware using manufacturer-provided software. This ensures compatibility with future diagnostic updates and prolongs device lifespan. Accurate diagnostics not only save time but also safeguard your warranty, as proper troubleshooting can prevent misdiagnosis and unnecessary part replacements.
What is the best way to keep your diagnostic tools calibrated over time?
Investing in a calibration kit specific to your diagnostic equipment and scheduling routine checks—every six months or after heavy use—can make a big difference. For instance, calibrating your multimeter against a known voltage source ensures readings remain reliable. As technology advances, integrating newer software solutions and maintaining your tools’ firmware becomes increasingly important. Staying proactive with this maintenance preserves your ability to quickly troubleshoot and fix emerging issues, extending your dishwasher’s lifespan.
Predicting future trends, I believe we’ll see more integration of IoT-based diagnostic systems that automatically alert homeowners and service techs about impending failures before they occur. Embracing current best practices—like regular calibration and software updates—positions you ahead in managing dishwasher health effectively. Plus, adopting these advanced techniques will prepare you for the increased diagnostic complexity of 2026 models, which will demand precise component checks consistent with manufacturer standards. For detailed insights into maintaining and selecting the right parts, I recommend exploring this comprehensive resource. Consistently using and maintaining your diagnostic arsenal will not only prevent unexpected failures but also uphold your warranty coverage.
Lessons the Hard Way: What My Dishwasher Taught Me About Proper Installation
One of the most eye-opening lessons I learned was that paying attention to small details, like the height of the drain hose, can save you in the long run. I initially thought a simple loop behind the dishwasher was enough, only to face water backing up and a failed warranty claim. That experience made me realize that understanding manufacturer-specific install requirements, especially the importance of a high-loop bypass, is crucial to avoid costly repairs and warranty denials.
My Go-To Resources for Confident Dishwasher Maintenance
Over time, I found that trusted guides like this comprehensive resource and this part selection guide have been invaluable. They helped me select durable hoses and clamps that meet the latest standards, especially for 2026 models requiring precise parts. Using high-quality, manufacturer-approved components has made my dishwasher runs smoother and protected my warranty, giving me confidence every time I press start.
Stay Curious: Your Dishwasher’s Future Looks Bright
Remember, mastering proper installation and maintenance techniques is not just about fixing problems—it’s about proactively safeguarding your investment. Keep learning, stay vigilant with routine inspections, and don’t hesitate to dive into detailed resources. Your dishwasher is a vital part of your daily routine, and giving it the proper care now can prevent headaches down the line. Are you ready to check those drain hoses and fittings today? Share your experience below—I’d love to hear your tips or challenges with dishwasher installation and maintenance.
Related Posts
The Mounting Bolt Mistake That Makes New Dishwashers Shake
Ever since I installed my new dishwasher, I couldn’t ignore…
Why Reusing an Old Water Supply Line is a Recipe for Disaster
It was a typical Saturday morning when I finally decided…
Why Your High-Loop Drain Is Essential for Sanitary Cleaning
I'll never forget the moment I discovered a tiny, overlooked…
Comments are closed.