
It was a typical Saturday morning when I finally decided to upgrade my kitchen appliances. I ordered a sleek new dishwasher, eager to get it installed myself. Little did I know, a small detail would turn into a months-long frustration—until I uncovered the proper way to secure the side-mount bracket. That rookie mistake nearly cost me the entire operation!
Why Properly Securing a Side-Mount Dishwasher Bracket Matters More Than You Think
When I first installed the dishwasher, I rushed through the bracket attachment, thinking all that mattered was the machine being level and connected. But within weeks, my brand-new appliance wobbled oddly during cycles, and I started noticing water leaks. Turns out, that shaky installation was a ticking time bomb waiting to happen.
Secure mounting isn’t just about keeping your dishwasher steady; it’s critical for long-term performance, preventing leaks, and protecting your investment—something I learned the hard way. Properly installed brackets ensure your machine doesn’t shift, vibrate excessively, or suffer damage—a mistake that can lead to costly repairs or warranty voids.
Choosing the wrong hardware or installing with poor technique has serious consequences. In fact, according to appliance experts, an improperly secured dishwasher can cause misalignment of internal parts, leading to efficiency loss and even early failure. For a comprehensive list of what to check during installation, I recommend reviewing this guide.
So, how do you avoid this pitfall? Let’s dive into the steps that will help you get it right the first time—and save yourself from future headaches.
Secure the Mounting Bracket Correctly
First, locate the side-mount bracket that came with your dishwasher and identify the screw holes. Use a level to ensure the appliance sits evenly; a tilted machine can cause improper bracket placement. Tighten the screws firmly but avoid overtightening, which can strip the bracket or damage the surrounding cabinetry. I once used a power drill with a gentle touch, and the secure fit prevented any wobbling during operation, saving me from future leaks.
Choose the Right Hardware
Always opt for stainless steel or corrosion-resistant screws compatible with your dishwasher model. Using inferior parts is like building a house on quicksand; it won’t hold over time. Check the manufacturer’s specifications or consult this guide to verify you’re using appropriate fasteners. During my installation, I mistakenly used generic screws, which rusted quickly, compromising the bracket’s hold.
Level the Appliance Before Finalizing
After securing the bracket, confirm the dishwasher is perfectly level. Use a spirit level across the front and sides; small adjustments can be made by loosening and retightening screws. Think of it like balancing a tightrope; even a tiny tilt can create instability. I once overlooked this step, and the subsequent vibrations caused internal parts to misalign, leading to early failure. Proper leveling ensures your bracket and dishwasher share a long, leak-free life.
Check the Connection of the Bracket to the Frame
Attachment isn’t just about screwing in hardware; ensure the bracket is firmly anchored to the dishwasher’s frame. Use the manufacturer-recommended bolts or clips, which you can find in the common parts guide. A loose connection can cause internal movement, similar to a boat rocking in choppy waters, risking damage or disconnects. In my experience, a tight, well-connected bracket maintained the integrity of the entire setup.
Secure and Verify All Components
Once installed, double-check every screw, bolt, and connection. Gently shake the dishwasher to test stability; any movement indicates a need for re-tightening. This step acts as a final inspection and ensures your investment isn’t compromised. I once skipped this verification, and the uneven tension caused the bracket to loosen over time, which I caught only when water started leaking during a cycle. Consistent checks save time and money.
Regular Maintenance and Reassessment
Even after a successful installation, periodically inspect the bracket’s condition, especially if you notice unusual vibrations or noises. Corrosion or wear can weaken the mounting over time, like rust eating away at a bridge’s supports. Make it a habit to revisit your installation after the first few cycles and every six months thereafter. My proactive approach saved me from a potential flood caused by a previously unnoticed loose bracket, safeguarding both my kitchen and peace of mind.
Many homeowners operate under misconceptions when it comes to installing their dishwashers and understanding warranty coverage. Let’s clarify some of these myths and reveal nuanced details that can save you time and money. While most believe that following basic instructions suffices, the real expertise lies in understanding the intricate details of parts selection and installation techniques, which can influence warranty validity and appliance longevity.
Why Your Choice of Parts Could Undermine Your Warranty
It’s a common belief that any replacement part will do in a pinch, but manufacturers often specify particular components to ensure performance and warranty coverage. Using incompatible or generic parts can void your warranty—something many overlook. For example, selecting the wrong inlet valve or spray arm not only risks damage but also may lead to rejection of warranty claims. Visit this guide for details on proper parts selection.
Installing with Hardware Not Approved by the Manufacturer
Many underestimate how critical hardware choices are during installation. Screws and brackets need to be corrosion-resistant and rated for the environment. Improper hardware can wear out or cause misalignment, leading to internal damage, which is often excluded from warranty coverage. Always verify specifications and consult manufacturer instructions to avoid inadvertent policy violations. Checking the recommended parts list helps prevent this mistake.
Can Rushing the Installation Void Your Warranty?
Yes. Overlooking steps like proper leveling, securing brackets, or correct drain positioning can result in early failure or leaks. These issues are usually categorized as user installation errors and are not covered under warranty. Experts emphasize meticulous adherence to installation protocols, as detailed in this step-by-step guide. Skipping proper setup may seem quick, but the long-term costs outweigh the initial savings.
Are Extended Warranties Worth It Despite These Nuances?
Many assume that extended warranties cover everything, but in reality, they often exclude damages caused by improper installation or use of non-recommended parts. A deep understanding of what your warranty covers can prevent surprises. For a clear overview, see this overview. Being proactive in parts selection and installation ensures you maximize your warranty benefits.
Knowing these nuanced details can mean the difference between a perfectly functioning dishwasher and costly repair bills. Don’t fall for common myths that overlook critical steps or oversimplify warranty rules. Careful attention to detail ensures long-term performance, peace of mind, and adherence to warranty policies. Have you ever fallen into this trap? Let me know in the comments.
Maintaining a dishwasher’s performance over time requires more than just regular use; it demands the right tools and a proactive approach. I personally rely on a few specialized instruments to ensure my appliance stays in top shape, especially when troubleshooting or performing minor repairs. Foremost among these is a high-quality multimeter, which I use to verify electrical connections and test the integrity of sensors and switches. Its precision helps me quickly identify issues like faulty door latches or control panel problems, saving me time and avoiding unnecessary replacements. Additionally, I swear by a small, flexible bore brush for cleaning spray arms and filters—these components tend to clog with mineral deposits or debris, leading to poor wash performance. Regular cleaning with this brush restores water flow and prevents costly breakdowns. When it comes to software, I recommend using diagnostic apps compatible with smart dishwashers, as they provide real-time data on cycle status and error codes. This visibility enables targeted troubleshooting, especially for leak sensors or Wi-Fi connectivity issues. As technology advances, integration with voice assistants or smart home systems will likely become standard, making maintenance even easier. Looking ahead, I predict that AI-driven diagnostics and predictive maintenance will revolutionize appliance care, reducing downtime and extending lifespan. To get started with your own maintenance regime, I suggest investing in a digital multimeter and committing to monthly cleanings of spray arms and filters, as outlined in this comprehensive guide. For those ready to elevate their DIY skills, try calibrating your sensor system using a multimeter—you’ll be surprised how much more responsive your dishwasher becomes. Remember, a little effort today means fewer surprises tomorrow, and keeping your appliance in peak condition saves money in the long run.
Lessons That Changed My Dishwasher Game Forever
One of the toughest lessons I learned was the importance of patience and precision. Rushing through bracket securing nearly resulted in a costly repair, teaching me that careful double-checking prevents future headaches. Additionally, I realized that investing in quality, manufacturer-recommended parts pays off—saving money and preserving warranty coverage. Finally, understanding the nuances of leveling and securing the appliance has made my setup more reliable and leak-proof, making me a more confident DIYer.
Tools and Resources That Made All the Difference
My go-to toolkit includes a high-quality digital multimeter for electrical checks and a flexible spray arm brush for maintenance—these tools have saved me from unnecessary replacements. I also rely on trusted guides like this comprehensive parts guide to ensure I choose compatible hardware. For step-by-step installation, this detailed walkthrough has been invaluable in avoiding common pitfalls.
Your Dishwasher Journey Starts Now
Take the leap, apply what you’ve learned, and don’t shy away from the challenge. Proper installation and maintenance not only extend your dishwasher’s lifespan but also give you peace of mind knowing you’ve done it right. Remember, every great DIY project begins with a single confident step—so go ahead and make your kitchen smarter and safer today.
Related Posts
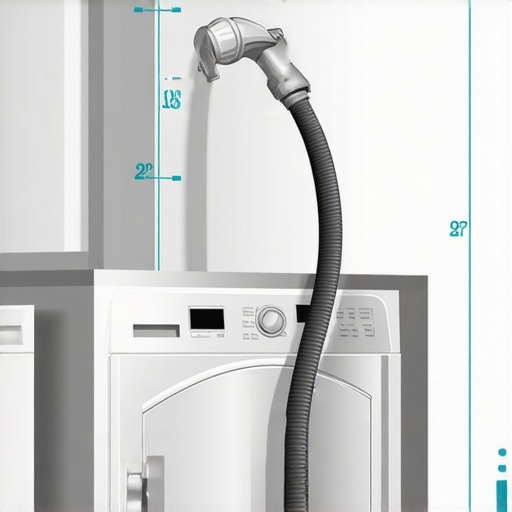
The Exact Height Your Drain Hose Loop Needs to Be
Have you ever finished installing your dishwasher only to find…
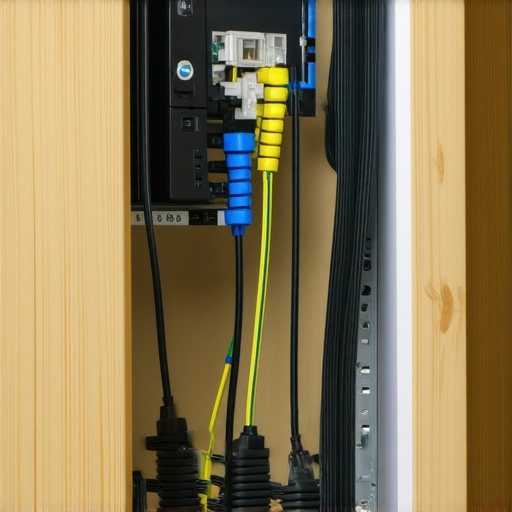
The Correct Way to Route Wiring Through a Kitchen Cabinet
I still remember the smell of sawdust and the sharp…
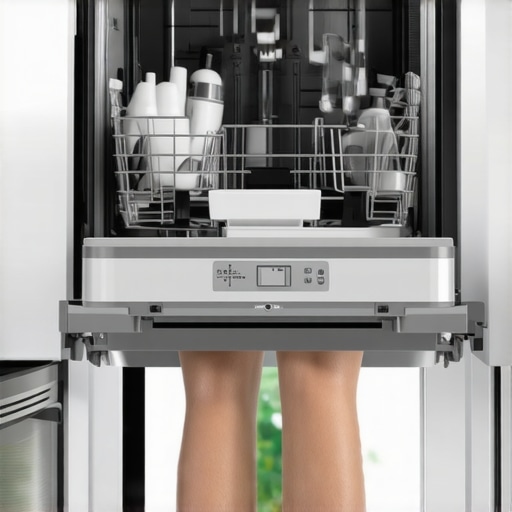
How to Stop Your Dishwasher From Moving When You Open the Door
Picture this: You're mid-way through a busy morning, eager to…