It was a frustrating Saturday afternoon when I finally realized my dishwasher was behaving strangely—constantly cycling, wasting water, and skyrocketing my energy bill. The culprit? I had overlooked a simple setting related to water hardness. That lightbulb moment made me rethink everything I knew about appliance efficiency. If you’ve ever been confused about why your machine isn’t running as smoothly as it should, you’re not alone. Today, we’re going to dive into a seemingly small but crucial detail that can impact your energy savings: water hardness settings.
The Hidden Power of Water Hardness Settings
Many homeowners assume that once their dishwasher is installed, their job is done. But the truth is, tweaking settings like water hardness can significantly enhance performance and cut down costs. I learned early on that neglecting this setting caused mineral buildup, which forced the machine to work harder—using more energy and water, and ultimately shortening its lifespan. Adjusting the water hardness correctly can prolong your appliance’s life and keep your utility bills in check. If you want to avoid my rookie mistake, understanding this setting is essential.
Is Water Hardness Adjustment Really Worth the Fuss?
At first, I thought it was just another technical detail, perhaps an unnecessary hassle. But neglecting it turned out to be a costly error. According to the Water Quality Association, untreated hard water can lead to scale buildup, decreasing appliance efficiency by up to 50%. This not only wastes resources but also risks damaging your appliances over time. So, yes, taking a few minutes to set the right water hardness can save you hundreds of dollars in the long run.
One mistake I made was assuming that water coming into my home was soft enough. But in areas with hard water—especially those with well water or high mineral content—failure to adjust the hardness setting can cause ongoing problems. If you’re worried about whether your current setting is optimal, it might be time to double-check your water test results or contact a professional. Remember, proactive adjustments are always better than reactive repairs.
If you’ve noticed your dishes aren’t coming out spotless or your machine is making unusual noises, it might be time to reassess your water hardness setting. For step-by-step guidance on making these adjustments and other troubleshooting tips, visit our detailed guide on troubleshooting dishwasher installation issues. Staying on top of these small details can make a big difference in your appliance’s performance and your wallet.
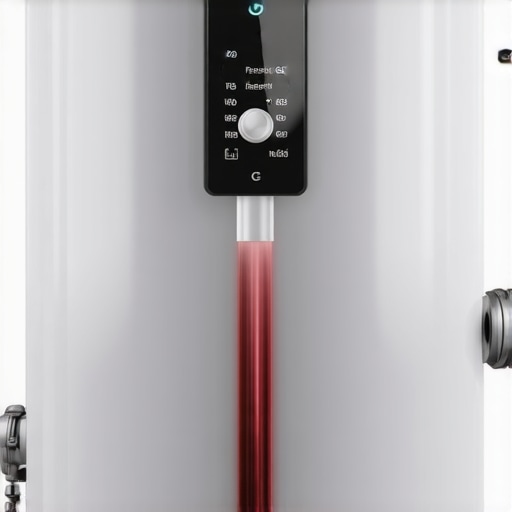
Locate and Access Your Dishwasher’s Water Hardness Setting
First, turn off your dishwasher and open the control panel or user interface—consult your owner’s manual if necessary. Many modern dishwashers have a dedicated menu for maintenance or settings. Identify the water hardness or mineral content setting, often labeled as “Water Hardness” or “Mineral Level.” If your model lacks a visible setting, check the digital display or onboard menu for advanced options. Moving cautiously ensures you don’t accidentally alter other crucial settings.
Test Your Water Hardness
Before making adjustments, determine your water’s mineral content. Use a water testing kit available at hardware stores, or contact your local water provider for recent reports. If you have well water or suspect high mineral levels, the test kit will confirm if your water is hard, soft, or somewhere in between. This step is vital because an incorrect assumption may lead to improper dishwasher performance and scale buildup, similar to how a misaligned gear causes machinery wear.
Perform a water test and interpret results
Your test will show grain or ppm (parts per million). For example, above 7 grains or 120 ppm indicates hard water requiring special attention. Record the data for comparison during adjustment. Keep in mind that areas with high mineral content like mine require more precise calibration—akin to tuning a musical instrument for perfect pitch—so your dishwasher operates efficiently.
Adjust the Water Hardness Setting
Follow your dishwasher’s manual to modify the setting. Usually, you’ll press specific buttons or navigate menus to select the correct hardness level—refer to your water test results. For example, select “Hard” if your water exceeds 7 grains or the equivalent, or “Soft” for lower levels. Some models require entering a numerical value or choosing from predefined levels. Think of this adjustment as setting the right flavor in a recipe—precision here yields cleaner dishes and prevents mineral buildup.
Save your settings and run a test cycle
After adjusting, save your new configuration and run a quick cycle with an empty dishwasher. Check the results after completion—look for spots, streaks, or mineral deposits. If issues persist, recheck your settings and water test results. It’s comparable to fine-tuning a sports car’s suspension—small tweaks can significantly improve performance. Properly calibrated water hardness keeps your machine working smoothly for years and lowers energy bills. For more tips on preventing common dishwasher issues, visit our guide on troubleshooting dishwasher installation issues.
Many homeowners believe that choosing the right parts or understanding their warranty covers everything about dishwasher maintenance, but in my experience, the real pitfalls lie in overlooked nuances. A common misconception is that aftermarket parts are always inferior; however, selecting high-quality, compatible components can enhance performance and longevity. The trap here is assuming that OEM parts are the only option, which isn’t necessarily true. Always researching and verifying parts through trusted sources ensures your dishwasher runs smoothly without unnecessary expenses.
Another nuanced mistake involves warranties. Many forget that warranties often exclude certain damages caused by installation errors or improper usage. For example, neglecting to use the correct water pressure or failing to properly secure water supply lines can void your warranty or lead to costly repairs. It’s crucial to read the fine print; understanding what is and isn’t covered can save you from surprise expenses. For detailed insights, check out our guide on what your dishwasher warranty doesn’t cover.
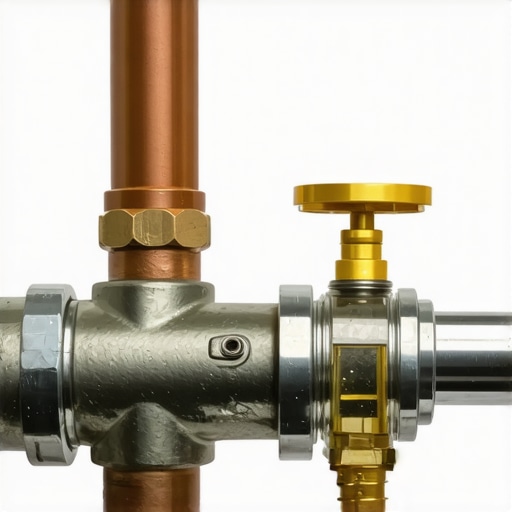
One advanced mistake is misinterpreting the role of certain parts during installation. Using the wrong size or type of clamps, or not applying Teflon tape correctly, can lead to leaks and long-term damage. It’s not just about following the instructions — it’s about understanding the purpose of each component. For instance, a brass compression fitting isn’t just a premium choice; it offers durability and a tighter seal, preventing leaks over time. To ensure you’re making the right selections, explore our resource on tips for choosing the right parts.
Now, let’s tackle an often-ignored aspect: the importance of proper drain and water supply line installation. Incorrect positioning can cause silent leaks, mold issues, and even cabinet damage. The common mistake is reusing old or cheap hoses without inspecting their condition. Reusing worn-out supply lines is a significant error that can lead to catastrophic water damage. Always opt for braided stainless-steel hoses for longevity and safety—your future self will thank you.
A critical question that advanced homeowners ask is: How can I troubleshoot warranty claims effectively when parts fail unexpectedly? It boils down to documentation and understanding warranty policies thoroughly. Keeping receipts, photographs of installed parts, and detailed records can facilitate smoother claim processes. Visiting our guide on diagnosing parts during warranty periods can equip you with better strategies.
An images worth visualizing here would be of correctly secured water hoses versus misaligned or old hoses—the difference is night and day in preventing leaks. 
Make no mistake: paying attention to these subtle but critical details can save you hundreds—or even thousands—in the long run. Proper part selection, understanding warranty exclusions, and meticulous installation practices are what separate seasoned homeowners from novices. Have you ever fallen into this trap? Let me know in the comments.Maintaining your dishwasher’s performance over time requires the right tools and a methodical approach. I personally prioritize a high-quality digital multimeter for troubleshooting electrical issues, as it provides precise voltage and continuity readings essential for diagnosing control board problems effectively. Additionally, I use a specialized tool like a Teflon tape dispenser to ensure perfect seals on water supply fittings, reducing leaks and preventing warranty voids. For cleaning components such as spray arms and filters, I recommend a small ultrasonic cleaner — it removes stubborn mineral deposits without damaging delicate parts, prolonging their functionality. To monitor water hardness consistently, I utilize a digital water tester calibrated regularly; this ensures settings stay accurate, preventing mineral buildup. Looking ahead, smart diagnostic apps are becoming more integrated with appliances, offering remote troubleshooting and maintenance scheduling, which will simplify long-term upkeep.
What I Wish I Knew About Water Hardness Before It Cost Me
One of the most valuable lessons I learned was that water hardness isn’t just a minor detail—it’s a critical factor influencing your dishwasher’s performance and lifespan. I used to overlook this setting, assuming my home’s water was adequate. That mistake led to mineral buildup, inefficient cleaning, and increased energy bills. Discovering how to properly test and adjust water hardness transformed my appliance maintenance routine, saving me time and money, and it can do the same for you.
Another insight was that modern dishwashers often hide this setting deep within menus or require manual calibration with test results. Rushing through setup could easily leave you with subpar cleaning results. I recommend dedicating a few minutes to test your water accurately and follow your model’s procedures to calibrate the hardness level correctly. This small step is a wise investment that pays off with better cleaning, longer appliance life, and lower utility bills.
A surprising lesson was how high mineral content can subtly damage your dishwasher’s components over time, especially heating elements and spray arms. Without proper adjustment, scale deposits form, requiring costly repairs or replacements. Learning to identify early signs of mineral buildup and taking preventive action became a game-changer, emphasizing that proactive maintenance centered around water quality is essential.
Finally, I realized that integrating water testing with ongoing monitoring ensures sustained performance. Using digital testers and keeping records helped me fine-tune settings as water conditions changed seasonally or after plumbing upgrades. This proactive approach emphasizes that water hardness management isn’t a one-time fix but an ongoing process critical to appliance health.
My Trusted Toolkit for Water Hardness Management
- Digital Water Testing Kit: Precise and easy to use, enabling quick testing at home. I personally trust these kits for their accuracy, helping me avoid guesswork and ensuring proper calibration.
- Resourceful Water Quality Reports: Local water supplier reports provide reliable data on mineral content, helping me confirm my test results and adjust accordingly. I prefer official sources because they reflect changing water conditions.
- Dishwasher Manual and Service Guides: These contain valuable insights into adjusting water hardness and troubleshooting related issues. I recommend thoroughly reviewing these documents to optimize your setup.
- Educational Content and Expert Blogs: Regularly updated blogs provide practical tips and updates on water treatment trends. These sources help me stay informed about new techniques and tools for maintaining optimal water quality.
Harnessing Knowledge for a Longer Dishwasher Life
Embarking on your water hardness calibration journey might feel technical at first, but the rewards are considerable. Recognize that each minor adjustment you make—testing, setting, monitoring—builds toward efficient cleaning, reduced wear, and significant savings. Don’t wait until mineral buildup causes costly repairs; instead, embrace proactive management. With proper knowledge, quality tools, and a mindful approach, you can extend your dishwasher’s lifespan and enjoy spotless dishes with less hassle. What steps will you take today to master your water hardness settings? Share your plan below!
Related Posts
The Water Hardness Setting Most People Never Configure
It was a typical Wednesday when I finally looked under…
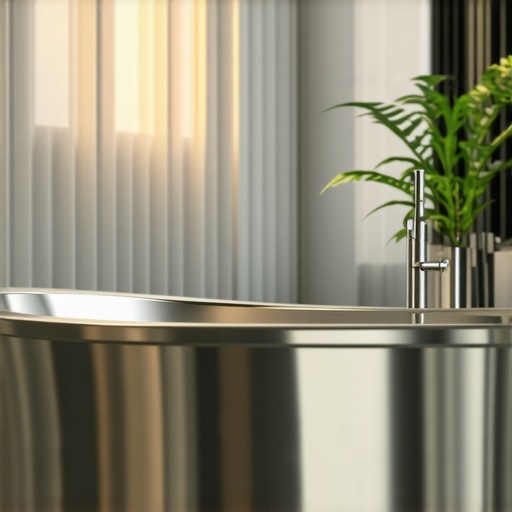
Why Stainless Steel Tubs Are Worth the Extra Investment
I remember the first time I watched my old dishwasher…
Why Your Energy-Star Rating Depends on Your Water Temperature
It was a typical Tuesday when I heard that dreaded…