
Ever kicked on your dishwasher only to be greeted by a loud buzzing noise, a cycle that drags on forever, or—worse—an error code indicating the heating element has failed? I remember the day I stood in my kitchen, staring at a dripping, useless appliance, thinking, “How did this happen so quickly?” It was a lightbulb moment for me: my hard water was silently destroying one of my most vital and expensive components, the heating element.
As someone who’s been through the frustration of suddenly needing a costly repair, I promise you—you’re not alone. Many homeowners overlook the sneaky effects of hard water until it’s too late. Today, I want to share how hard water impacts your dishwasher’s heating element, why it’s a common culprit for early failures, and most importantly, what you can do to protect your appliance. Because understanding this hidden danger can save you hundreds of dollars and prevent those unexpected breakdowns.
Hard Water and Your Heating Element: The Hidden Enemy
Is Hard Water Really a Big Deal for Dishwashers?
Hard water contains high levels of minerals like calcium and magnesium, which can coat and corrode metal parts over time. Early in my repair experience, I made the mistake of thinking that water quality was just a minor detail—until I replaced my first heating element prematurely. The mineral deposits build up around the element, acting like a form of insulation, making it work harder to heat water. This leads to increased energy consumption, and ultimately, a shortened lifespan for the part.
If you’re curious, studies show that mineral buildup from hard water can decrease the efficiency of heating elements by up to 40%, causing cycle failures and increased costs. It’s a sneaky process that quietly chips away at your appliance’s health.
One mistake I made was neglecting regular maintenance — skipping the cleaning of spray arms and filters, which only worsened the mineral accumulation. For more tips on effective maintenance routines, check out [essential parts for troubleshooting](https://appliancedoctorz.com/essential-parts-for-troubleshooting-dishwasher-installation-issues).
So, how do you keep hard water from turning your dishwasher into an expensive paperweight? That’s what we’ll cover next. But first, tell me — have you ever experienced these signs? A dishwasher that suddenly stopped heating, strange noises during cycles, or a noticeable increase in your electricity bill? If so, keep reading, because the solution is closer than you think.
Gathering Essential Parts and Tools
Start by assembling all necessary components. Obtain a compatible replacement heating element, which you can find in the common dishwasher parts list, ensuring it matches your model. Also, gather screwdriver, multimeter, gloves, and towels. Remember, working with electrical parts requires caution; turn off the power supply before beginning.
Safely Disconnect and Prepare the Appliance
Unplug the dishwasher or switch off the circuit breaker. Pull out the appliance, and disconnect the water supply hose. Use towels to catch any residual water. For detailed disconnection steps, refer to installation guide. Moving your dishwasher safely prevents injuries and ensures a smooth repair process.
Accessing the Heating Element
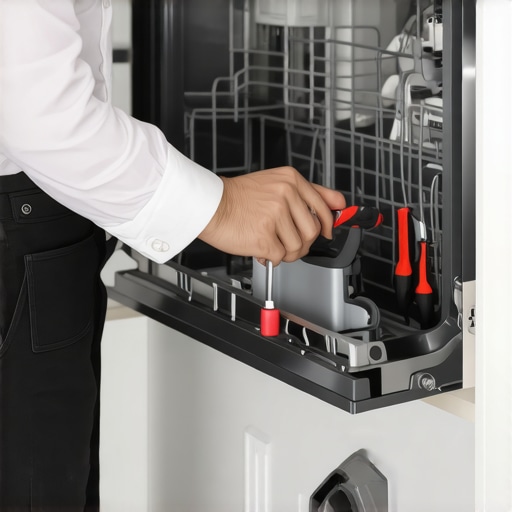
Remove the lower panel or toe kick panel using a screwdriver. Locate the heating element at the bottom; it typically has two wires connected. Use the installation parts overview for orientation. When detaching wires, note their positions or take photos for accurate reassembly.
Testing the Existing Element
Before removing, test the heating element with a multimeter set to resistance mode. Place probes on each terminal; a reading around 15-30 ohms indicates good functionality. If the circuit is open or shows infinite resistance, replacement is necessary. This step saved me from unnecessary repairs when I checked mine—saving time and money.
Removing and Replacing the Heating Element
Loosen mounting screws then carefully pull out the faulty element. Insert the new part, aligning it with the mounting bracket. Secure it firmly but avoid over-tightening to prevent damage. Reconnect the wires to their original positions, ensuring secure contact. For detailed bolt-tightening techniques, see troubleshooting parts guide. Proper installation guarantees efficiency and durability.
Testing and Reassembly
Before fully reassembling, restore power and run a short cycle to verify the heating element heats water properly. Use caution: steam and hot water are hazards. If the dishwasher heats as expected, turn off power, secure all panels, and slide the unit back into its position. Confirm all connections are tight, and water flows correctly. This proactive check prevents future failures and extends your appliance’s lifespan.
Additional Tips for Hard Water Protection
Since hard water accelerates part failure, consider installing a water softener or using descaling agents regularly. This simple addition protects your new heating element from mineral buildup, maintaining efficiency. Good maintenance routines are key: clean filters, spray arms, and run vinegar cycles periodically. For detailed maintenance practices, visit long-term-performance guide.
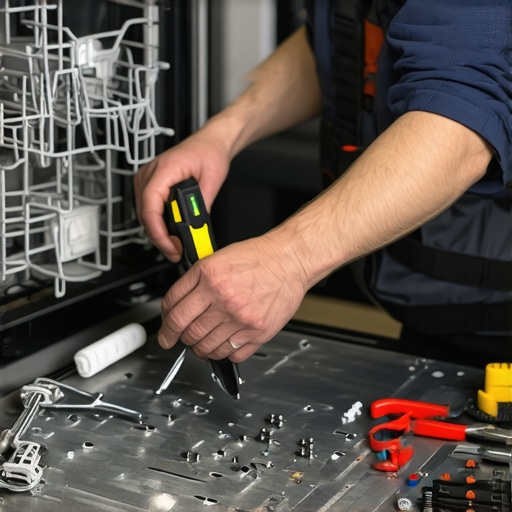 While many believe that installing a dishwasher is as simple as hooking up water and power, the reality is far more complex. A common misconception is that following the basic steps guarantees warranty coverage, but in my experience, missing out on nuanced details can lead to costly voids and repairs. For instance, selecting the wrong parts—such as incompatible water inlet valves or mismatched spray arms—not only diminishes performance but can also jeopardize warranty claims. To maximize your coverage, it’s crucial to understand what specific parts are covered under your warranty, which isn’t always obvious. Overlooking the importance of proper installation angle or neglecting to use manufacturer-recommended connectors often results in leaks or mechanical failures that void warranties, despite good intentions. Have you ever fallen into this trap? Let me know in the comments.
Understanding the pitfalls in installation procedures is vital because many assume that standard DIY methods suffice. But the subtleties—like ensuring correct leveling for optimal water drainage or verifying that electrical connections meet specific voltage and grounding requirements—are often misunderstood. These details can influence not just the lifespan of your dishwasher but also your warranty protection. Experts emphasize that even minor deviations from manufacturer instructions can lead to warranty denials, a fact supported by studies indicating warranty disputes frequently arise from installation errors (source: [Appliance Doctorz](https://appliancedoctorz.com/understanding-dishwasher-warranty-policies-for-peace-of-mind)).
One advanced mistake homeowners make is neglecting to verify the condition of internal components before installation. For example, installing a dishwasher with an old, corroded inlet valve or damaged spray arms can cause premature failure, which might be argued as a manufacturer’s defect but often results in a voided warranty if the issue stemmed from unqualified installation or maintenance. Remember, some parts—like the heating element or control boards—are covered under warranty only if installed properly and maintained regularly. As such, knowing which parts fall under warranty coverage and understanding the specifics—such as required inspection intervals—are keys to long-term appliance health. For comprehensive guidance, explore [the complete list of dishwasher parts covered by warranty](https://appliancedoctorz.com/the-complete-list-of-dishwasher-parts-covered-by-warranty).
Similarly, many overlook the importance of documentation. Logging installation details, maintenance routines, and parts replacements can be invaluable when filing warranty claims or troubleshooting disputes. Neglecting to record these details often results in claim rejections, even when the fault genuinely lies with a faulty component. To avoid this, keep a detailed maintenance journal and photographs of your installation process. This proactive approach can significantly smoothen warranty procedures and expedite repairs.
In conclusion, mastery over dishwasher installation and maintenance demands attention to nuance—understanding warranty specifics, choosing the correct parts, adhering strictly to installation guidelines, and keeping thorough records. By digging deeper into these facets, homeowners can prevent unnecessary expenses and ensure their appliances operate optimally for years to come. Let’s be honest—skimping on the details is tempting but costly. Equip yourself with knowledge and avoid common pitfalls. For expert advice on troubleshooting or selecting parts, visit [Appliance Doctorz’s troubleshooting guide](https://appliancedoctorz.com/expert-advice-on-dishwasher-installation-troubleshooting) or browse [warranty coverage](https://appliancedoctorz.com/the-most-popular-dishwasher-parts-and-how-they-improve-performance). Have you ever fallen into this trap? Share your experience below!
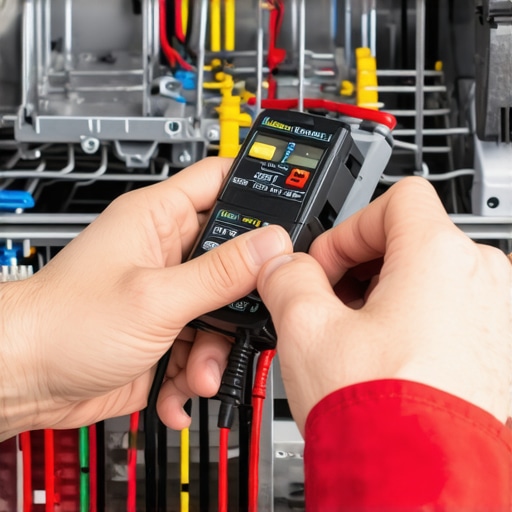
Keeping your dishwasher running smoothly over time hinges on using the right tools and adopting proactive maintenance routines. I personally rely on a few specialized pieces of equipment that streamline diagnostics and repairs, saving me both time and money. For example, a high-quality digital multimeter is indispensable; it helps me quickly verify electrical continuity or voltage at critical points, such as the heating element connections, ensuring that parts like the heating element are functioning correctly before any replacement.
Another tool I recommend is a flexible inspection camera, which allows me to peer into tight spaces like the dishwasher’s interior or underneath the unit without disassembly. This saves me from unnecessary teardown and helps identify mineral buildup or corrosion early on. Coupled with a detailed service manual or repair guide, such as those found on expert installation resources, these tools enable precise troubleshooting and maintenance.
Regularly cleaning internal components with descaling solutions and inspecting door seals and spray arms also extend appliance lifespan. For long-term results, I schedule routine checks at least twice a year—focusing on parts prone to mineral damage. I’ve found that maintaining a log of repairs and replacements ensures I don’t overlook critical issues, supporting warranty claims and preventing unexpected breakdowns. Considering trends in smart diagnostics, future tools might include AI-powered sensors that alert homeowners to early signs of part degradation—an exciting development on the horizon. To get started, try incorporating a multimeter check into your routine; it’s surprisingly straightforward and significantly beneficial.
How do I maintain my dishwasher parts over time?
One practical tip is to familiarize yourself with the parts to check during installation and maintenance. Regular testing and cleaning of components like the inlet valve, spray arms, and filters prevent mineral buildup and mechanical failure. Using appropriate descaling agents is crucial—avoid harsh chemicals that might damage seals. Also, maintaining correct wiring and electrical connections ensures longevity and preserves warranty validity, especially if you document your maintenance steps as recommended in warranty guidelines. Remember, preventative care combined with precise diagnosis using proper tools guarantees your dishwasher continues to serve you reliably for years to come. For more detailed methods, consult the comprehensive extended maintenance strategies.
What I Wish I Knew About Hard Water and Appliance Longevity
One of the most eye-opening lessons I learned was how mineral buildup from hard water can silently sabotage your dishwasher’s heating element, leading to costly repairs. I used to dismiss water quality as a minor detail, but now I realize it’s a critical factor that can make or break your appliance’s lifespan. Regularly inspecting and descaling your dishwasher saved me from premature part replacements and kept my warranty valid — a simple step that paid huge dividends.
Another insight was understanding the fine print of warranties. Many homeowners think that warranty coverage is straightforward, but missing subtle clauses about installation and maintenance can void your protection. For example, using incompatible parts or neglecting recommended installation guidelines, like proper leveling, can nullify warranty claims. My lightbulb moment? Always verify that every part and installation step aligns with manufacturer specifications, ensuring coverage is intact when you need it most.
And don’t underestimate the power of documenting your maintenance! Keeping detailed records of repairs, part replacements, and inspections provides solid proof if warranty disputes arise. When I started logging my routines and saving photographs of installations, I felt more confident in my ability to justify warranty claims and catch issues early, especially related to mineral deposits and electrical checks.
My Go-To Tools and Resources for Dishwasher Maintenance
A reliable multimeter has become essential for me in testing heating elements and electrical connections, which many DIYers overlook. It’s a small investment that offers big peace of mind. I also swear by a flexible inspection camera — it reveals mineral buildup in tight spaces without unnecessary disassembly. To keep my dishwasher running optimally, I use a recommended descaling solution and schedule biannual inspections based on trusted guides like parts to check during long-term maintenance.
Lastly, I lean on comprehensive online resources, such as troubleshooting guides and detailed manufacturer manuals. These tools empower me to diagnose issues early, especially those caused by mineral deposits or electrical faults, saving time and money in repairs. Building your toolkit and knowledge base is truly an investment in your appliance’s future.
Seize Control and Make Hard Water Work for You
Taking proactive steps — like installing a water softener or using descaling agents regularly — transforms hard water from a silent enemy into a manageable challenge. Regular maintenance routines, combined with proper part selection and installation, extend your dishwasher’s life and keep warranties intact. Remember, owning an appliance isn’t just about initial setup; it’s about ongoing care and learning from your experiences. My advice? Stay vigilant, document diligently, and leverage trusted resources to ensure your dishwasher remains a reliable part of your home. How have you tackled hard water issues or warranty concerns in your own experience? Share your tips or stories below, and let’s learn together!”} mechanics: {
Related Posts
How to Manually Force a Drain Cycle During a Pump Failure
Imagine this: you're in the middle of a busy week,…
How to Clear a Stubborn Clog in Your Circulation Pump Housing
It was a morning like any other, but as I…
How to Manually Open a Dishwasher Door When the Latch Jams
Ever had that sinking feeling when your dishwasher won't open…