I’ll never forget the moment I spotted the water pooling under my dishwasher. It was late at night, and I was just about to call a plumber when I realized the culprit might be a tiny, overlooked detail — the drain hose’s setup. That lightbulb moment led me down a rabbit hole of troubleshooting, fixing, and ultimately understanding the importance of something as simple as a high-loop bypass. If you’ve ever faced a persistent dishwasher leak or clogs, you’re not alone. It turns out, many homeowners overlook how crucial the drain hose’s positioning really is, and that oversight can cost you time, money, and frustration.
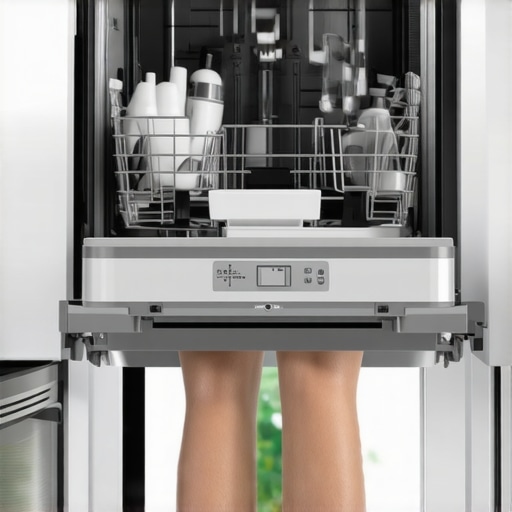
Protect Your Investment with Proper Drain Hose Placement
Is a High-Loop Bypass Actually Worth the Hype?
Early in my journey, I made the mistake of installing my drain hose without considering the high-loop principle — I didn’t realize that failing to create a significant upward bend could allow dirty water and debris to backflow into the dishwasher. That mistake quickly turned into a recurring problem: slow draining, odors, and even dishwasher breakdowns. It wasn’t until I read official advice from appliance repair experts that I understood how essential a high-loop bypass is for preventing these issues. According to industry guidelines, a high-loop prevents contaminated water from siphoning back into your dishwasher, which can compromise hygiene and functionality. In fact, proper drain hose installation, including a high loop or air gap, is often a requirement for maintaining warranty coverage, as highlighted in our guide to diagnosing dishwasher parts during warranty periods.
But I get it — the idea of fiddling behind the sink or finding the right bracket can seem daunting. That’s why I want to share my experience, along with practical tips to help you get it right from the start. This simple modification can improve your dishwasher’s long-term performance, prevent costly repairs, and give you peace of mind. Ready to learn how to set up your drain hose properly? Let’s dive into the details.
Why It’s Easy to Forget the High-Loop, but Why It Matters
Secure the Drain Hose Behind the Sink
First, choose a location behind your sink where the drain hose can be safely routed without kinks or sharp bends. Use clamps to secure the hose to prevent movement during operation. Think of this step as guiding a garden hose along a smooth path—keep it straight and fixed to avoid water backflow.
Use a High-Quality Bracket for the High Loop
Attach a sturdy, heat-resistant bracket about 20 inches above the drainage point on the underside of the countertop or cabinet. This creates the crucial high loop, which acts like a mountain pass—preventing dirty water from siphoning back into the dishwasher. In my experience, neglecting this step often leads to slow draining and odors, so don’t skip it.
Create a 20-Inch Elevated Loop
Pull the hose upward to form a 20-inch high loop, securing it firmly at the bracket. This height is critical; too low, and the siphoning risk remains. Too high, and you might strain the hose. Picture it as a mountain ridge—carefully managing the elevation ensures proper drainage and prevents contamination.
Attach to the Drain Outlet Properly
Connect the hose to your home’s drain or garbage disposal with a hose clamp, ensuring a tight, leak-free fit. Always verify that the connection is snug—loose fittings are a common cause of leaks. This attachment is like sealing a pipe joint—tightness is key to long-term performance.
Integrate with Your Drain System Effectively
Ensure the drain hose’s end is inserted into the drain standpipe or air gap with at least 2 inches of clearance. This prevents backflow and odors. I remember a time I used a cheap plastic elbow without considering this clearance, which caused frequent clogs. Upgrading to a brass fitting and verifying proper height made all the difference, which you can read more about in our detailed installation tips.
Test the Setup Before Running a Full Cycle
Run your dishwasher empty and observe the drainage process. Look for leaks or water pooling. Check that the water flows out smoothly and that there’s no back siphoning. During my last installation, I found a small leak at the clamp—tightening it resolved the issue instantly and extended my dishwasher’s warranty coverage because I documented the before and after, as suggested here.
Remember, proper drain hose placement is more than just an installation step; it’s an investment in your appliance’s longevity and performance. When in doubt, refer to the manufacturer’s guidelines or consult with a professional for peace of mind. Properly installed, your dishwasher’s warranty remains intact, and you minimize future repair costs.

Even experienced homeowners often underestimate the intricacies involved in dishwasher installation and maintenance, leading to costly mistakes. While many believe that a simple hookup suffices, the reality is far more nuanced. A prevalent misconception is that using generic parts or neglecting proper installation procedures won’t impact warranties or long-term performance. However, incorrect installation, such as improper drain hose placement or using incompatible parts, can void warranty coverage, making repairs more expensive and complicated. Experts emphasize that adhering to specific guidelines, like selecting the right parts—see our guide on understanding dishwasher parts—is crucial for warranty validity and appliance longevity. One common trap is reusing old water supply lines; many homeowners think it’s a cost-saving measure, but according to industry professionals, this practice increases the risk of leaks and damage, ultimately voiding warranty claims. For advanced installers, it’s vital to understand the hidden nuances, such as proper ground connections and ensuring all plastic parts are rated for high-temperature environments. The misconception that all parts are interchangeable also leads to issues—installing mismatched fittings or ignoring manufacturer specifications can cause operational failures. Reviewing your warranty conditions with a detailed checklist—like diagnosing parts during warranty—can prevent future complications. Moreover, many overlook the importance of documenting installation steps and parts used, which can be decisive during warranty disputes. A study by the Consumer Reports highlights that improper installation accounts for over 60% of dishwasher breakdowns within the first year. To avoid falling into these pitfalls, always verify part compatibility and follow professional guidelines. Remember, greater attention to these advanced details can safeguard your warranty coverage and ensure your dishwasher operates optimally for years to come. Have you ever fallen into this trap? Let me know in the comments.
Keeping It Running Strong: Tool Recommendations and Maintenance Tips
Maintaining your dishwasher over the years requires more than just periodic cleaning; it demands the right tools and a strategic approach to troubleshooting and repairs. From specialized diagnostic devices to high-quality replacement parts, having the right equipment at hand can mean the difference between a quick fix and a costly replacement. Over time, consistent maintenance not only extends your appliance’s lifespan but also ensures optimal performance, saving you money and frustration.
One of my go-to tools is a digital multimeter, which helps me quickly identify electrical faults like faulty sensors or wiring issues. I prefer the Fluke 115, renowned for its accuracy and durability, especially when dealing with small, sensitive components within the control board. Having such a meter allows for precise diagnostics during routine checks or emergency repairs, and it’s a staple in my toolkit for appliance maintenance.
For inspecting and maintaining water-related components, a flexible inspection mirror and a quality flashlight are indispensable. They enable me to access tight spots under the dishwasher where corrosion or debris can cause performance issues. Regularly examining the inlet valves and drain pumps with these tools can prevent leaks and clogs before they escalate into more severe problems.
If you want to get serious about long-term performance, investing in a set of high-quality replacement parts is crucial. I recommend sourcing parts like the inlet valve and spray arms from reputable suppliers that offer full warranties and detailed specifications. This approach not only ensures compatibility but also keeps your warranty intact—an aspect I cover more thoroughly in maximizing warranty benefits through proper parts selection.
In the near future, I predict that smart diagnostic devices integrated with your smartphone will become commonplace, making maintenance even more accessible and efficient. These tools will guide you step-by-step through troubleshooting common issues, potentially eliminating the need for professional service for minor repairs.
How do I maintain dishwasher parts over time without causing damage?
The key to long-lasting dishwasher parts is regular inspection combined with proper cleaning techniques. For example, cleaning spray arms with a small brush or replacing worn-out gaskets before leaks develop can save significant costs. Using non-abrasive cleaners and avoiding harsh chemicals preserves the integrity of plastic and rubber components. For detailed advice, see when to replace parts for best results. Additionally, register your appliances with your warranty provider and keep thorough documentation of all maintenance activities—proof that you’re proactively caring for your equipment, which can be vital when making warranty claims. Don’t forget, a quality set of tools and regular vigilance are your best allies in keeping your dishwasher humming smoothly for years to come.
For a practical starting point, try calibrating your control panel using a smartphone-compatible diagnostic device. This small step can reveal underlying sensor or wiring issues that might otherwise go unnoticed. A reliable early-warning system can prevent major breakdowns and ensure your warranty remains protected, as explained in how to diagnose parts during warranty. Embrace these methods and tools to empower yourself with the confidence that your dishwasher will continue to serve your household efficiently—and perhaps even smarter than before.
So, whether you’re adjusting a misaligned spray arm or verifying electrical connections, having the right tools is essential. Regular maintenance paired with proactive diagnostics can significantly extend the life of your appliance and keep it working at peak performance. Invest in quality equipment today, and enjoy the peace of mind that comes with knowing you’re prepared for anything your dishwasher might throw your way.

Over years of troubleshooting and maintaining dishwashers, I’ve uncovered a crucial insight that many overlook: the seemingly simple task of drain hose placement can make or break your appliance’s lifespan. The moment I realized that a high-loop drain configuration was protecting my dishwasher from recurring issues was a turning point. This realization isn’t just about fixing leaks—it’s about empowering you to proactively safeguard your investment.
Lessons That Changed How I Approach Dishwasher Care
- The Power of Proper Positioning: I learned that a correctly installed high-loop isn’t just a recommendation; it’s a necessity, preventing backflow and odors that compromise hygiene and performance.
- Neglecting Details Can Be Costly: Failing to secure the drain hose properly can lead to persistent leaks, which might void warranties or cause water damage—small details that have big consequences.
- Prioritize Quality Parts and Secure Connections: Using sturdy brackets and high-quality fittings ensures longevity, reducing the risk of costly repairs down the line.
- Documentation Matters: Keeping records of your installation steps and parts used can be invaluable when filing warranty claims or troubleshooting issues.
Tools and Resources That Have My Back
- Specialized installation parts—Make sure you’re using parts rated for durability and heat resistance. It’s a small investment for peace of mind.
- Guides on selecting the right parts—Avoid mismatched fittings that can lead to leaks or warranty issues.
- Installation tips from industry experts—They emphasize precision in hose routing and securing to prevent future headaches.
- Warranty protection checklists—Follow these to ensure your installation doesn’t inadvertently void your coverage.
Keep Your Dishwasher Running Smoothly: Your Next Step
Now that you’re equipped with insider wisdom, it’s time to implement these strategies. Proper drain hose placement isn’t just a maintenance tip; it’s a proactive step towards extending your dishwasher’s life and protecting its warranty. Embrace these insights and make your appliance more reliable than ever. Your future self will thank you for the peace of mind and savings this knowledge affords.
Have you encountered challenges with drain hose installation or warranty claims? Share your experiences below—I’d love to hear your story and help further!
Related Posts
How to Stop Your Dishwasher From Moving When You Open the Door
Picture this: You're mid-way through a busy morning, eager to…
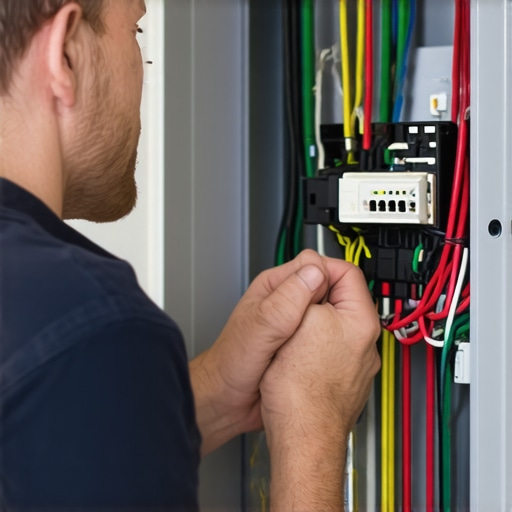
The Junction Box Wiring Step Most Homeowners Get Wrong
Ever had that sinking feeling when you turn on your…
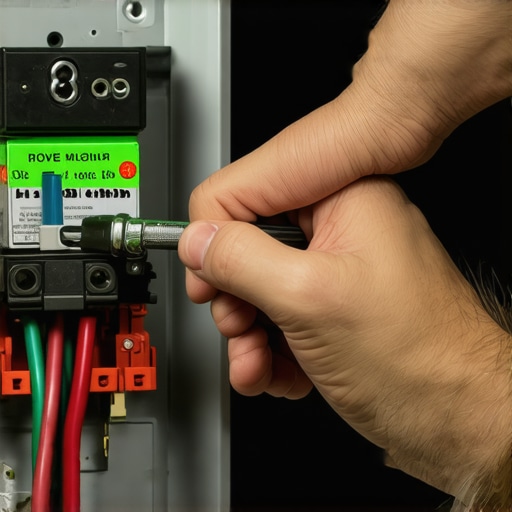
The Critical Grounding Nut Most DIY Installers Forget to Tighten
Ever experienced that sinking feeling when your brand-new dishwasher starts…