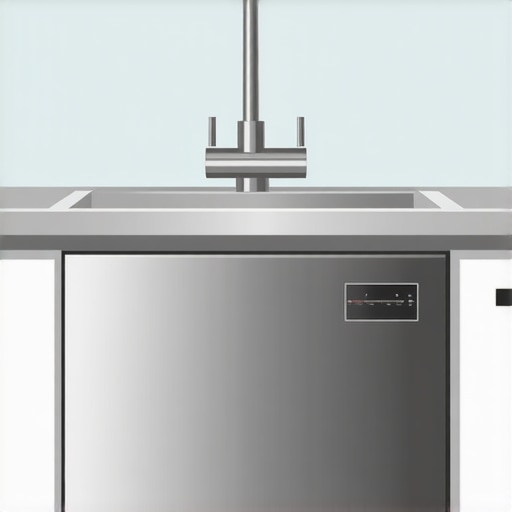
I remember the first time I tried installing a dishwasher in my kitchen. Everything went smoothly until I reached the part where I had to route the electrical line through the cabinet. I struggled with cramped spaces, tossed tools, and an unsettling feeling that I might be doing it all wrong. That moment was a lightbulb moment for me—if you don’t get the wiring right, it can turn a simple task into a costly repair or even a safety hazard. I’ve seen homeowners and DIY enthusiasts make common mistakes that compromise their warranties and safety, all because of poor routing or neglecting certain best practices.
Why Proper Wiring Through Cabinets Matters So Much
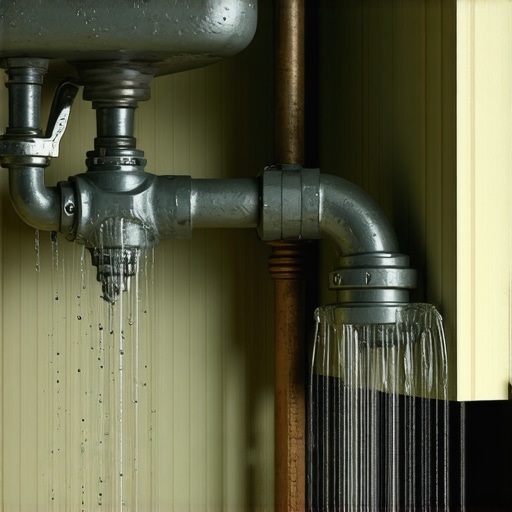
Properly routing electrical lines isn’t just about neatness; it’s about safety, compliance, and long-term performance. If wiring is done haphazardly, it can lead to stripped wires, pinched cables, or even fire risks. For example, improperly secured wiring can rub against cabinet edges or sharp surfaces, which over time, wears down insulation and creates dangerous shorts. Plus, many warranties become void if the installation isn’t up to code or if improper wiring causes damage. Did you know that [according to the National Fire Protection Association](https://appliancedoctorz.com/common-dishwasher-parts-and-their-role-in-proper-installation), incorrect wiring is a major contributor to appliance-related fires? This fact underscores how critical it is to follow the correct routing methods.
Is Following the Rules Really Worth the Hassle?
My early mistake? I didn’t secure the wiring and left it loose behind the cabinet panels. It seemed minor at first, but it caused intermittent malfunctions and, eventually, a costly call to a professional. Trust me, taking the time to understand the best routing techniques not only saves frustration but also protects your investment and peace of mind. For detailed guidance, I recommend checking out [this step-by-step installation guide](https://appliancedoctorz.com/diy-dishwasher-installation-step-by-step-guide), which covers wiring placement, securing methods, and local code compliance.
Are you currently facing challenges with wiring your appliance or unsure if your current setup is safe? You’re not alone. Many enthusiasts overlook crucial details that can make or break the longevity and safety of their installations. Don’t worry—I’ve got your back, and in the following sections, we’ll walk through proven methods to ensure your electrical lines are routed both safely and efficiently. Let’s start by identifying the common pitfalls and how to avoid them, so your next project is a success, not a setback.
Plan Your Path Before Drilling
Start by assessing the cabinet space. Use a flexible fish tape to determine the shortest, most protected route for the electrical cable. An example from my experience: before mounting the dishwasher, I borrowed a length of fish tape, gently threaded it through the cabinet, and mapped out the wiring route. This prevented me from drilling unnecessary holes and avoiding sharp edges that could damage the wire later. Always check for existing conduit or access points to simplify your wiring process.
Choose the Right Wire and Connectors
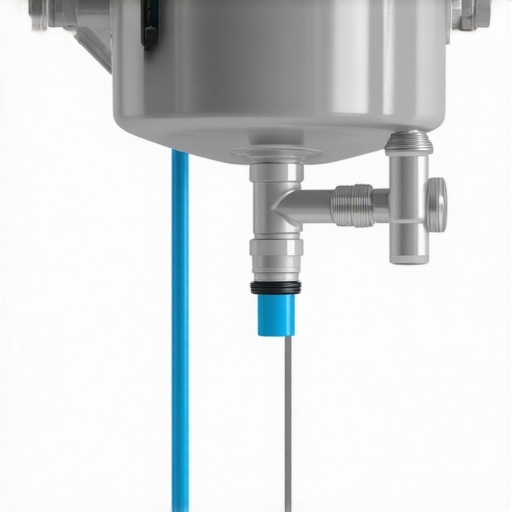
Select a wire gauge suitable for your dishwasher’s electrical load—typically 14-3 or 12-3 gauge, depending on local electrical codes. Use UL-listed connectors and strain relief clamps to secure the wire at the panel and at the appliance connection point. I learned the hard way that using cheap connectors leads to loose contacts, which can generate heat or cause appliance failures. Refer to this guide to understand the critical parts involved.
Secure the Wiring Properly
Fasten the cable along its route with cable clips or zip ties, spaced every 12 inches, to prevent movement or rubbing against sharp edges. Avoid overtightening, which can damage the wire insulation. I once overlooked this and noticed arcing after a few months, leading to a costly repair. Using protective grommets when passing through drilled holes shields the cable from abrasion, ensuring safety and compliance. Proper securing not only maintains the installation’s integrity but also preserves your warranty, as many require neat, code-compliant wiring.
Avoid Pinched or Tapped Wires
Ensure no sharp bends or kinks are present in the cable, which can compromise the insulation over time. Never tap into the wiring without following local electrical codes—this is a common mistake that voids warranties and creates fire hazards. When in doubt, consult a professional or refer to this detailed installation guide. Proper routing once completed adds a layer of safety, reduces the risk of damage, and keeps everything working smoothly.
Test Before Finalizing
Always verify your wiring with a multimeter to check for proper continuity and correct voltage. Confirm that the circuit breaker is off before handling the wires. My experience: I tested each connection before sealing everything, which prevented potential shorts. Proper testing ensures safety and confirms your installation meets electrical standards, which is vital for maintaining your manufacturer’s warranty and avoiding future repairs.
 Many homeowners assume that installing a dishwasher is a straightforward task, but beneath the surface lie nuances that can significantly impact your warranty and the longevity of your appliance. One widespread misconception is that using generic parts won’t affect your warranty or performance. In reality, many warranties explicitly require the use of manufacturer-approved parts, such as those detailed in our guide on [dishwasher parts covered by warranty](https://appliancedoctorz.com/the-complete-list-of-dishwasher-parts-covered-by-warranty). Installing non-approved or cheap third-party components often leads to denied warranty claims and reduced appliance lifespan.
A common trap is neglecting the importance of proper wiring routing, believing that a quick fix is sufficient. This oversight isn’t just about code compliance; improper routing can cause wiring abrasion, leading to shorts or fire hazards, which directly void your warranty. As experts highlight, consistent securing and correct routing—such as using appropriately rated clamps and grommets—are critical for long-term safety, as explained in our wiring best practices article.
Beyond installation, many forget that maintenance plays a vital role in warranty coverage. Regular checks of key parts like the inlet valves, filters, and drain pumps, as outlined in our [parts to check during installation](https://appliancedoctorz.com/parts-to-check-when-installing-a-dishwasher-for-long-term-performance), can prevent issues that might otherwise be mistaken for manufacturer defects. Overlooking these can result in unnecessary repair costs and even warranty denials.
Ever wondered why some parts are more prone to failure and how that impacts your coverage? The secret lies in understanding the real causes of part wear and tear. For example, using hard water without a pre-treatment system accelerates mineral buildup on sensors and heating elements, leading to premature failure—an overlooked aspect that can also influence warranty validity. Find more about these critical points in our [expert advice on dishwasher parts](https://appliancedoctorz.com/expert-advice-on-dishwasher-installation-troubleshooting).
In my experience, one of the most insidious myths is the belief that installing a dishwasher is a do-it-yourself task with no consequences. While DIY can save money, improper installation—especially neglecting the high loop or misconnecting the drain hose—can cause leaks and subpar performance, ultimately voiding your warranty. An informed homeowner assesses each step carefully; resources like our [step-by-step installation guide](https://appliancedoctorz.com/diy-dishwasher-installation-step-by-step-guide) help bridge the knowledge gap.
Have you ever fallen into this trap? Let me know in the comments. Remember, understanding these nuances not only protects your warranty but ensures your dishwasher performs reliably for years to come.
Invest in the Right Maintenance Equipment
When it comes to maintaining your dishwasher, having the proper tools is essential for both efficiency and safety. I personally rely on a high-quality digital multimeter to verify electrical connections; I use the Fluke 117 because of its precision and durability, which ensures readings are accurate and consistent. Additionally, a reliable set of hex screwdrivers and insulated pliers make routine checks and minor repairs much easier, especially in tight spaces. For cleaning sensors or spray arms, I recommend soft-bristled brushes and specialized cleaning solutions, like non-abrasive spray for turbidity sensors, to prevent scratches and damage—refer to this guide for detailed techniques.
Embrace Advanced Software for Monitoring
Modern dishwashers often feature diagnostic modes accessible via their control panels, but for more detailed insights, I recommend using dedicated appliance diagnostic apps compatible with Bluetooth or Wi-Fi-enabled units. These apps can log error codes, track cycle times, and even monitor water usage trends over time, helping you spot issues early before they escalate. In my experience, pairing the app data with periodic manual inspections saves money and prevents small problems from becoming costly repairs. Predictive analytics in future versions might even auto-schedule maintenance based on usage patterns—an exciting development to watch.
Long-Term Upkeep Boosts Warranty Confidence
To maximize your warranty coverage, it’s critical to document maintenance actions meticulously. Regularly check parts like inlet valves and filters, and record inspections with photos and notes—this habit builds a case that you’re taking proper care of your appliance, which many warranty policies now require. Additionally, keeping track of part replacements using official documentation and OEM-compatible parts, such as those listed in this resource, helps prevent warranty denials due to inferior components. Remember, neglected maintenance might not only void your warranty but also decrease the appliance’s lifespan.
How do I maintain dishwasher parts over time?
Consistent maintenance involves checking and replacing worn-out components like door seals, spray arms, or filters before they fail completely. I suggest scheduling quarterly inspections, especially if your water is hard, which accelerates mineral build-up. Using descaling agents periodically, as explained in our hard water tips article, can extend the life of critical parts and keep your dishwasher functioning efficiently. Seeking professional help for complex diagnostics or if you’re unsure about component condition can also save you from costly repairs later.
Tools I Recommend for Longevity
One underrated tool is a corrosion-resistant spray lubricant for moving parts, like hinge mechanisms or spray arm bearings. I use WD-40 Specialist Fast Dry Silicone because it doesn’t attract dirt and dries quickly, preventing rust and ensuring smooth operation. Also, a digital thermometer can help verify water temperatures, preventing under-heating issues that compromise cleaning performance. Investing in these tools and using them proactively ensures your dishwasher stays dependable and your warranty stays valid.
Predicting Future Trends in Maintenance
As smart appliances become more prevalent, I predict maintenance will rely increasingly on IoT sensors and AI-driven diagnostics. Expect to see more apps providing real-time alerts about part wear and automatic scheduling of preventive tasks. Preparing now by integrating basic diagnostic tools with your routine can put you ahead of the curve, avoiding surprises and costly downtime.
Don’t forget to try out a comprehensive diagnostic mode on your current dishwasher. It’s a game-changer for catching issues early! For detailed guidance on how to get started, check this step-by-step guide. Regularly investing in your tools and knowledge not only keeps your machine working longer but also guards your investment in its warranty.
Unveiling Hidden Pitfalls That Cost Me Dearly
My biggest lesson? Assuming that skipping details like proper wiring routing won’t impact my warranty. I once hurried through an installation, neglecting secure wiring pathways, only to face unexpected malfunctions that voided my warranty. The clarity I gained: meticulous attention to wiring location and securing methods is vital—something many DIYers overlook until it’s too late.
Another eye-opener was underestimating the importance of using OEM-approved parts. I once replaced a spray arm with a generic version, and it caused performance issues. I learned that OEM parts are designed for specific models and are critical for maintaining warranty coverage. Never sacrifice quality for saving a few bucks, especially when it could cost you your coverage.
Lastly, I realized that documentation saves the day. Keeping detailed records of parts purchased, installation steps, and maintenance routines helps prove compliance with warranty requirements. A simple photo log during installation made all the difference when warranty claims were questioned. These lessons transformed my approach from careless to cautious, safeguarding my investment.
Related Posts
Why Your Drain Hose Needs a High-Loop to Prevent Sink Backflow
It was a typical Tuesday afternoon when I opened my…
The Correct Height for Your Dishwasher Air Gap
One day, during a kitchen remodel, I set out to…
Why Reusing an Old Water Supply Line is a Recipe for a Flooded Kitchen
It was a morning like any other when I finally…