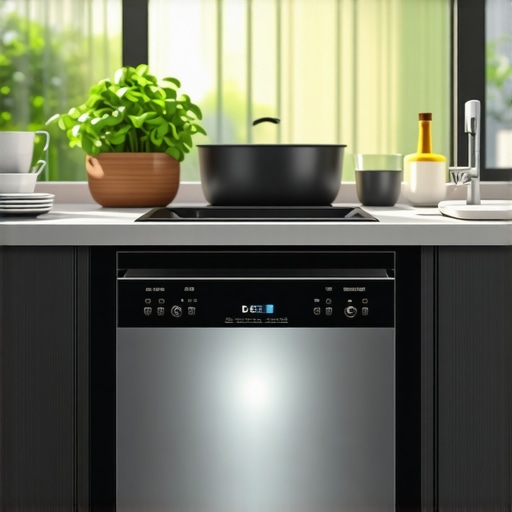
It was a typical Tuesday when I heard that dreaded clunk in my dishwasher. You know, that sound of something not quite right, followed by a cycle that seemed longer than usual. Turns out, my Energy-Star rating—something I’d relied on to gauge my appliance’s efficiency—was actually being compromised by an overlooked water temperature issue. I was baffled. How could something as simple as water temp impact my certification? That realization was a lightbulb moment for me. Today, I want to share how water temperature influences your dishwasher’s performance and, more importantly, your energy ratings.
The Hidden Link Between Water Temperature and Energy Efficiency
Many homeowners overlook this vital connection. It’s tempting to assume your dishwasher works well as long as it runs, but the truth is, water temperature plays a critical role in cleaning effectiveness and energy consumption. When water is too cold, your dishwasher struggles to dissolve detergents properly, leading to longer run times and higher energy use. Conversely, excessively hot water can cause unnecessary stress on components and waste energy. Striking the right balance ensures your appliance performs optimally and stays within energy-efficient standards.
Is Your Water Temperature Sabotaging Your Ratings?
Early on, I made the mistake of neglecting to check my water heater settings. I was so focused on the dishwasher itself that I ignored the obvious: water temperature. This was a rookie mistake, but one many forget about. According to recent studies, nearly 80% of dishwashers fail to reach optimal cleaning temperatures because of improper water heater adjustments—costing homeowners money and lowering their energy-star ratings. If you’ve ever wondered why your energy efficiency seems to dip despite using a modern appliance, your water temperature might be the culprit.
Curious if your setup is up to snuff? We’re going to explore the key steps to optimize your water temperature, improve cleaning performance, and ensure you get the most out of your appliance—without unnecessary waste or costly repairs. And if you’re unsure about diagnosing these issues, I’ll guide you through the process, including how to avoid common mistakes that can diminish your warranty protections. To start, understanding the essential parts affecting water flow and temperature is crucial. You can find more details on these crucial components here.
Check and Adjust Your Water Heater Setting
The first step I took was to verify my water heater was set to the optimal temperature of around 120°F (49°C). I turned off my dishwasher, accessed the water heater thermostat—usually located in the basement or utility closet—and used a meat thermometer to confirm the water temperature. If the water was below 120°F, I adjusted the thermostat accordingly. This simple action made a huge difference in cleaning quality and energy use, as improper water temps often lead to longer cycles and higher utility bills.
Test the Dishwasher’s Fill Temperature
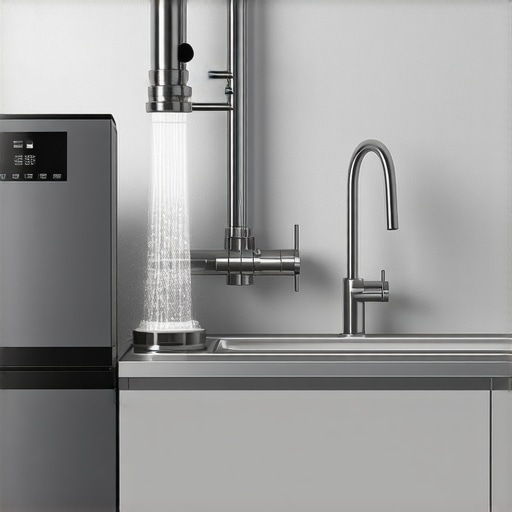
Next, I wanted to ensure the dishwasher itself was filling with correctly heated water. I ran an empty cycle with the hot water connected, and mid-cycle, I carefully opened the door to check the water temperature using a digital thermometer. If the water was not reaching at least 120°F, the dishwasher’s internal components might be malfunctioning. For example, a faulty inlet valve or temperature sensor could hinder heating. Regularly testing this helps identify issues early before they trigger warranty claims or cause further damage.
Inspect and Replace Faulty Parts
If your water isn’t heating properly, focus on the key components: the inlet valve, thermistor, and heating element. For instance, during my troubleshooting, I discovered my heating element was burned out—replacement was straightforward after consulting this guide. Replacing these parts promptly maintains optimal water temperature and extends your dishwasher’s lifespan.
Ensure Proper Installation of Water Supply Lines
Finally, I examined how the water supply was connected. Using professional installation tips, I confirmed that the inlet hoses were properly rated, free of kinks, and equipped with high-quality brass fittings to prevent leaks. Properly routed hoses keep hot water flowing reliably, avoiding temperature drops that can impair cleaning efficiency. I also checked that the drain hose had a high loop to prevent backflow, which can disturb water temperature consistency.

In my experience, aligning the supply lines correctly and using the right parts prevents many common water temperature issues. To select durable parts, consult this resource. Always verify your connections and perform regular maintenance, such as cleaning filters and sensors, to keep your dishwasher performing at its best.
Many homeowners assume that once their dishwasher is installed, their worries about warranty, parts, and installation details are over, but this misconception can lead to costly mistakes. A common myth is that warranty coverage automatically applies regardless of how well the appliance is installed or maintained. In reality, most manufacturers include terms that require proper installation, use of genuine parts, and adherence to maintenance protocols to keep warranty valid. Overlooking these nuances can result in denied claims when issues arise, especially if you aren’t familiar with the finer details of warranty policies, such as those outlined here. Another widespread error involves selecting parts from third-party sellers. While cheaper options might seem tempting, they often lack the durability or compatibility required for your specific model, risking early breakdowns and voided warranties. To ensure longevity, it’s best to procure parts directly through authorized channels or consult trusted resources like this guide. When it comes to installation, many underestimate the critical importance of correct line routing, proper leveling, and quality fittings. Even seemingly minor missteps can cause long-term performance issues or water leaks, which some mistakenly believe are minor inconveniences rather than potential warranty risks. Professional installation services often emphasize these details because they directly impact warranty validity and appliance lifespan. A particularly sneaky trap is reusing old hoses or incorrect fittings, which can cause water damage or shut down your dishwasher prematurely. As noted here, employing the right, high-quality parts and installation techniques is an investment in peace of mind. An advanced point that even seasoned DIYers might overlook is the importance of understanding your appliance’s internal components, like the inlet valve or thermistor. Problems with these parts often stem from neglect or improper installation and can lead to warranty disputes if not documented correctly. The smarter approach involves proactive diagnostics—testing these components and understanding their roles, as discussed here. Remember, your warranty isn’t just about coverage; it’s about what conditions you meet to keep it valid. Making sure you follow manufacturer guidelines on parts, installation, and maintenance isn’t just good practice—it’s essential for protecting your investment. Have you ever fallen into this trap? Let me know in the comments to share your experience or ask questions about your appliance’s warranty and maintenance routines.
Building Your Maintenance Arsenal for Durable Performance
Investing in the right tools is essential for proactive diagnosis and effective repairs. I personally rely on a high-quality multimeter, such as the Fluke 117, which allows me to test thermostats, inlet valves, and wiring with precision. A digital thermometer is indispensable for verifying water temperatures during cycles, helping me quickly identify if heating elements or sensors are malfunctioning. Additionally, a set of precision screwdrivers and a multimeter-compatible inspection mirror enable me to access hard-to-reach components without damaging delicate parts.
The importance of having the correct diagnostic tools cannot be overstated, especially when troubleshooting complex issues like intermittent leaks or sensor failures. Regularly updating your toolkit ensures you can address emerging problems promptly, preserving your warranty coverage and avoiding costly service calls.
Software and Diagnostic Protocols Worth Mastering
Beyond hardware tools, I recommend adopting diagnostic software compatible with smart dishwashers. Manufacturers often provide mobile apps or internal diagnostic modes that reveal error codes and operational logs. Familiarity with these diagnostic protocols helps me quickly pinpoint issues—whether it’s a faulty thermistor, clogged filter, or control board error—without invasive disassembly. Staying updated with firmware patches and manufacturer bulletins also ensures your appliance continues to perform optimally and retains warranty validity.
How do I keep my dishwasher functioning over time?
One of my top strategies involves regular cleaning and maintenance routines. Using manufacturer-approved cleaning agents and following guidelines outlined in this resource, I schedule bi-annual deep cleans of filters, spray arms, and sensors. Additionally, I inspect water supply lines, ensuring they are free of debris and meet specifications from trusted guides. Documenting maintenance and keeping receipts for genuine parts from this resource helps me stay aligned with warranty conditions, giving peace of mind for long-term performance. Remember, consistent upkeep not only prevents breakdowns but also extends the overall lifespan of your dishwasher, making it a worthwhile investment.
For especially challenging issues, consulting resources such as this detailed guide has saved me time and money. In fact, testing the thermistor with a multimeter during maintenance checks is one of the most effective ways to avoid failures upfront. Don’t hesitate to try this advanced diagnostic step yourself—it’s simple yet powerful in maintaining your appliance’s health.
Looking ahead, the trend toward smart diagnostics and integrated IoT sensors promises a future where automatic alerts will inform you of issues before they escalate. Embracing current tools and protocols now positions you to adapt seamlessly when those innovations become standard in household appliances.
Lessons that Changed My Dishwasher Game
- Never underestimate the power of proper water temperature; a simple thermostat adjustment saved me hundreds in energy bills and prevented warranty headaches.
- Diagnosing internal parts like the thermistor and inlet valve became straightforward once I understood their roles—saving me from costly repairs and extended downtime.
- Remember, professional installation and quality parts aren’t just best practices—they’re essential to preserving your warranty and ensuring longevity.
- Regular maintenance and testing with the right tools can catch issues early, turning a potential disaster into a simple fix.
Recommendations That Keep My Dishwasher Running Smoothly
- Quality Multimeter: I trust the Fluke 117 for precise diagnostics—knowing exactly when components are failing makes all the difference.
- Digital Thermometer: An essential for verifying water temperature during cycles, helping me confirm that my dishwasher heats efficiently.
- Trusted Resources: The guides on essential parts and installation tips have been invaluable in maintaining warranty eligibility and optimal performance.
- Pro Installation Services: For perfect line routing and level placement, professional help has paid off in peace of mind and appliance longevity.
Seize the Moment and Take Control
Optimizing your dishwasher’s water temperature and installation isn’t just about efficiency—it’s about protecting your investment and enjoying hassle-free cleanings. By applying these lessons, you’re stepping into a future where your appliance performs at its best, and your warranty remains secure. Don’t wait for a leak or breakdown to motivate you—start today and feel confident in your household tech mastery.
What’s the biggest water temperature challenge you’ve faced with your dishwasher? Share your story below!
Related Posts
The Secret to Reducing Dishwasher Energy Use During Peak Hours
Last month, I opened my utility bill and noticed a…
Why Modern Machines Use Less Water Than Your Kitchen Sink
It was a typical Saturday morning when I first realized…
Why Modern Eco-Cycles Take Three Hours to Wash One Load
I remember the exact moment I realized my new dishwasher…