
It was 2 AM when I heard it. Not a rhythmic drip, but a full-blown, aggressive roar coming from the kitchen. I stumbled out of bed, swung the door open, and my feet didn’t hit the cold tile; they hit three inches of soapy, lukewarm water. My heart dropped. The culprit? A tiny, brittle plastic water line that had finally given up the ghost.
The night my kitchen became an indoor swimming pool
I learned the hard way that the “free” parts included in the box aren’t always your friend. When I was younger and, frankly, a bit cheaper, I thought a hose was just a hose. I figured if the manufacturer put it in the box, it must be good enough. That was my first big mistake. It turns out, those thin plastic lines are prone to kinking and cracking over time, especially with the constant heat cycles a dishwasher goes through. This is exactly why professional installers refuse to use plastic water lines during any modern setup. They know that a braided steel hose is essentially an insurance policy for your subfloor. According to data from the Insurance Institute for Business & Home Safety (IBHS), plumbing supply system failures are one of the leading causes of residential water damage, with dishwasher hoses being a prime culprit.
Is a braided steel line really worth the extra money?
You might be looking at the price tag at the hardware store and wondering if this is just another unnecessary upsell. I certainly did. But when you realize that the $5 part that prevents your kitchen floor from rotting is actually a high-quality connector upgrade, the math starts to make sense. Braided steel isn’t just about the metal on the outside; it’s about the reinforced core that can handle the pressure spikes and high temperatures without turning brittle and snapping when you least expect it.
The one mistake I made that cost me a hardwood floor
During my first attempt at dishwasher installation in 2025 standards, I overtightened a cheap plastic fitting and didn’t even notice the hairline fracture I’d created. Three months later, that fracture became a flood that warped my expensive oak planks. Today, I’m going to show you exactly which hoses are actually durable and which ones are just shiny junk, so you don’t have to spend your Saturday morning with a wet-dry vac like I did. Have you ever walked into your kitchen and felt that dreaded, unexpected squish under your toes? [image_placeholder]Before you even think about sliding that heavy unit into the cabinet cavity, you need to look at the space you are working with. It is not just about the width; it is about the accessibility of your plumbing and electrical ports. Learning how to prepare your kitchen for dishwasher installation saves you from the frustration of getting the unit halfway in and realizing the power cord will not reach. I remember my second install—I was so focused on the water supply that I ignored the drain hose. I used a flimsy, generic one that came with a ‘universal’ kit. Big mistake. It kinked behind the machine, and within a week, my kitchen smelled like a stagnant pond. I had to pull the whole thing out just to find the $2 part that prevents your drain hose from kinking, which was really just a sturdy plastic guide I should have used from the start.
Stop the swamp smell with a high loop
One of the most overlooked parts of the job is not a part you buy, but a way you position what you already have. You must understand the critical importance of the high loop in your drain line. If your drain hose just runs flat along the floor to the sink, dirty water from your disposal can actually backflow into your clean dishwasher. It is like a straw that works both ways, and you definitely do not want the ‘backwash’ from your sink in your rinse cycle. This is exactly why your drain hose needs a high loop to stop the smell and keep your machine hygienic.
Route your wires so they never rub or fray
Electricity and water are bad neighbors. When you are pulling the power line, you need to ensure it is not pinched between the machine and the cabinet wall. Using the correct way to route wiring through a kitchen cabinet involves drilling the hole at the right height and using a rubber grommet to protect the insulation from the sharp edges of the wood or metal. If the wire rubs every time the machine vibrates during a heavy cycle, you are looking at a potential short circuit over time.
Pick the right components the first time
Do not just grab the cheapest bag of parts on the shelf. Following top tips for selecting the right parts for dishwasher installation means looking for brass fittings instead of plastic ones where the water line connects to the inlet valve. It is about durability and long-term peace of mind. Think of these parts like the tires on your car; you can have the most expensive engine in the world, but if the rubber is thin and unreliable, you are going to have a bad time. 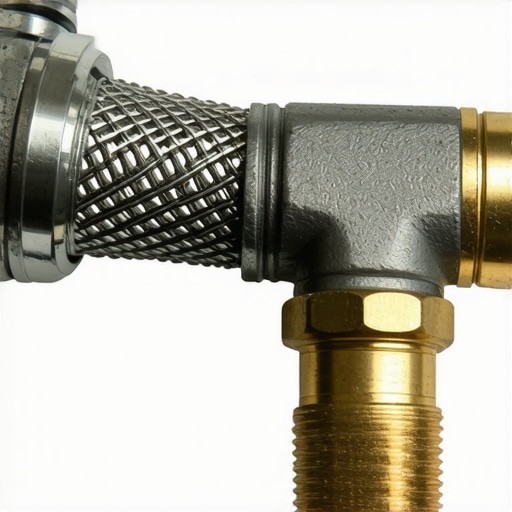 You’ve probably seen that shiny gold sticker on the front of new machines. It promises a decade of peace of mind, but the truth about those 10-year motor stickers on the door is that they rarely cover the parts that actually break, like the control board or the door seals. I have seen homeowners ignore a small leak for months, thinking their warranty would save them, only to realize that understanding dishwasher warranty policies for peace of mind requires reading the fine print about ‘consequential damage.’ If the motor dies, they will give you a motor, but they certainly won’t pay for your ruined oak subfloor. Everyone tells you to save money on parts by going generic. I say, don’t. While a generic gasket looks identical to an OEM one, the real difference between aftermarket and factory gaskets is the chemical composition of the rubber. Cheap ones degrade significantly faster during the high-heat cycles of modern machines. According to the Association of Home Appliance Manufacturers (AHAM), improper installation and the use of non-certified components are primary drivers for premature appliance failure and safety risks. Have you ever fallen into this trap? Let me know in the comments.
The electrical nuance most DIYers miss
Another nightmare is the electrical setup. You might think you have done everything right until you realize why your machine trips the GFCI outlet only when heating. This usually isn’t a faulty machine; it is a technical conflict between the dishwasher’s internal noise filters and the sensitive GFCI breakers required by modern building codes. It is a sophisticated headache that most beginners aren’t prepared for. 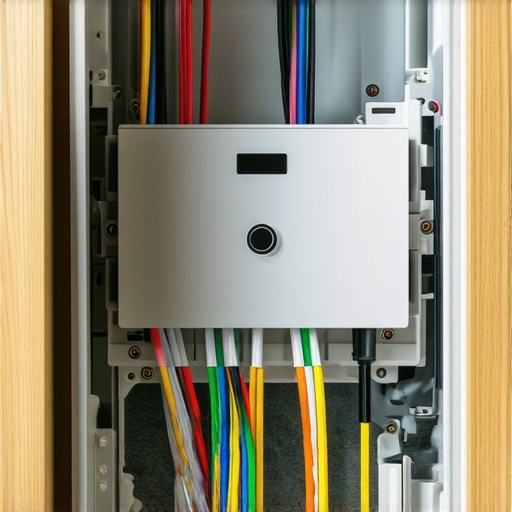
Will using non-OEM parts actually void my entire coverage?
It is a common fear, but the legal reality is nuanced. They cannot usually void your entire warranty just because you used a different brand of hose, but what happens to your coverage if you use third-party parts is that the manufacturer can deny a specific claim if they can prove that specific part caused the failure. For instance, the parts you can swap yourself without voiding your protection are generally limited to user-accessible components like racks or filters. If you start splicing wires or replacing internal pumps with unbranded alternatives, you are on thin ice. One massive ‘oops’ factor is the power surge. Many people do not realize why your warranty doesn’t cover power surges. A single summer thunderstorm can fry your new smart control board, and the manufacturer will simply point to the ‘acts of nature’ clause in your contract. Always ensure you are checking the parts to check when installing a dishwasher for long term performance to avoid these costly surprises.I have found that the secret to a dry kitchen isn’t just a high-quality install; it is the vigilance you keep afterward. You need to keep a close eye on the $5 gasket that prevents a $500 floor repair. It is a tiny rubber seal, usually around the float switch or the soap dispenser, that most homeowners ignore until it is brittle and failing. I check mine every six months with a simple flashlight test. If you see even a hint of moisture on the bottom tray, it is time to act before it warps your subfloor. Understanding dishwasher parts a key to effective maintenance means knowing that these rubber components are your first and last line of defense against gravity.
My personal toolkit for a leak-proof kitchen
Regarding tools, I never start a maintenance check without a dedicated telescopic mirror and a high-lumen headlamp. You cannot fix what you cannot see, and most leaks happen in the dark abyss behind the kickplate. I also recommend keeping a small stash of the replacement parts every dishwasher owner should keep on hand, specifically a spare drain pump and a few extra rack clips. According to the Whirlpool Global Service Manual, the most common cause of non-warranty service calls is actually debris blocking the pump impeller—something you can often fix yourself if you have the right Torx T20 driver ready. I also keep a digital multimeter in my drawer to check for continuity. If your machine is not heating, you should know how to test your water inlet valve for failure or check the resistance of the heating element. Identifying the common part that causes a dishwasher to hum but not start, like a seized wash motor, can save you a $200 diagnostic fee.
How do I maintain my dishwasher over time?
It is about more than just clearing the plates before you load them. You need a strict deep-clean schedule to prevent internal decay. I personally use the eco-friendly way to descale your machine with citric acid once a month. It eats through the calcium that builds up on the heating element, which is the easiest way to remove hard water buildup from the tub and keep your energy bills low. If the element is coated in white crust, it has to work twice as hard to reach temperature, which eventually burns out the control board. 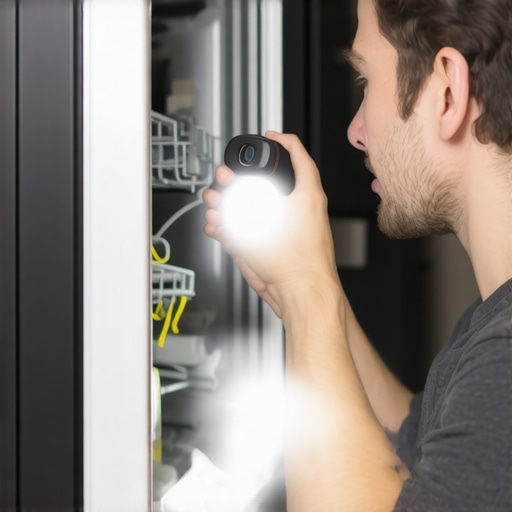 I see a future where we will not even need to open the machine to find a problem. We are already seeing technology where you can learn how to use your smartphone to diagnose a failing motor via acoustic analysis and manufacturer-specific apps. In a few years, your dishwasher will probably order its own replacement seals before they even start to leak. But for now, knowing when to replace dishwasher parts for optimal performance is still a vital human skill. Try this today: pull out your bottom rack, pop off the spray arm, and check the nozzles for tiny trapped seeds or plastic fragments. It takes two minutes and could save your motor from a premature burnout.
Three Dishwasher Realities I Learned the Hard Way
After years of fixing my own mistakes, I have realized that a successful setup is not just about the day you slide the unit in; it is about the five years of performance that follow. First, never trust a ‘universal’ kit blindly. Always cross-reference your components with essential parts for troubleshooting dishwasher installation issues to see if your specific model has a unique quirk, such as a non-standard drain port size. Second, I learned that a clean filter is the literal difference between a motor that lasts a decade and one that burns out in three years. Finally, the best time to fix a leak is three months before it starts, which is why I now swear by a quarterly ‘flashlight inspection’ of the base pan to ensure everything stays bone dry.
My Go-To Toolbox for Appliance Peace of Mind
If you want to move beyond basic DIY, you need more than just a standard screwdriver. I highly recommend investing in a telescopic inspection mirror; it allows you to see the back of the water inlet valve without pulling the whole machine out of the cabinet. I also suggest keeping a reference guide handy for common dishwasher parts and how to replace them effectively so you are not Googling frantically when the water refuses to stop running. To stay ahead of the game, I use the best way to test for a slow leak behind the kickplate: place a single sheet of paper towel under the fittings. If it is even slightly damp 24 hours later, you have a hairline fracture that needs attention. For those who want to be truly prepared, reviewing expert advice on dishwasher installation troubleshooting can save you hours of frustrating trial and error.
The Confidence of a Perfect Install
Installing your own appliance is a rite of passage for any homeowner. It is about taking control of your home’s health and maximizing your dishwashers warranty coverage today by doing things right the first time. When you know every hose is tight, every wire is routed safely, and that high loop is perfectly positioned, you can finally hit ‘start’ and walk away with total peace of mind. Your kitchen deserves the best protection you can give it. [image_placeholder_final]
Have you ever found a surprise leak behind your kickplate during a routine check? Let me know in the comments below!
Related Posts

Why Plastic Tubs Are Quieter Than Stainless Steel Ones
It was a typical Saturday morning when I first noticed…

The $10 part that stops that annoying high-pitched whistle
I'll never forget the moment I was washing dishes, head…
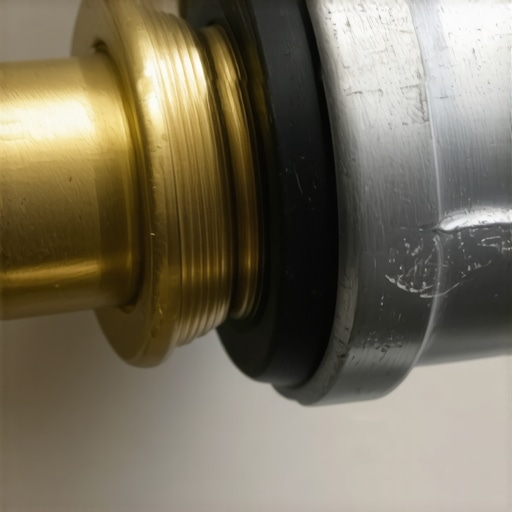
The $5 O-Ring That Stops Your Inlet Valve From Dripping
It was after a long day of troubleshooting a stubborn…