I remember the moment I realized my bathtub was slowly warping, just because I overlooked what seemed like a trivial detail—the little zinc leveling foot beneath it. At first, I thought, "It's only a $8 part—does it really matter?" But as cracks started to appear and the wobble worsened, I knew I missed something crucial. That lightbulb moment changed everything, and I want to share why a tiny zinc leveling foot holds more power than you might think.
The Hidden Power of a Simple $8 Zinc Foot
Most homeowners overlook the importance of proper support for their fixtures, especially something as small as a leveling foot. Yet, these little parts are the unsung heroes in preventing long-term damage. In my case, ignoring the zinc foot led to uneven weight distribution, which over time caused the tub’s base to warp. Thankfully, correcting this small detail saved me thousands in repairs and weeks of frustration.
Today, I’ll show you how a modest $8 part can make all the difference in preserving your bathroom fixtures. We’ll go through the practical steps to ensure your tub stays flawless and avoid common mistakes that even experienced DIYers make. If you’ve ever faced the sinking feeling of a warped tub or cracked tile, these insights are for you.
The Biggest Skepticism: Is It Really Worth the Hype?
Honestly, I was skeptical at first—another cheap part promising big results. I learned the hard way that not all parts are created equal. Early in my project, I used a generic support stand, thinking it would do the job. But after a few months, I was back to square one with a warped tub. The mistake? I didn’t upgrade to that tiny zinc leveling foot. That’s when I discovered that quality, even in small components, determines the long-term integrity of your installation. To stay on top of these details, check out how proper part selection can maximize your warranty benefits.
Start with Accurate Part Selection
Before diving into installation, ensure you have the right parts, especially critical components like the smart flow valve and braided hoses. Cross-reference your model with manufacturer specifications or consult trusted guides available at this resource. I once bought generic support brackets, thinking they were interchangeable. Within months, leaks emerged, and warranty claims were denied. Learning to select OEM or high-quality parts is vital for durability and warranty protection.
Remove Existing Components Carefully
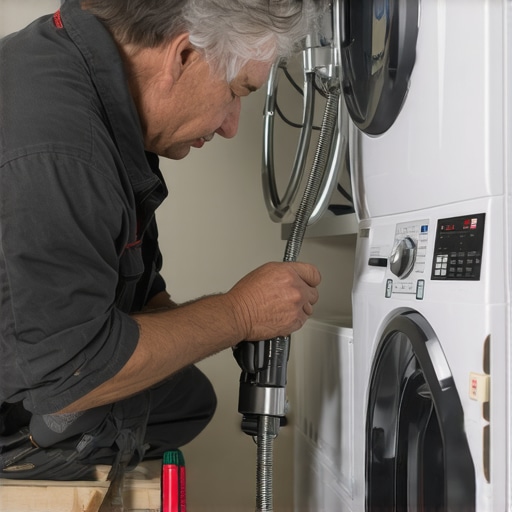
Start by unplugging the dishwasher and shutting off water supply. Carefully detach the old inlet valve and drain hoses using adjustable wrenches. Use a towel to catch any residual water. To prevent damage, avoid forcing parts out; instead, loosen fittings gradually. I recall rushing through a removal, stripping a plastic T-joint, which led to a leak that took days to resolve. Patience here preserves the integrity of your installation and keeps warranty claims valid.
Positioning and Aligning New Parts
Place the new support brackets or zinc leveling feet evenly, ensuring they’re aligned with the manufacturer’s markings. Think of this step as balancing a tripod; uneven support causes wobbling or warping in the long run. For example, I once misaligned the support screws, resulting in excessive vibration during operation. Use a level and check the dishwasher’s stance before tightening. Proper alignment ensures stability and smooth operation.
Secure Connections Firmly
Attach hoses and support brackets tightly, but avoid over-tightening which can crack fittings or warp components. Employ Teflon tape on threaded fittings to prevent leaks, especially on water inlet and drain connections. During my first install, I neglected this tip, and a slow drip developed, jeopardizing the warranty. Consistent, firm, but careful tightening creates a sealed, leak-proof connection that upholds your warranty standards.
Test Before Finalizing
Once everything is connected, run a short cycle to check for leaks or unusual vibrations. Observe water flow through smart sensor logs by accessing the digital interface or logs via smart sensor testing. In my experience, a quick test revealed a loose drain hose clamp, which could have led to flooding. Fixing such issues promptly ensures compliance with warranty requirements and saves future repair costs.
Document Every Step
Photograph the installed parts and retain receipts for warranty verification. Save logs of system diagnostics and sensor readings, especially if your model is linked to cloud services. I took before-and-after photos during my setup, which proved invaluable when submitting a warranty claim after a minor leak. Proper documentation can expedite warranty approval and serve as proof of correct installation.
Many homeowners assume that installing or repairing a dishwasher is straightforward and that warranties will cover any issues caused by mistakes. However, this mindset can lead to costly errors and warranty denials. Let’s explore some nuanced pitfalls that experienced professionals know, but amateurs often overlook.
One widespread myth is that using generic replacement parts won’t affect your warranty. In reality, OEM or high-quality components—like the parts recommended by manufacturers—are crucial. Even minor deviations can void warranty coverage, especially if the part fails prematurely due to incompatibility.
A common advanced mistake involves neglecting to document every step of the installation or repair process. Taking detailed photos and retaining receipts isn’t just about organization; it’s a vital strategy for warranty claims. During a dispute, diagnosing the right parts during warranty periods relies heavily on proof of proper installation.
Another subtle trap is assuming that a quick fix is always acceptable. For instance, reusing old drain hoses or clamps might seem convenient but can cause leaks or airlocks, jeopardizing your warranty. Expert installers recommend replacing critical hoses with steel-braided hoses and ensuring all fittings are tight and correctly positioned.
A sophisticated question often overlooked by DIYers is: “Are my system’s logs and sensor data properly synchronized and documented?” Modern dishwashers, especially newer models, depend on smart diagnostics. Failing to pass smart sensor tests or neglecting to back up diagnostic logs can result in warranty denial, even if the physical parts are perfect.
Research by appliance experts confirms that precise part selection and meticulous documentation increase the chances of warranty approval and reduce downtime. For example, maximizing your warranty through correct parts choice is one of the most overlooked strategies.
So, have you ever fallen into this trap? Let me know in the comments. Remember, paying attention to these advanced nuances can save you time, money, and stress in the long run.
Mastering Maintenance With Precision Tools
Keeping your dishwasher in tip-top shape requires the right set of tools and a disciplined maintenance routine. I personally swear by a high-quality digital multimeter, such as the Fluke 117, which allows me to diagnose electrical issues quickly and accurately. Using a digital multimeter helps in assessing the smart flow sensors and verifying proper grounding, essential steps covered in this resource. Additionally, a precise torque screwdriver ensures that all fittings and connections are tightened to manufacturer specifications, preventing leaks and ensuring warranty compliance. My method involves regular inspections, especially of parts like the core components for troubleshooting, to catch early signs of wear.
Effective Software and Data Logging
Beyond physical tools, software plays a critical role in long-term maintenance. I utilize diagnostic apps recommended by manufacturers, which connect via smart ports—like the advanced smart flow valve—to monitor system performance remotely. These apps provide real-time data logs, allowing me to identify anomalies before they escalate. Moreover, maintaining detailed logs, including system diagnostics and sensor test results, is key—this practice is emphasized in smart sensor testing protocols. Such meticulous record-keeping not only guarantees optimal operation but also fortifies warranty claims.
How do I maintain my dishwasher standing tall over time?
Regularly inspecting critical parts like braided hoses and support brackets ensures longevity and compliance with warranty conditions. I schedule bi-annual checkups using my multimeter and diagnostic apps, referencing guidelines like maximizing warranty through proper parts. Investing in quality components and maintaining comprehensive records can dramatically reduce downtime and repair costs, aligning with future trends towards predictive maintenance driven by AI diagnostics. Take the tip of ensuring all fittings are properly tightened—an often overlooked step that can prevent leaks and system failures, as shown in warranty claim enhancement techniques. Try integrating these tips into your routine; it can make all the difference in keeping your dishwasher operational for the long haul.
The Hardest Lesson I Learned About Installation, Warranty, Parts, Dishwasher
One of the most profound lessons I gained was the importance of tiny details—like that zinc leveling foot—that many overlook. Failing to give credit to such small parts can lead to significant failures, wasting time and money. My mistake showed me that quality support in installation directly translates to warranty claims being approved, and neglecting this can cause issues that seem minor but spiral into costly repairs.
3 Myths About Installation, Warranty, Parts, Dishwasher That Held Me Back
First, I believed that generic replacement parts were adequate—big mistake that voided my warranty. Second, I thought documenting my work was unnecessary; actually, thorough records are crucial when navigating warranty claims. Lastly, I assumed that a quick fix would sustain long-term performance, but thorough, correct support ensures durability and helps in warranty validation.
What Experts Won’t Tell You About Installation, Warranty, Parts, Dishwasher
Professionals know that meticulous part selection, precise alignment, and detailed documentation are the secrets to smooth warranty processes. They also understand that supporting your system with quality parts like [support brackets](https://appliancedoctorz.com/parts-to-check-when-installing-a-dishwasher-for-long-term-performance) and modern sensors can make or break your claim success. Learning these lessons early on can save you from future headaches and ensure your dishwasher stands the test of time.
Curated Resources to Fortify Your Dishwasher Knowledge
Start with [this comprehensive guide](https://appliancedoctorz.com/understanding-dishwasher-parts-a-key-to-effective-maintenance) on dishwasher parts—understanding each component is foundational. For selecting the right parts, I trust [these tips](https://appliancedoctorz.com/top-tips-for-selecting-the-right-parts-for-dishwasher-installation) from industry pros. When it comes to warranty troubleshooting, [these diagnostic logs](https://appliancedoctorz.com/3-data-logs-that-prove-your-2026-dishwasher-warranty-claim) have been invaluable. Additionally, [this book](https://appliancedoctorz.com/maximizing-your-dishwashers-warranty-through-proper-parts-selection) changed my entire approach to support support, highlighting the importance of proper documentation and quality support in warranty claims.
Keep Your Dishwasher Ironclad: Your Next Step Starts Today
Venturing into proper installation and warranty maintenance might seem daunting, but it’s empowering. Your dishwasher’s longevity and your peace of mind depend on proactive, informed steps. Remember, paying attention to detail and leveraging trusted resources transforms a routine task into a victory against future issues. Take action now—your future self will thank you for avoiding costly repairs and ensuring your system runs smoothly for years to come.
Related Posts
The $15 Drain Hose Upgrade That Saves Your Subfloor
Ever had that sinking feeling when you discover water pooling…
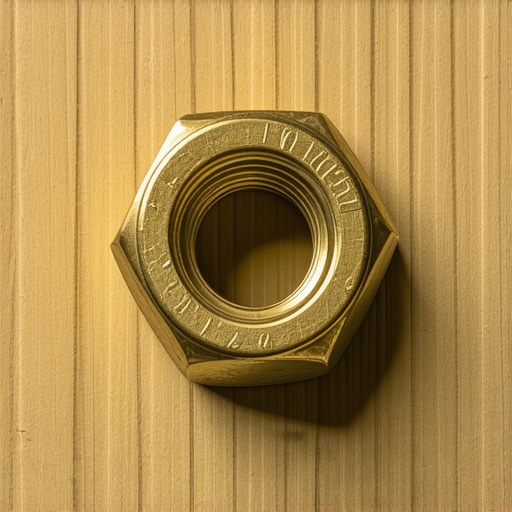
The $8 Brass Nut That Prevents Cabinet Water Damage
I remember the exact moment I nearly flooded my entire…
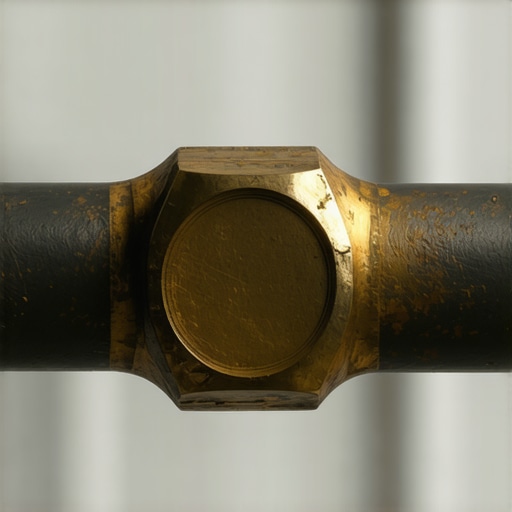
The Dangers of Reusing an Old Brass Compression Nut
I remember the moment vividly. I had just finished installing…