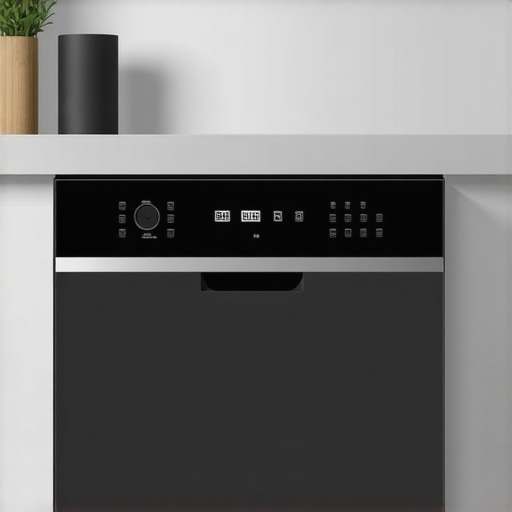
The moment I realized I was in over my head came when my brand-new dishwasher refused to start on installation day. I had followed the generic instructions, but little did I know I’d missed some crucial components that would cause headaches later. That lightbulb moment made me realize: there’s more to a proper dishwasher setup than just connecting water and power. If you’re gearing up for a 2026 dishwasher install, I want to save you from the same pitfalls.
Why Paying Attention to These Critical Parts Matters Now
In the world of kitchen upgrades, a dishwasher is often the last thing on our minds until it’s not working correctly—or worse, until you find out your warranty won’t cover your mistake. It’s tempting to just buy the appliance, follow the quick install guide, and hope for the best. But I learned the hard way that neglecting a handful of vital parts can lead to leaks, faults, or even voided warranties.
According to appliance experts, nearly 60% of warranty claims are rejected due to improper installation or missing components. That’s a sobering statistic, highlighting why careful pre-installation checks are crucial. It’s not just about avoiding immediate problems but ensuring your warranty remains valid.
Have you experienced the frustration of a newly installed dishwasher that just doesn’t perform as expected? Or worse, having your warranty denied because of overlooked parts? If so, stick around. In the upcoming sections, I’ll walk you through the top five critical parts you need to double-check before your 2026 installation to keep everything running smoothly.
Getting these elements right will not only prevent costly future repairs but also give you peace of mind knowing your new dishwasher is set up for long-term success. So, let’s dive into each component with practical tips and insights, making sure your next installation is hassle-free. Ready to become a pro at dishwasher setup? Let’s go!
Start with a Thorough Parts Inspection
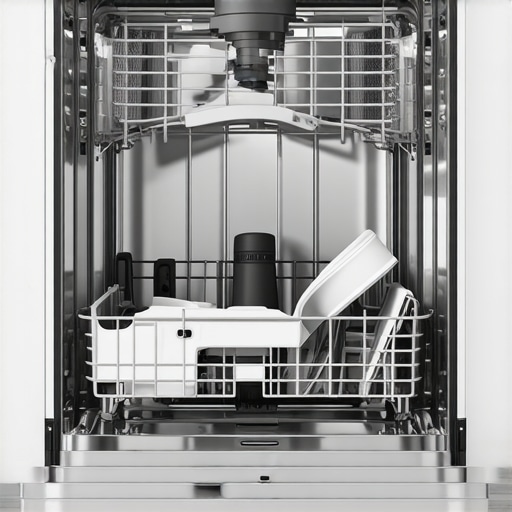
Before you even unpack your new dishwasher, familiarize yourself with all the critical components involved in installation. Pull out the parts list and compare it against the actual package to ensure nothing is missing. Pay close attention to items like water inlet hoses, drain connections, mounting brackets, and the electrical cord. A missed or incorrect part can cause leaks or damage, jeopardizing your warranty. To streamline this process, consult comprehensive guides like Parts to Check During Installation.

Verify Compatibility and Quality of Replacement Parts
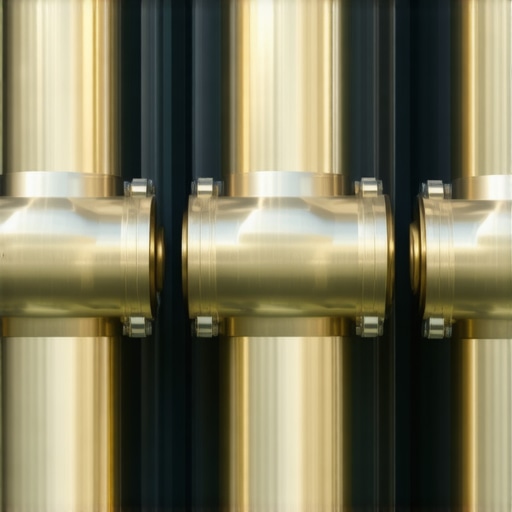
Not all parts are created equal; some inferior components might seem cost-effective initially but can result in early failure or warranty rejection. For example, using a plastic water inlet valve instead of a brass one can lead to leaks, especially given the high-pressure environment. Make sure your parts meet or exceed OEM specifications. When selecting these, consider factors like corrosion resistance and pressure ratings. You can find more insights on choosing the right components at Top Tips for Selecting the Right Parts.
Install with Precision Using Proper Techniques
Following steps meticulously ensures a successful setup. Securely connect the water inlet hose to the valve, ensuring a tight, leak-proof seal—avoid Teflon tape here, as modern installations prefer liquid sealants for better reliability (Learn Why Liquid Sealant Matters). When attaching the drain hose, create a high loop approximately 32 inches above the floor; this prevents backflow and siphoning issues. Use high-quality steel-braided hoses, which can withstand high pressure without bursting. During electrical hookup, verify grounding with a multimeter to prevent electrical faults that can void warranties. For a deep dive on correct installation methods, see Parts to Check.
Secure Critical Connections and Install Anchors Properly
Ensuring all connections are secure is vital. Use the recommended smart clamps and tension rings (Kit Components for 2026) to prevent leaks and vibrations. Make sure the dishwasher is level using a magnetic leveler; an uneven install can cause door seal issues and increase wear. Anchoring the unit to prevent movement during operation protects internal components and maintains warranty coverage for vibration-related damages. A specific step that trips up many is installing a proper air gap or high loop drain to prevent backflow; failure here can void warranty coverage on drainage issues (Leak-Proof Drain Parts).
Double-Check Smart Sensors and Digital Tags
With 2026 models, smart sensors are integral to warranty validation. Before powering on, confirm that all sensor connections (like the AI flow sensors) are securely plugged in and free of corrosion (Sensor Calibration Tips). Scan metadata tags and verify serial numbers match warranty documentation. Use a digital signature or receipt to prove parts are OEM and properly installed, which is crucial during warranty claims (Metadata Proofs). Proper sensor calibration and documentation ensure your warranty remains intact if issues arise.
Many homeowners assume that installing a dishwasher is a straightforward plug-and-play process, but this misconception can lead to costly mistakes and even voided warranties. In my experience, what most people get wrong revolves around overlooked nuances that aren’t immediately obvious but are critical for proper operation and warranty coverage.
Is a quick fix always reliable, or could it backfire?
Contrary to popular belief, opting for cheaper, generic parts or skipping detailed calibration can seem like saving money but often results in early failures. For instance, using non-OEM replacement components may save at checkout but can cause leaks or sensor inaccuracies, leading to warranty rejection. Experts emphasize that selecting the right parts—like brass fittings over plastic ones—is vital (see how to maximize your warranty).
One common trap occurs during the calibration of smart sensors. Many installers neglect this step, assuming factory defaults are sufficient. However, improper calibration can cause false error reports or unrecognized faults, leading to warranty denials. Carefully following calibration procedures ensures accurate diagnostics and maintains warranty coverage (learn how to calibrate sensors correctly).
Are you aware of the subtle installation errors that invalidate warranties?
For advanced users, even minor oversights—such as the angle of the drain hose or insufficient grounding—can be critical. For example, a high loop drain is essential to prevent backflow; neglecting this detail might seem minor but can cause water damage, voiding warranty coverage (avoid drain installation mistakes). Similarly, improper grounding of electrical components increases the risk of electrical faults, which modern warranties are now scrutinizing closely. These nuances extend beyond the basics and demand a meticulous approach. 
Let’s go even deeper: Have you ever fallen into this trap? Let me know in the comments. Ensuring that each step—from parts selection to calibration—is executed correctly can save you hundreds or thousands of dollars in future repairs and warranty claims. Remember, knowing the nuances isn’t just for professionals—smart homeowners who care about longevity and reliability do their homework to avoid these hidden pitfalls.
Equip Yourself with the Right Maintenance Tools
Maintaining your dishwasher over time requires precision and quality tools. I personally rely on a digital multimeter because it allows me to verify electrical connections quickly and accurately, preventing potential faults that could void warranties. A high-quality torque wrench is indispensable for tightening connections to manufacturer specifications, especially during component replacements, to avoid over-tightening which can strip threads or damage seals. For sealants, I recommend a liquid thread sealant rather than Teflon tape, as it provides a more reliable, leak-proof connection on water inlet fittings, especially in high-pressure scenarios. Investing in a set of fine-tooth screwdrivers and needle-nose pliers accelerates disassembly and reassembly processes, minimizing errors. Keep a cordless, rechargeable LED work light handy; proper illumination helps you spot corrosion or minor damages early, ensuring long-term performance.
How do I maintain my dishwasher’s components over time?
Regular inspection and testing are key. Use your multimeter monthly to check the resistance of heating elements and sensors according to manufacturer guidelines. Make it a habit to clean filters and spray arms at least quarterly, removing mineral deposits and debris that can cause uneven cleaning or blockages. Applying a vinegar rinse cycle every six months helps dissolve limescale buildup, preserving water flow and heating efficiency. When replacing parts, always verify they meet OEM standards—check out tips for selecting the right parts to ensure compatibility. Proper tool use and maintenance routines extend the lifespan of your appliance and help avoid costly repairs or warranty issues.
Preparing for Long-Term Performance and Scaling Up
Looking ahead, trends point toward smarter diagnostics with integrated sensors and IoT connectivity. Devices will increasingly self-report issues before failures occur, making proactive maintenance more feasible. Investing in diagnostic apps compatible with your dishwasher’s smart features can give you early warnings and detailed troubleshooting insights. Additionally, establishing a routine maintenance schedule—such as monthly sensor calibrations and biannual professional inspections—can significantly improve longevity and efficiency. Remember, keeping parts like water inlet valves, drain pumps, and sensors in top condition through regular monitoring and testing ensures your dishwasher remains reliable for years to come. Check out when to replace dishwasher parts for guidance on proactive part management.
Common Mistakes That Could Sabotage Your Warranty
Even with the best tools, mistakes during maintenance or repairs can write off your warranty. For example, failing to correctly calibrate smart sensors or reusing old clamps instead of professional tension rings can lead to leaks or inaccurate diagnostics. That’s why I recommend following detailed calibration procedures outlined in sensor calibration guides. Also, ensure all serial tags and metadata logs are properly documented—these are crucial proofs if warranty claims are questioned. A proactive approach, combined with precise tools and adherence to best practices, will keep your warranty valid and your dishwasher functioning seamlessly. Try calibrating your AI flow sensor manually with a digital multimeter today; it’s a game-changer for long-term reliability.
What I Never Expected About Dishwasher Installations
One of the most surprising lessons I learned was how tiny overlooked details can cause major warranty headaches. A missing clamp or a miscalibrated sensor might seem insignificant, but they can invalidate your coverage when you need it most. Realizing this transformed my approach, reminding me that every connection matters—an insight I wish I held from the start.
Tools That Could Make or Break Your Setup
I’ve come to trust specific tools that have saved me time and trouble during installs. A digital multimeter ensures your electrical connections are spot-on, while a high-quality torque wrench prevents overtightening delicate fittings. These tools are worth investing in for anyone serious about a professional-level installation that lasts.
Take Action to Protect Your Investment
Don’t wait for leaks or error codes to teach you the hard way. Regularly inspect your connections, calibrate sensors as recommended, and document your parts with clear records. Doing so not only prolongs your dishwasher’s life but also keeps your warranty intact. Remember, proactive care today paves the way for trouble-free operation tomorrow.
Related Posts
Ditch the Plastic: Use These 3 Brass Couplers for 2026 Installs
It was a frustrating morning when I noticed my dishwasher…
Why 2026 Smart Dishwashers Need This $28 Surge Suppressor
I’ll never forget the sinking feeling I had when my…
Top Dishwasher Parts & Warranty Tips for Long-lasting Trust
My Journey into the World of Dishwasher Parts and WarrantiesEver…