Have you ever experienced that sinking feeling when your dishwasher stops mid-cycle, water still sitting at the bottom, and you’re left scratching your head? I remember the frustration of disassembling my dishwasher only to be clueless about what was really wrong. It hit me—what if I could diagnose the issue myself, without waiting for a costly technician? That lightbulb moment led me into the world of multimeters and troubleshooting techniques that can save you time and money.
Why Testing Your Dishwasher’s Thermal Fuse Matters
Understanding how to use a multimeter to test your dishwasher’s thermal fuse isn’t just tech sanity—it’s a game-changer for DIY repair. The thermal fuse is a safety device that cuts power when the dishwasher overheats. If it’s blown, your appliance might refuse to start or complete cycles, leaving you in a bind. Knowing how to check it allows you to confirm whether the fuse is the culprit or if your problem lies elsewhere.
Early in my troubleshooting journey, I made the mistake of assuming the fuse was fine because it looked intact—don’t do that! Visual inspection alone can be deceiving since a fuse can appear normal but be internally broken. According to appliance repair experts, testing the fuse with a multimeter is crucial for an accurate diagnosis (source).
Does testing your dishwasher’s thermal fuse really make a difference? Absolutely. Think of it as a health check-up for your appliance. When I finally got my multimeter and learned how to test, I saved myself from unnecessary parts replacements and got my dishwasher up and running in no time. If you’ve faced this exact frustration or want to arm yourself against future breakdowns, you’re in the right spot. Today, I’ll walk you through exactly how to perform this test—the simple, step-by-step process that anyone can do.
Preparing to Test the Thermal Fuse
Before diving into the test, disconnect your dishwasher from the power supply to ensure safety, much like turning off your home’s main circuit breaker. Locate your dishwasher’s access panel, typically at the bottom front or side, and remove it carefully using a screwdriver. Think of this step as opening the hood of a car to access its engine — it reveals the vital parts beneath.
Accessing the Thermal Fuse
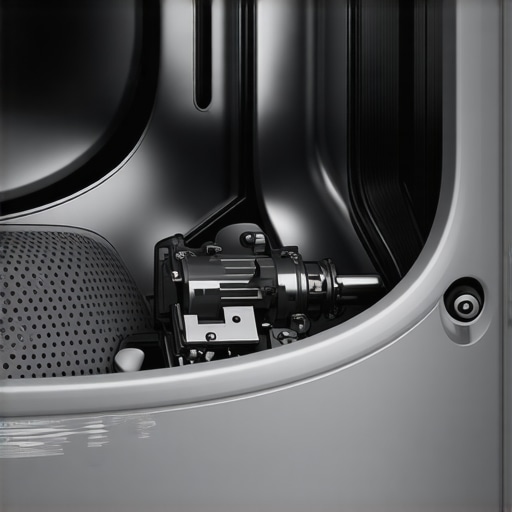
Once the panel is removed, identify the thermal fuse; it’s usually a small rectangular or cylindrical component attached to the wiring harness, often near the motor or heating element. Consult your specific dishwasher model’s manual or online diagrams for precise location. Imagine this as finding the fuse box in your house — once located, you’re halfway there.
Removing the Thermal Fuse
Detach the fuse by gently disconnecting its wires, taking care not to damage the connectors. Use needle-nose pliers if necessary, and remember: note or photograph the wiring setup for reassembly. Think of this as unplugging a sensor from a device — smooth and careful removal prevents future trouble.
Setting Up Your Multimeter
Configure your multimeter to measure resistance, indicated by the Ω symbol. A good fuse should show a reading close to zero, meaning it’s conductive. If the multimeter displays ‘OL’ or a very high resistance, the fuse is blown — akin to a broken wire blocking current flow. Picture the fuse like a bridge; if it’s intact, electricity can cross; if broken, it’s impassable.
Performing the Test
Touch one multimeter lead to each end of the fuse—if you’re testing the fuse outside the circuit. If testing in-circuit, ensure that the circuit allows for an accurate reading; sometimes, you may need to test the fuse after removing it completely. Think of it as testing a plug: attaching the multimeter probes directly across the fuse terminals is like checking if the bridge is still standing.
Interpreting the Results
If your multimeter shows a resistance close to zero, the fuse is healthy. A reading of ‘OL’ or infinite resistance indicates the fuse has blown and needs replacement. Remember, visually inspecting the fuse for burns or cracks isn’t enough—testing confirms its condition reliably. I once replaced a fuse based only on appearance, only to find the multimeter proved it still functioned properly, saving me unnecessary expense.
Reassembling the Dishwasher
After testing, reconnect the wires to the fuse, ensuring secure and correct connections. Carefully replace the access panel and tighten screws. Turn the power back on and run a short cycle to verify operation. Think of it as putting the hood back on after a repair—meticulous reassembly ensures everything functions smoothly afterward.
By consistently applying this testing method, you’ll develop a keen sense of your dishwasher’s health, reducing reliance on guesswork and ensuring that you catch issues early before they escalate. Remember, proper testing not only saves you money but also extends the lifespan of your appliance.
While many DIY enthusiasts focus on the obvious aspects of dishwasher repair, such as replacing worn-out parts or checking the water supply, there’s an often-overlooked layer of complexity that can trip up even seasoned handymen. One common misconception is that all parts are covered equally under warranty; however, [most warranties](https://appliancedoctorz.com/the-complete-list-of-dishwasher-parts-covered-by-warranty) exclude certain components like filters or hoses, which can lead to unexpected expenses if you’re not careful. Additionally, many believe that choosing generic parts is always a cost-effective solution, but advanced issues—like improper installation of the [float switch](https://appliancedoctorz.com/common-dishwasher-parts-and-their-role-in-proper-installation)—require precise specifications to ensure longevity and performance. An error in selecting the wrong part type or size can cause silent leaks that damage the cabinetry, an
Essential Tools for Persistent Maintenance
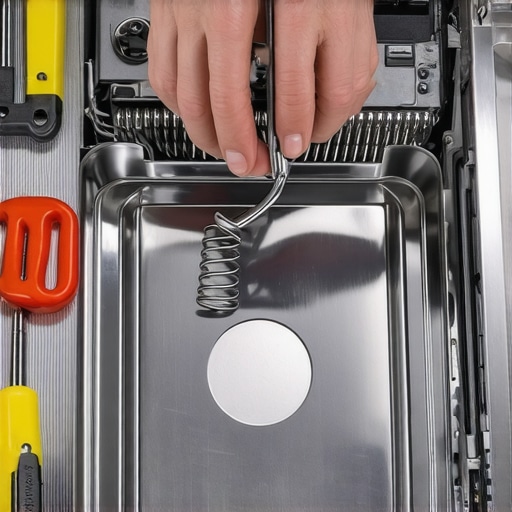
When it comes to maintaining your dishwasher over the long haul, having the right tools makes all the difference. I personally swear by a high-quality digital multimeter, like the Fluke 117, because of its accuracy and durability, which allows me to reliably test components such as the thermal fuse and inlet valves. A set of precision screwdrivers with insulated handles is indispensable for safe disassembly and reassembly, especially when navigating tight compartments or delicate wiring. Don’t overlook a reliable drain snake—it’s invaluable for clearing stubborn clogs in the pump or outlet hose, preventing potential overflows and water damage.
How do I keep my tools in top shape over time?
Regularly calibrate your digital multimeter to ensure accurate readings—this is critical for diagnoses. Keep your screwdrivers sharpened and the tips clean to prevent stripping screws or damaging components. Store your tools in a dedicated toolkit to avoid misplacements, and periodically check the condition of your drain snake for any signs of wear. Maintaining these tools ensures reliable performance, saving time during troubleshooting sessions.
Software and Techniques That Extend Lifespan
Beyond physical tools, leveraging diagnostic software can help identify issues that aren’t immediately visible. I recommend using an app like SmartTech Diagnostics, which interfaces with your smart dishwasher’s error logs to provide real-time insights. This streamlines troubleshooting, especially for complex electronic controls. Applying systematic testing protocols, such as verifying the continuity of the float switch or solenoid valves, can prevent minor issues from escalating. Following expert-guided checklists—like those found on this resource—ensures comprehensive upkeep.
Planning for Scalability and Future Repairs
If your dishwasher is aging but still reliable, consider investing in modular replacement parts—such as a universal wiring harness or adaptable spray arms—that make future repairs more straightforward. Keep a detailed maintenance log, noting symptoms, parts replaced, and testing results; this not only aids in diagnostics but also prepares you for warranty claims. As appliances become more connected, integrating IoT-enabled sensors for monitoring water levels or cycle times could become standard—anticipating this trend, I recommend staying updated with brands that support firmware upgrades or offer diagnostic APIs.
Investing in Warranty and Long-Term Support
Understanding what your warranty covers, especially concerning parts replacement, can save you from unexpected expenses. Many warranties exclude consumables like filters or hoses, so review this comprehensive list before planning any upgrades. When installing new components, follow best practices outlined in this step-by-step guide to ensure proper fit and function. Regularly updating your knowledge and keeping spare parts on hand will make long-term maintenance more manageable and cost-effective.
Lessons That Changed My Approach to Dishwasher Repairs
One of the most eye-opening experiences I had was realizing that visually inspecting a thermal fuse isn’t enough—testing it with a multimeter is the real game-changer. I once replaced a part based solely on appearance, only to find out later it was still functional. This taught me to trust diagnostic testing over assumptions. Another insight was understanding that proper reassembly is just as critical as the troubleshooting itself; a loose connection can lead to ongoing issues that seem unpredictable. Lastly, I learned the hard way that investing in quality tools, like a reliable multimeter, pays off in accurate diagnostics and longer tool lifespan, making future repairs much smoother.
Tools and Resources That Elevate Your Repair Game
For anyone serious about DIY dishwasher repair, I recommend starting with a high-quality digital multimeter, such as the Fluke 117, for its accuracy and durability. A set of precision screwdrivers with insulated handles is essential for safe disassembly, especially when dealing with delicate electronics. Keep a reliable drain snake on hand to clear stubborn clogs, preventing water backup issues. As for reading materials, the blog articles linked throughout—like this troubleshooting guide—offer practical, detailed advice that I’ve personally found invaluable in maintaining my dishwasher’s longevity and performance.
Charge Into Your Repair Journey with Confidence
Embarking on DIY dishwasher troubleshooting isn’t just about fixing appliances—it’s about building confidence and understanding your home better. Each successful test or repair reinforces your skills and brings a sense of accomplishment. Remember, every expert was once a beginner, and the tools and knowledge are more accessible than ever. So, take that first step: test that thermal fuse, check that connection, and enjoy the satisfaction of knowing you can keep your dishwasher running smoothly. Your future self will thank you for turning frustration into empowerment.
Have you tried testing your dishwasher’s thermal fuse before? What challenges did you face, and how did you overcome them? Share your experiences below and join the conversation!
Related Posts
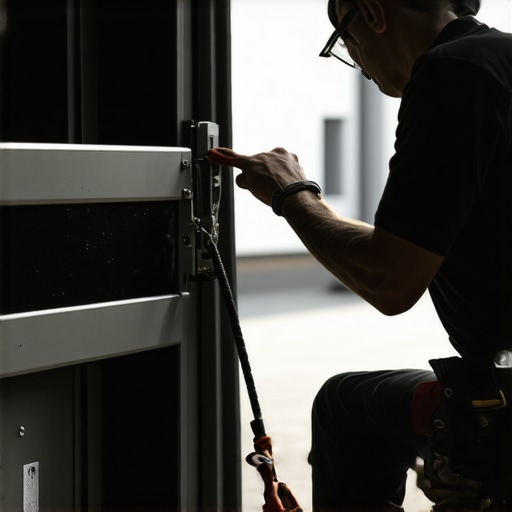
The Truth About DIY Dishwasher Door Spring Repair
Have you ever stood in front of your dishwasher, water…
Why Your Drain Pump Is Making a Constant Grinding Noise
It was late at night, and I was about to…