
I remember the first time I tried installing a new water line under my kitchen sink. Confident, I grabbed my wrench, tightened that brass connection—only to hear an almost imperceptible crack. The next morning, water was flooding my cabinet, and I was left scrambling for towels. It hit me that my eagerness to secure the connection had actually caused the problem. That lightbulb moment taught me a lot about how over-tightening brass water line connections can backfire.
Why Overtightening Could Be Your Plumbing’s Worst Enemy
Many homeowners, myself included at one point, think that tighter is better when it comes to plumbing fittings. But in reality, overtightening can strip threads, crack fittings, or cause leaks that are stubborn to fix. Brass fittings are especially prone to damage if torqued beyond their reasonable limit. Not only does this jeopardize your plumbing, but it can also void warranties—something I learned the hard way after a failed repair where I ignored the manufacturer’s torque specifications. For more insights on essential parts for troubleshooting, check out this guide.
Is Taming Your Tightening Habit Actually Worth the Hype?
Here’s where my mistake is common among DIY enthusiasts: I believed that maximum tightening was the secret to avoiding leaks. Turns out, the real trick is to tighten just enough—firm but not forcing—that the connection is secure without risking damage. I also wish I had taken the time to inspect my fittings more carefully, knowing that replacing damaged parts early can save a ton of headache later. To understand which parts are most susceptible to damage and need careful handling, visit this resource. My experience taught me a lesson that I want to pass on—don’t let haste or overconfidence undo your plumbing work.
Are you tired of dealing with leaks or busted fittings that seem to happen just after you finish a repair? Well, you’re not alone. Many folks face this because they overlook the importance of proper tightening techniques. But don’t worry—we’ll explore how to tighten correctly without risking future water damage. Stick around, because knowing the right amount of torque can save you both money and stress in the long run.
Secure Your Connections Without Stripping or Cracking
When installing a dishwasher or tightening water line fittings, aim for a firm hand rather than brute force. I vividly recall the time I used a 24-inch pipe wrench to tighten a garden hose connector, only to hear a pop as the fitting cracked. The fix involved replacing the damaged part and learning how to tighten properly. To prevent such mishaps, use adjustable wrenches that allow for controlled torque. When tightening, turn until snug, then give an additional quarter turn—no more. Too much force risks damaging the threads or cracking fittings, which can void warranties (see this guide for warranty tips). Always match the tool size to the fitting to avoid slipping or over-torquing. Proper tools and technique save time and money by avoiding damage that leads to leaks or repairs later.
Use a Torque Tool for Precision
If the fittings are especially tight or fragile, a torque wrench is invaluable. I borrowed one from a neighbor during my last dishwasher install. Setting it to manufacturer-recommended torque settings prevented overtightening, securing the connection without risking damage. For example, brass fittings often specify a torque close to 20-30 inch-pounds. Consult this resource to understand parts specifications. Applying the right torque ensures a tight seal, reduces leak risks, and maintains warranty integrity. Remember, exceeding recommended torque can strain the fittings or damage internal components—costly mistakes for DIY enthusiasts.
Inspect and Replace Damaged Parts Promptly
During my early attempts, I ignored signs of damage, which led to recurring leaks. Now, I always inspect fittings and hoses for cracks, corrosion, or deformities before tightening. If a fitting shows any damage, replace it immediately—using quality parts ensures longevity and warranty compliance. When installing new components, familiarize yourself with the role of each part: check out this article for insights. Proper inspection prevents future failures and facilitates correct tightening. A damaged thread or cracked fitting may seem minor but can cause significant water damage if overlooked.
Don’t Overlook Proper Thread Engagement
Align threads carefully to prevent cross-threading, which damages the fitting and compromises the seal. I learned this the hard way when I forced a fitting onto a pipe, causing threads to strip. To avoid this, hand-tighten first, ensuring threads engage smoothly, then tighten with your tool. Cross-threading not only damages the fitting but also voids the warranty, as seen in the guidance at this link. Consistent, gentle tightening preserves the integrity of the connection and keeps your plumbing reliable over time.
Use Proper Materials and Follow Manufacturer Specs
The right fittings, hoses, and adapters matter. For instance, using plastic or cheap components may seem convenient but often leads to leaks and warranty issues. Always verify compatibility and adhere to manufacturer torque specifications. During my latest project, I used a brass connector with a thread sealant recommended by the manufacturer, resulting in a tight, leak-proof connection. Also, check the installation manual or product label for max torque and assembly instructions, which help prevent damage and warranty voids. Proper material choice and adherence to guidelines mean fewer callbacks and peace of mind.
Summary of Key Techniques
- Use adjustable or torque tools for controlled tightening
- Set torque within recommended specifications for each component
- Inspect parts for damage before installation or tightening
- Align threads properly and avoid cross-threading
- Choose quality materials and follow manufacturer instructions
Effective tightening is a skill that evolves with practice. By following these core techniques, you protect your installation, enhance performance, and safeguard your warranty—making future repairs smoother and more predictable.Many DIY enthusiasts and even professional installers often assume that adhering strictly to manufacturer instructions guarantees flawless warranty coverage and long-term performance. However, the real nuances lie in understanding how warranty policies interpret parts, installation practices, and maintenance routines. Let’s dig deeper into what most people get wrong about these aspects and how recognizing these subtleties can save time and money.
Is Your Warranty Truly Protecting You? Think Again.
Common belief holds that if you use genuine parts and follow installation guides, your warranty remains safe. But in reality, manufacturers may impose specific stipulations—such as the necessity of professional installation, using approved parts, or maintaining certain maintenance schedules—that are often overlooked. For instance, choosing cheaper, incompatible parts or DIYing beyond your expertise can inadvertently void your warranty, despite following the manual. According to appliance expert sources, understanding the fine print — like which parts are covered and under what conditions — is essential for maximizing warranty benefits (see here). Many homeowners underestimate the importance of documentation, like keeping purchase receipts or installation photos, which can become lifesavers during claims.
The Oops Trap: When Minor Mistakes Lead to Major Costs
One of the most common pitfalls is neglecting the importance of proper part selection and installation techniques. For instance, installing plastic or non-approved hoses might be tempting due to cost savings, but they often lack the durability necessary for warrantied operation. Using substandard parts can cause leaks or damage that aren’t covered under warranty, yet many don’t realize that the warranty’s fine print excludes damages from improper parts or installation errors. Moreover, substances like non-approved sealants or incorrect torque settings during installation can lead to early component failure. A small oversight—like neglecting to secure the drain hose correctly—can cause recurrent leaks that void warranty coverage, trapping users in costly repairs. For detailed guidance on selecting parts, check this resource. Putting attention into the minute details at installation pays off by preserving warranty protections and ensuring uninterrupted performance.
What Advanced Shoppers Should Know About Parts and Performance
When it comes to parts, there’s more than meets the eye. Some parts may be compatible but not covered under warranty if they don’t meet the original specifications. For example, using third-party replacement parts that aren’t listed as compatible can lead to subtle performance issues or outright warranty denials. Furthermore, neglecting to replace worn components like seals, spray arms, or filters promptly can result in damage to more expensive parts, like motors or control boards, which are usually covered only if the failure stems from manufacturing defects—not wear and tear or improper maintenance. As expert sources highlight, knowing which parts are critical to performance and warranty coverage—such as those detailed at this page—empowers you to maintain your appliance proactively. Regular inspection and timely replacement can prevent minor issues from snowballing into costly repairs beyond warranty limits.
Investing in Reliable Tools for Long-Term Performance
My top recommendation for maintaining a dishwasher over time is the use of a high-quality digital torque wrench. Unlike standard torque tools, a digital wrench provides precise torque readings, which is critical when tightening fittings like water supply connections or spray arms. I personally prefer models that feature a memory function, so I can program the manufacturer-recommended torque settings for different components, preventing overtightening. This approach helps avoid damaging delicate brass fittings and preserves warranty coverage—it’s a small investment that pays off by reducing costly leaks and repairs down the line. For a comprehensive overview of parts suitable for long-term performance, check this resource.
Beyond torque tools, a quality multimeter is indispensable. I use mine to regularly check electrical continuity in control boards and wiring, catching issues early before they lead to complete failure. The ability to troubleshoot electrical components effectively extends the lifespan of your dishwasher and ensures consistent operation. As technology advances, incorporating smart diagnostic devices that connect via Bluetooth can streamline maintenance—some models analyze internal system health in real time, alerting you to potential issues before they escalate.
How do I maintain my dishwasher’s performance over time?
Consistent inspection and early replacement of worn components are key. I schedule quarterly reviews of inlet valves, door seals, and spray arms, using this guide to determine if parts need replacing. Implementing routine cleaning of filters and sensors with specialized cleaning solutions helps prevent buildup that can impede operation. Additionally, updating the dishwasher’s firmware through manufacturer apps (when available) can improve efficiency and fix bugs, extending the machine’s useful life.
Future of Dishwasher Maintenance and Scaling Up
As smart home integration becomes more prevalent, I foresee a trend toward AI-enabled diagnostics and predictive maintenance. These systems will automatically monitor wear and notify homeowners of pending issues, allowing preemptive repairs that save money and reduce downtime. Embracing these technologies now, with proper tools and routine care, puts you ahead of the curve, ensuring your dishwasher remains reliable well into the future.
If you want to optimize your maintenance routine, I highly recommend trying a digital torque wrench set to manufacturer-recommended settings for your fittings. This small step can significantly prolong the life of your appliance and maintain your warranty coverage. Remember, consistent care and the right tools are your best allies in achieving long-term dishwasher performance.
What I Wish I Knew Before Overtightening
One of the most eye-opening lessons I learned was the importance of moderation when tightening water fittings. Using too much force not only damaged parts but also voided my warranty. It’s tempting to tighten until there’s resistance, but understanding manufacturer torque specifications can prevent costly mistakes and keep your coverage intact. This insight transformed my approach to DIY plumbing and now saves me time and money on repairs.
How Proper Tools Changed My Dishwasher Maintenance Game
Investing in a quality digital torque wrench was a game-changer. It gave me precise control over tightening, ensuring connections were secure without risking damage. Trusting tools recommended by experts, like those at this resource, helped me maintain my warranty coverage and extended the lifespan of my appliance. Proper tools are an investment in peace of mind.
A Little Inspection Goes a Long Way—Avoid Hidden Failures
Regularly inspecting parts for wear, cracks, or corrosion has prevented minor issues from escalating into major repairs. Promptly replacing damaged components, guided by advice from this guide, maintains the integrity of my dishwasher and preserves my warranty. It’s a simple habit with significant long-term benefits.
Mastering Thread Engagement to Protect Your Investment
Aligning threads properly and avoiding cross-threading has saved me from costly repairs and warranty headaches. Hand-tightening first before using tools ensures smooth engagement, preventing damage that voids coverage. This small but critical step makes a big difference in the durability of your connections and the longevity of your warranty.
My Go-To Resources for Smart Maintenance
Having a shortlist of trusted tools and references is invaluable. I rely on this source for parts compatibility, and my digital torque wrench from this supplier ensures correct tightening. Combining these resources with routine inspections keeps my dishwasher running smoothly and my warranty protected.
Believe in the Power of Prevention and Education
In the end, the most valuable insight is that proactive maintenance and a willingness to learn can prevent many problems. Proper tightening, regular inspections, and using the right tools help me avoid warranty disputes and unnecessary repairs. Embracing this mindset transforms a mundane chore into a confident habit that safeguards my investment.
Have you ever faced a situation where improper tightening or overlooked parts caused warranty issues? Share your story below, and let’s learn from each other’s experiences to keep our appliances—and warranties—safe.
Related Posts
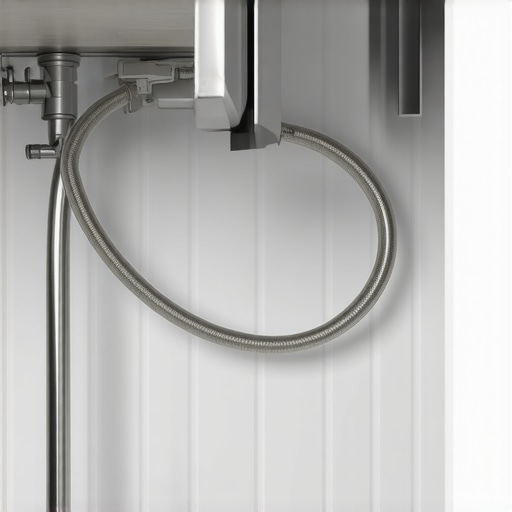
Why Your Drain Hose Needs a High Loop to Stop the Smell
I walked into my kitchen last Tuesday and thought a…
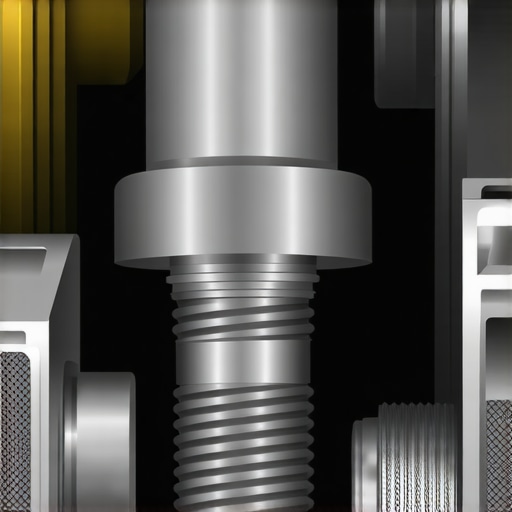
The Hidden Drain Plug That Kills Your Motor During Setup
Ever seen your brand-new dishwasher suddenly shut off during setup…
How to Calibrate Your Machine for High-Altitude Installations
I still remember the first week I moved into my…