
I’ll never forget the sound of water hitting my hardwood floors at two in the morning. It was a rhythmic, soul-crushing drip that told me my ‘simple’ Saturday project had gone horribly wrong. I was proud of myself for handling the diy dishwasher installation, but I made a classic rookie mistake: I didn’t pay attention to the float switch. I assumed the old-school plastic buoy in my budget-friendly unit would just work. Instead, it got snagged on a stray bit of insulation, and the water just kept coming. That night taught me more about the guts of an appliance than any manual ever could. Today, I want to walk you through the battle between mechanical and digital float switches so you don’t end up with a soggy kitchen like I did. We are going to break down which one actually keeps your home safe and why your choice during selecting the right parts for your setup matters more than you think.
The Day My Kitchen Floor Turned into a Lake
I used to think a float switch was just a fancy name for a plastic cup that bobs up and down. In the mechanical world, that’s exactly what it is. As the water rises, the float lifts and hits a tiny microswitch that tells the machine to stop. It’s simple, but it’s prone to human error and mechanical failure. When I was troubleshooting my own mess, I realized that essential parts for troubleshooting dishwasher installation issues often start and end with this one component. I’d actually managed to slightly tilt the machine during the move, which caused the mechanical float to bind against the side of the tub. It couldn’t rise, so the valve stayed open. It’s a frustratingly common error that most of us don’t see until it’s too late. If you’ve ever had a ‘waterproofing’ feature fail on you, you know the feeling of betrayal. Have you ever walked into your kitchen and felt that unexpected squish under your socks?
Is a fancy digital sensor really better than a plastic buoy?
You might be skeptical about ‘smart’ tech in your appliances. I get it. We’ve all seen tech for the sake of tech, but when it comes to the $15 sensor that stops your smart dishwasher from overfilling, the digital approach is a game changer. Instead of a physical buoy, these use pressure transducers or optical sensors to detect water levels. According to research from the Insurance Institute for Business & Home Safety (IBHS), plumbing supply system failures are a leading cause of residential water damage, and electronic sensors are increasingly seen as the most reliable way to mitigate these risks because they lack the moving parts that can get stuck or gunked up with old food. In my experience, while mechanical switches are easier to test with a finger, digital sensors provide a level of precision that protects your dishwasher parts warranty by preventing the kind of catastrophic overfills that manufacturers often blame on ‘improper maintenance.’ I once tried to ‘clean’ a digital sensor with a harsh abrasive, which was a huge mistake that led to an expensive replacement. Trust me, knowing how these common dishwasher parts work before you start tinkering is the only way to keep your sanity intact.
Check the Buoy Before You Turn the Water On
To keep your kitchen dry, you have to treat the mechanical float switch like a fragile egg. Before you even slide the unit into the cabinet, reach under the front kickplate and find that plastic cylinder. Lift it with one finger. You should hear a distinct ‘click’—that’s the microswitch engaging. If it feels mushy or resists, something is wrong. I once ignored a slight resistance on a client’s machine, thinking the water pressure would ‘fix’ it. Big mistake. The float was actually caught on a plastic zip-tie from the factory, and within ten minutes of the first cycle, we were using every towel in the house to soak up the overflow. This is why identifying the parts to check when installing a dishwasher for long-term performance is the difference between a successful DIY and a call to your insurance agent. If you’re dealing with a digital sensor, you won’t get that tactile click. Instead, you need to rely on the unit’s diagnostic mode to ensure the control board sees the sensor as ‘open’ when empty.
Keep Your Insulation from Acting Like a Trap
One of the most overlooked hazards during installation is the insulation blanket. Think of it like a loose-fitting sweater; if it hangs too low, it’s going to get caught in the ‘zipper’ of your moving parts. As you push the dishwasher into its final resting place, the insulation often bunches up near the bottom, right where the float switch resides. I always recommend using the best way to tape your vapor barrier during installation to keep everything tight against the tub. If that insulation snags the float in the ‘down’ position, your machine will never know it’s full. I’ve seen brand-new units ruined because a bit of fiberglass padding wedged itself into the switch assembly, tricking the machine into a never-ending fill cycle. Check this clearance twice—once before it goes in, and once more through the access panel after it’s leveled.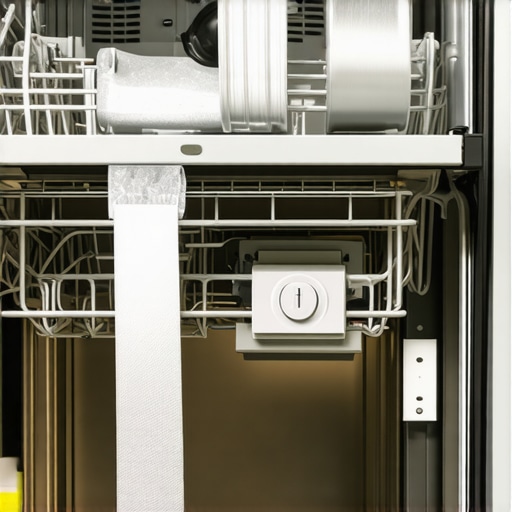
Protect Your Future Claims with a Dry Run
Once the machine is physically in place, don’t just walk away. You need to verify the water inlet valve is doing its job without leaking. I’ve found that even if you know how to replace a faulty water inlet valve in 15 minutes, catching a manufacturing defect during the initial setup is vital for your paperwork. Run a ‘Rinse Only’ cycle first. This is your stress test. While the water is rushing in, use a flashlight to watch the float or sensor area. If the water reaches the bottom of the door and the machine hasn’t clicked over to the wash cycle, hit the ‘Cancel/Drain’ button immediately. This ‘dry run’ is your best defense. If a part fails here, you’ll need to know how to get your warranty claim approved on the first try by documenting that the failure happened during the initial test, not due to months of neglect.
The Leveling Secret for Leak-Free Doors
Gravity is either your best friend or your worst enemy during an install. If the machine is tilted even slightly forward, the water level will hit the front door seal before it triggers the float switch at the back or center of the tub. This is why professional leveling prevents your door from leaking. I always use a spirit level on the open door and the top frame. If the bubble isn’t dead center, those fancy digital sensors might give you ‘dirty’ readings because the water isn’t pooling where the sensor expects it to be. Before you tighten those mounting screws, also remember the critical reason to flush your water lines before hooking up a new machine. A single grain of sand or a tiny shard of copper from a newly cut pipe can wedge itself into the inlet valve, preventing it from closing even if the float switch is screaming ‘stop!’ at the control board.Everyone assumes that as long as they follow the manual, the manufacturer has their back. That is a dangerous misconception. In my years of fixing these machines, I’ve realized that maximizing your dishwashers warranty through proper parts selection isn’t just about buying the most expensive box on the shelf. It’s about understanding that the warranty is a legal contract, not a service guarantee. If you use a part that isn’t on their ‘approved’ list, even if it’s objectively better quality, you’ve handed them a ‘get out of jail free’ card. You end up facing the harsh reality of why your warranty claim fails without an authorized receipt.
Does an aftermarket part actually put your machine at risk?
The common belief is that third-party parts are cheap knock-offs. While that can be true, the nuance is in the engineering. Sometimes, a generic part is manufactured in the same factory as the OEM version, just without the branding. However, you have to weigh that savings against the risk of the difference between oem and generic water inlet valves. A generic valve might lack the specific flow-rate restrictor your high-end machine requires, leading to the very overfilling issues we discussed earlier. According to the International Association of Plumbing and Mechanical Officials (IAPMO), using non-standardized fittings in pressurized systems significantly increases the probability of mechanical fatigue over time. If you decide to go the non-OEM route, you need to be prepared for the fact that how to get your warranty claim approved on the first try becomes nearly impossible if the technician spots a ‘foreign’ component.
Stop reusing the old supply line before it floods your basement
The biggest “oops” factor in the DIY world is the ‘if it ain’t broke, don’t fix it’ mentality regarding the supply line. I’ve seen homeowners spend $1,200 on a state-of-the-art appliance and then try to save $15 by reusing the crusty old braided hose from years ago. This is why your installer refuses to reuse your old brass fittings. Those gaskets are designed for a single compression cycle. Once you break that seal, the rubber has lost its elasticity. 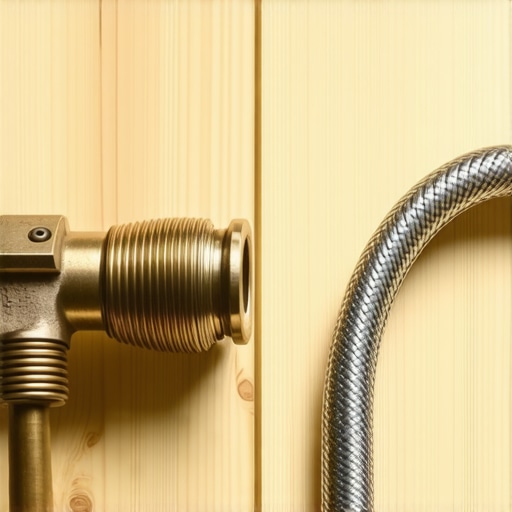 This is the single most common cause of the ‘slow drip’ that rots out subfloors over six months.
Why your professional receipt is your most valuable part
You might be a master of diy dishwasher installation, but there is a hidden nuance that no one tells you: some warranties are only valid if the ‘first run’ is performed by a licensed professional. If you can’t produce a work order, the company can claim that any subsequent failure was caused by your ‘unqualified’ labor. This is one of the many risks of skipping the professional installation receipt. Even if you do the work yourself, keep every single receipt for every single part, including the new water valve and the specific plumbing tape you used. It sounds like overkill until you’re arguing with a claims adjuster about a warped kitchen floor. Have you ever fallen into this trap? Let me know in the comments.Instead of gambling with your kitchen floor, I always tell people to invest in the most durable braided steel hoses for long-term safety right from the start. You might save five dollars on a generic rubber hose, but the peace of mind that comes with a burst-proof line is worth every penny of that ‘upgrade’ cost. I’ve personally switched to using a specific torque-limited wrench as the proper tool to use when tightening your water supply line. Why? Because I used to be the guy who would ‘crank it one more turn’ just to be sure, only to end up cracking the plastic threads on the inlet valve. It’s a heartbreaking mistake that turns a thirty-minute job into a two-week wait for a replacement part.
The Telescopic Mirror is My Secret Weapon for Leak Hunting
I never finish an installation without pulling out my small telescopic inspection mirror and a high-lumen flashlight. Even if everything looks dry from the front, a tiny, hair-thin spray can be shooting out of the back of a fitting, invisible to the naked eye until it pools enough to ruin your cabinets. Using the mirror to check the ‘blind side’ of the pump is how to find a hidden leak under the motor housing before it has a chance to trigger your subfloor’s rot. If you aren’t looking at the underside of those connections while the machine is under full pressure during the high-heat cycle, you aren’t really finished with the install.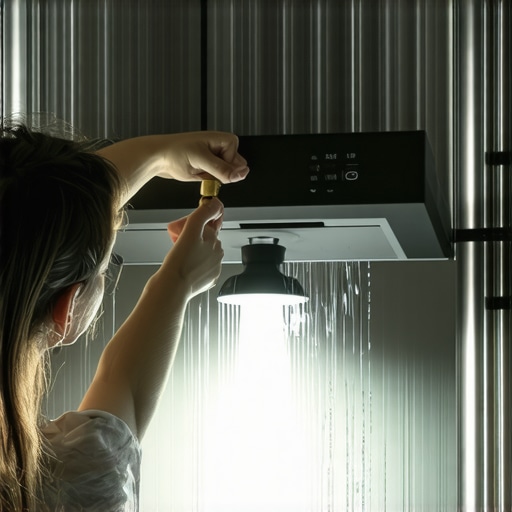
How do I keep these parts working perfectly for years?
Maintenance isn’t just about cleaning out the filter; it’s about understanding dishwasher parts a key to effective maintenance. For instance, I’ve found that the one maintenance task that doubles the life of your gasket is a simple monthly wipe-down with a damp microfiber cloth to remove the abrasive grit that accumulates in the bottom corners. If you ignore this, the grit acts like sandpaper, slowly eroding the rubber until you have a mysterious drip. You also need to keep an eye on your air gap; knowing how to clean the gunk out of your air gap device prevents sink water from siphoning back into your clean dishes. According to the ASSE 1006 standards for residential dishwasher backflow prevention, maintaining this physical break in the plumbing is the only guaranteed way to prevent cross-contamination between your sewer line and your dinner plates.
The Future of Smart Leak Detection
Looking ahead, I expect we will see a shift toward AI-driven predictive maintenance. Soon, your machine won’t just tell you it’s leaking; it will analyze the vibration patterns of the wash motor and warn you months in advance that a bearing is about to fail. Until then, you are the primary sensor. Learning how to diagnose dishwasher parts during warranty periods is your best defense against rising repair costs. My advanced tip for you today? Tonight, after your next load, grab a flashlight and a small hand mirror. Inspect the very bottom edge of your door seal for any dampness or buildup. Catching a ‘weep’ before it becomes a ‘flood’ is the difference between a minor DIY fix and a full-scale kitchen remodel.
The Hardest Lessons My Soggy Kitchen Taught Me
Over years of tinkering with appliances, I have realized that the small details I used to ignore are exactly what determine the lifespan of a kitchen setup. First, documentation is your best shield against corporate bureaucracy. Manufacturers look for any excuse to deny assistance, so knowing what your dishwasher warranty doesnt cover and how to avoid fees is the only way to stay protected. Second, never underestimate the corrosive power of your local utility; I have seen the impact of hard water on your warranty eligibility when it causes a float switch to calcify and fail prematurely. Finally, always verify the movement of the float one last time after the unit is secured; even a slightly pinched wire can override the most expensive safety sensor.
#IMAGE_PLACEHOLDER_E#
The Gear That Keeps My Kitchen Bone Dry
I never walk into a project without a specific set of tools that serve as my safety net. My most trusted item is a high-quality telescopic inspection mirror, which allows me to check for those invisible, hair-thin sprays behind the pump housing. I also swear by using the proper tool to use when tightening your water supply line—specifically a torque-limited wrench—to avoid the heartbreak of cracking a plastic inlet valve. For long-term peace of mind, I strictly install the most durable braided steel hoses for long-term safety, as they resist the pressure spikes that burst standard rubber lines. Finally, keep a digital multimeter nearby so you can learn how to diagnose dishwasher parts during warranty periods without needing to wait for a service call.
Take Control of Your Kitchen’s Safety Today
Stepping into the world of DIY can feel overwhelming, but remember that every master was once a beginner with a manual and a sense of curiosity. By focusing on the precision of your diy dishwasher installation, you are doing more than just saving on labor costs—you are gaining the confidence to maintain your home’s most vital systems. You now have the strategy to handle float switches, sensors, and warranties like a professional. Have you ever had a minor installation oversight turn into a major kitchen headache? Let me know your experiences in the comments below!
Related Posts
The Tiny Plastic Clip That Stops Your Rack from Falling
I remember the moment vividly—it was late at night, and…
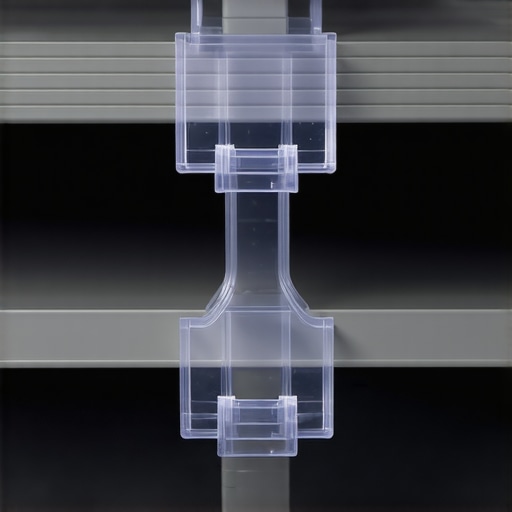
The tiny plastic clip that stops your rack from falling out
Have you ever had that sinking feeling when you open…

The Small Plastic Part That Causes Big Vibrations During Spin Cycles
Ever been halfway through a wash cycle when your dishwasher…