I remember the first time I spent hours trying to scrub stubborn stains off my dishes, only to realize that my dishwasher just wasn’t cleaning properly anymore. It was frustrating—and honestly, a bit embarrassing. The culprit? A cheap, generic spray arm I had installed without much thought. That lightbulb moment made me dig deep into what really affects a dishwasher’s cleaning power.
Spotting the Real Problem Behind Poor Cleaning Results
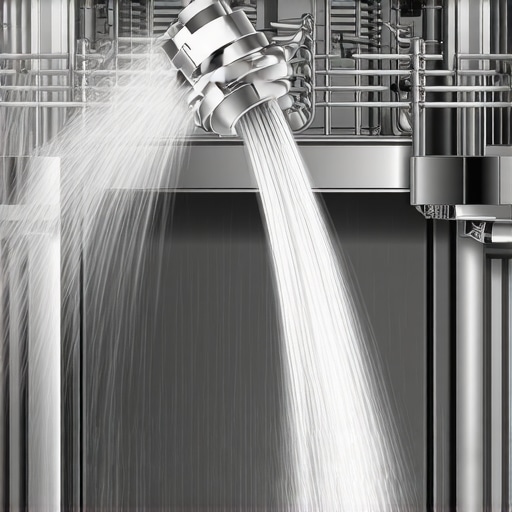
When I replaced my original spray arm with a generic version, I thought I was saving money. Instead, I ended up with worse performance—scratched plates, spots, and lingering residue. It dawned on me that not all spray arms are created equal. Cheap materials and poor design can actually hinder water flow, reducing pressure and coverage. This isn’t just my experience; many homeowners unknowingly compromise their dishwasher’s effectiveness.
Question: Could a Simple Spray Arm Change Be Sabotaging Your Cleanliness?
Many folks believe that any spray arm will do, but the truth is far more nuanced. In fact, installing an inferior part can cause clogged spray holes, uneven water distribution, and even damage to other components. Trust me, I made that mistake early on—thinking a quick swap wouldn’t matter. That’s when I discovered the importance of using quality parts that meet manufacturer standards. For comprehensive guidance, check out our article on understanding dishwasher parts.
Now that we’ve explored the pitfalls of opting for cheap, generic spray arms, let’s move into how you can identify high-quality replacements and avoid common mistakes. After all, proper installation and choosing the right parts are crucial to maintaining peak performance.
Remove the Old Spray Arm Carefully
Begin by unplugging your dishwasher to ensure safety. Locate the spray arm—usually at the bottom of the tub—and unscrew the retaining nut or clips holding it in place. Use a socket wrench or pliers if needed, paying close attention not to strip any screws. Remember, wear gloves to avoid sharp edges. I once stripped a plastic clip because I rushed; now I use a gentle touch to prevent damage.
Inspect and Prepare the New Part
Before installing the new spray arm, examine it for any manufacturing defects—look for cracks or blocked nozzles. Confirm that it matches your model by cross-referencing the part number or consulting the manufacturer’s specifications. I once ordered a generic spray arm, only to find it didn’t fit; reading the guidelines on selecting parts saved me that headache.
Install the New Spray Arm Correctly
Place the new spray arm onto the center hub, aligning any mounting holes. Secure it with the original clips or screw, ensuring a snug fit without over-tightening—this prevents cracking or stripping threads. If your model uses a nut, tighten it firmly but avoid excessive force. Remember, a loose spray arm can cause water misdirection, leading to poor cleaning. I once forgot to tighten mine fully, which resulted in water spraying outside the dishwasher during the cycle.
Test Before Full Operation
Plug the dishwasher back in and run a short cycle to observe spray arm rotation and water flow. Check for leaks around the attachment and verify that water reaches all nozzles. Adjust if necessary. While testing, I noticed one nozzle was clogged due to debris; rinsing the new spray arm cleared it, restoring optimal spray coverage.
Keep Parts Well-Maintained for Longevity
Regularly inspect the spray arm for clogging or damage, especially if you notice spots or residue after washing. Clean nozzles with a toothpick or small brush, and replace the spray arm as per manufacturer recommendations—typically every few years or when performance drops. Proper maintenance prevents costly repairs and keeps your dishwasher running efficiently.
 When it comes to maintaining your dishwasher, many homeowners operate under misconceptions that can cost them time and money. Let’s challenge some of these beliefs and uncover the nuances that often go unnoticed. For example, a widespread myth is that all replacement parts are covered equally under warranty. In reality, warranty policies are often nuanced, covering certain parts but excluding labor or specific components. To truly understand your coverage, it’s essential to review the detailed policy, which you can find in our comprehensive guide on dishwasher warranty policies.Maintaining your dishwasher’s performance over the years requires more than just replacing worn parts; it depends heavily on using the right tools and adopting effective maintenance routines. One essential piece of equipment I swear by is a high-quality digital torque wrench. I prefer the [GearWrench Electronic Torque Wrench](https://amzn.to/3YrID7L), which allows me to tighten water supply fittings to the precise manufacturer-recommended torque—usually around 50-70 inch-pounds—ensuring a leak-free connection without risking damage. This tool has saved me from numerous costly repairs caused by over-tightening or under-tightening fittings, especially when installing new supply hoses or reassembling drain components.
Another must-have is a small, flexible inspection mirror paired with a LED flashlight. This combo helps me examine hidden areas behind the dishwasher and under the tub without dismantling the entire appliance. Regular inspections, especially of the sump basin and drain filter, can prevent micro-leaks and pump failures. I recommend performing these checks every six months, which can significantly extend your dishwasher’s lifespan.
For cleaning nozzles and tight spaces, I rely on a set of precision needle-nose pliers and a soft-bristle brush. The pliers are perfect for removing debris clogs in spray arms or dislodging mineral deposits, which are common with hard water conditions. Using these tools, I can restore optimal spray coverage, ensuring thorough cleaning results without costly professional service.
Advanced maintenance also involves software tools. I utilize smart diagnostic applications linked via Wi-Fi, such as the Samsung Smart Home app, which provides real-time error reporting and cycle status updates. These apps help me monitor performance trends over time and catch issues early, reducing downtime and repair costs. As technology evolves, expect these smart diagnostics to incorporate machine learning for predictive maintenance, a trend that will likely become industry standard soon.
Predicting where maintenance is heading, I believe remote diagnostics and self-healing components will dominate. Future dishwashers might include embedded sensors that automatically alert you when a part is nearing failure, or even order replacements autonomously. Staying updated with the latest tools will be crucial for proactive care.
So, how can you maintain your dishwasher effectively over time? Start with a quality torque wrench for proper fittings, incorporate inspection tools for routine checks, and leverage smart diagnostics if your model supports it. These tools empower you to handle most maintenance tasks yourself, saving money and extending the appliance’s lifespan. For more detailed guidance on parts and warranty coverage, don’t forget to visit our comprehensive guide to dishwasher parts. Ready to level up your maintenance game? Try adjusting your fittings with a torque wrench today—you’ll notice the difference in leak prevention and peace of mind.
Over the years, I’ve realized that the true difference between a dishwasher that lasts and one that needs frequent repairs isn’t just about brand or price—it’s about the knowledge you gain and the proactive steps you take. My personal journey taught me invaluable lessons that no generic guide could fully reveal, making me appreciate the intricate details that keep your appliance running smoothly.
The Price of Overlooking Small Details
One major lesson I learned the hard way was how a tiny overlooked component, like a dried-up nozzle or a slightly loose fitting, can snowball into costly repairs or performance drops. It’s often the small, seemingly insignificant parts that determine your dishwasher’s longevity. When I neglected routine inspections, I faced clogged spray arms and leak issues, reminding me that consistent care, no matter how minor it seems, truly pays off.
The Power of Proper Tools in Maintenance
Investing in quality tools, such as a precision torque wrench, transformed my maintenance routine. These tools give you confidence that everything is tightened to the exact specifications, preventing leaks or damage. I now swear by my digital torque wrench, which prevents over-tightening—and save money on repairs. Moreover, inspecting hidden areas regularly with a mirror keeps micro-problems from escalating, proving that the right tools empower you to be your own best technician.
When to Consult the Experts
While DIY can save you money, I’ve learned to recognize the moments when professional help is essential—like when a part is deeply embedded or if your warranty coverage might be at risk. Knowing whom to trust and when to reach out makes all the difference. If you’re ever unsure, our contact page (https://appliancedoctorz.com/contact-us) is a great resource for expert advice, ensuring you’re not potentially voiding your warranty or causing further damage.
Long-Term Benefits of Smart Maintenance Habits
Adopting smart routines, like checking for early signs of wear or programing regular maintenance with smart diagnostics (if your model supports it), can extend your dishwasher’s lifespan exponentially. Technology is advancing, and smart home integrations will soon offer predictive alerts, which I find both exciting and incredibly practical. Staying informed on these trends ensures your investment is protected for years to come.
My Secret Weapon for Appliance Success
Ultimately, I discovered that continuous learning about parts, installation techniques, and warranty policies is essential. The cornerstone is understanding the parts (https://appliancedoctorz.com/understanding-dishwasher-parts-a-key-to-effective-maintenance), which prevents costly mistakes. Whether swapping out a spray arm or sealing a leak, knowing your components saves time and money—plus, it gives you a sense of mastery over your home appliances.
The Road Less Traveled to Reliable Cleaning
Remember, becoming proficient in maintaining your dishwasher isn’t just about avoiding repairs; it’s about creating a resilient, efficient system that serves your household seamlessly. Embrace the small details, invest in the right tools, and stay curious. Your dishwasher—and your wallet—will thank you for the effort.
Your Next Step Starts Now
Take charge of your appliance’s future by applying even a few of these insights today. Think about the small components you might overlook and which tools could make maintenance easier. The more you learn, the less you’ll rely on costly repairs or replacements. Ready to get your hands dirty and extend your dishwasher’s life? Share your experiences or ask questions below—your journey towards smarter maintenance starts here!
Related Posts

The Secret to Quiet Cycles: Sound Dampening Sheets
I remember the moment clearly—standing in my kitchen, staring at…
Why Aftermarket Spray Arms Often Reduce Cleaning Pressure
It was a frustrating Sunday afternoon when I finally decided…
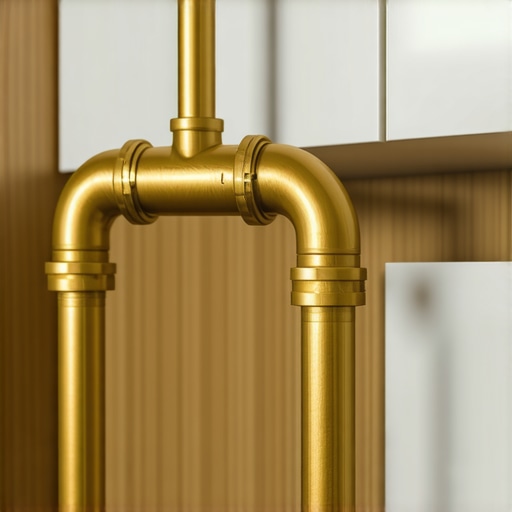
The $12 Brass Elbow That Stops Silent Cabinet Leaks
I remember the moment quite vividly—standing in my kitchen, water…