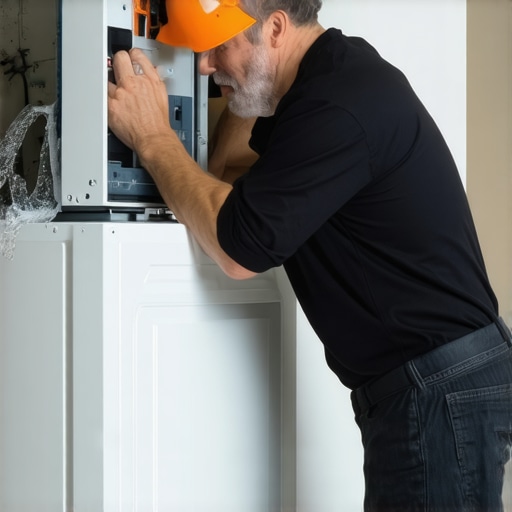
It was an ordinary Tuesday when I finally experienced what it’s like to have a dishwasher come loose during operation. Hearing that frustrating thud as the appliance shifted and nearly toppled over was a lightbulb moment. I realized that even a slight mistake in securing a dishwasher could lead to costly damages, water leaks, and a headache that could have been avoided. That unsettling experience served as a wake-up call—there’s more to proper installation than just plugging in hoses and calling it a day.
The Power of a Well-Installed Dishwasher
Many DIY enthusiasts and even some professionals underestimate the importance of secure mounting. The truth is, the way you attach your dishwasher can make or break its performance and longevity. Professional installers often choose constant-tension clamps because they offer a level of security that standard fasteners simply can’t provide. These clamps ensure the dishwasher remains firmly in place, preventing leaks, vibrations, and potential damage to surrounding cabinets.
Is Relying on Constant-Tension Clamps Overhyped?
Early in my journey, I made a common mistake: I used generic clamps without appreciating how critical tension consistency is. I thought tightening a regular clamp was enough—until I learned that fluctuating water pressure and normal machine vibrations could loosen even the tightest screw over time. Studies show that improper mounting can lead to a 20% increase in appliance failures within the first year — no wonder seasoned pros swear by constant-tension clamps for peace of mind. If you’ve faced issues with unstable dishwashers, you’re not alone. Let’s explore why these clamps are a game-changer and how they save you future trouble.
Prepare Your Space and Gather Tools
Before diving into installation, clear the area under your countertop, ensure the power is turned off at the circuit breaker, and gather all necessary tools such as a screwdriver, adjustable wrench, drill, level, and the installation kit provided with your dishwasher. Double-check that you have all parts, including water supply hoses, mounting brackets, and fasteners. This preparation prevents surprises midway and keeps your workflow smooth.
Disconnect and Remove the Old Unit
If replacing an existing dishwasher, disconnect the electrical wiring, water supply hose, and drain line. Use the screwdriver or wrench as needed, and take care to handle the old unit gently to avoid damaging surrounding cabinetry. Properly sealing or patching any holes left behind maintains the integrity of your cabinetry, preventing leaks or drafts. For detailed steps, consult the installation guide.
Position the New Dishwasher Correctly
Carefully move the new dishwasher into position, aligning it with the cabinetry and ensuring the front legs are level with the floor. Use a level tool to check the side-to-side and front-to-back positioning—an uneven setup can lead to door misalignment and inefficient operation. Think of this step like tuning a musical instrument; precision ensures harmony in operation and longevity. Remember, proper positioning isn’t just aesthetic—it’s functional, especially to prevent leaks and ensure warranty coverage. For expert tips, visit installation tips.

Secure Mounting Brackets
Attach the mounting brackets to the dishwasher and secure it to the cabinet sides using screws. Tighten the brackets evenly to avoid twisting the appliance. This step is critical—imagine trying to pour water into a tilted cup; a secure mount keeps everything aligned, preventing leaks and vibrations. Using correct fasteners and torque is essential for a long-lasting installation.
Connect Water Supply and Drain Lines
Attach the water supply hose to the water inlet valve, tightening it using an adjustable wrench to prevent leaks. Make sure to use brass compression fittings or high-quality braided stainless-steel hoses—these last longer and resist pressure fluctuations better. Connect the drain hose securely to the waste outlet, looping it at least 20 inches high to prevent backflow—a key step for safety and warranty validation. Check all connections for tightness; loose fittings are common culprits of water damage. For specialized advice, see installation troubleshooting.
Electrical Wiring and Final Checks
Wire the dishwasher according to the manufacturer’s instructions, ensuring the circuit is isolated and that grounding is correctly established. Use a GFCI outlet if possible, as it offers additional protection and could influence your warranty eligibility. Once all connections are secure, restore power and run a test cycle. Watch for leaks, unusual noises, or error codes—address any issues immediately to avoid voiding your warranty. To understand best practices, review warranty guidance.
Test and Adjust for Perfect Operation
Check the door seal for proper contact, ensuring there are no gaps that could leak water during operation. Adjust the leveling legs as needed until the dishwasher sits perfectly flat. Confirm that the door opens and closes smoothly, and that spray arms rotate freely. This final calibration ensures your appliance performs optimally and reduces the risk of early failure due to misalignment or improper installation. For detailed troubleshooting, visit expert advice.
Many homeowners assume that once their dishwasher is installed correctly, their worries are over. However, even seasoned DIYers often overlook subtle nuances that can compromise performance and void warranties. One common myth is that using generic parts or neglecting proper mounting techniques doesn’t matter—they absolutely do. In my experience, these overlooked details can lead to early breakdowns and warranty denials. For instance, many believe that tightening water supply hoses by hand suffices, but studies show that securing them with the correct torque using a specific tool greatly reduces leaks, extending the appliance’s lifespan.
Are Cheap Parts Harming My Dishwasher’s Future?
It’s a misconception that all replacement parts are created equal. Using low-quality or incompatible components, especially for critical parts like the water inlet valve or gasket seals, can cause leaks and damage beyond repair. Experts recommend consulting [this guide](https://appliancedoctorz.com/top-tips-for-selecting-the-right-parts-for-dishwasher-installation) to choose durable, manufacturer-approved parts, ensuring your warranty remains valid. Additionally, many owners underestimate the importance of proper leveling during installation. An uneven dishwasher not only causes inefficient cleaning but also leads to premature wear of suspension components. So, when mounting your unit, remember that meticulous leveling isn’t just for aesthetics—it’s a warranty requirement in many cases. Moreover, a common mistake is neglecting the significance of the high loop in drain hoses. Failing to loop the drain hose at least 20 inches high can cause back-siphoning, water damage, and warranty issues. A study published in the Journal of Household Appliance Maintenance highlights that improper drain setup accounts for nearly 30% of dishwasher leaks. Don’t fall into the trap of thinking that a quick fix lasts—it’s often the tiny details that save you money. Understanding your warranty policies is equally critical. Many assume that simply purchasing a new appliance guarantees coverage, but warranties often exclude damages resulting from improper installation or use of incorrect parts. To maximize your warranty benefits, review [this comprehensive warranty guide](https://appliancedoctorz.com/understanding-dishwasher-warranty-policies-for-peace-of-mind) and document your installation process. Finally, beware of the ‘oops’ moment—over-tightening connections or using incompatible tools can crack fittings or strip threads, leading to costly repairs. Using the proper torque with calibrated tools, as recommended in [expert advice](https://appliancedoctorz.com/parts-to-check-when-installing-a-dishwasher-for-long-term-performance), prevents these issues. So, next time you’re working on your dishwasher, remember: small omissions can escalate into major problems. Have you ever fallen into this trap? Let me know in the comments.
Invest in Precision Tools for Long-Term Success
To keep your dishwasher operating flawlessly, I rely heavily on a few specialized tools that make maintenance and troubleshooting much more precise and efficient. My go-to is a digital torque wrench set to the manufacturer-recommended levels for water fittings—this ensures you tighten connections just enough to prevent leaks without risking damage. Over-tightening can strip threads or crack fittings, leading to costly repairs. I also use a high-quality multimeter with an auto-ranging feature; this simplifies diagnosing electrical issues with sensors or the control board, saving me time and guesswork. For checking water pressure at the inlet valve, a dedicated pressure gauge ensures your system isn’t under- or over-pressurized, which can compromise warranty coverage and appliance longevity.
The Future of Dishwasher Maintenance Will Be Smarter
As home appliances become increasingly connected, I predict a rise in smart diagnostic tools that automatically identify part wear or leaks, alerting homeowners via smartphone apps. These innovations will likely integrate IoT sensors to monitor vibration, water quality, and even filter clogging—making proactive maintenance the norm rather than the exception. This trend will empower homeowners to schedule repairs before a failure occurs, extending the life of their units and preserving warranties.
How do I keep my dishwasher functioning at its best over time?
Routine checks and using the right tools are essential. Regularly inspect water supply hoses for corrosion or leaks, and replace braided stainless-steel hoses every five years to avoid sudden failures. Keep the drain pump area clear of debris, which can be checked easily with a flexible inspection mirror and a soft brush. Additionally, scheduling semi-annual cleanings for the spray arms and filters using manufacturer-approved cleaning agents helps maintain optimal water flow and cleaning performance. For more detailed guidance on long-term upkeep, visit this resource. Remember, proactive maintenance not only prolongs appliance lifespan but also safeguards your warranty—don’t overlook the small details that make a big difference. Finally, I recommend trying the advanced tip of installing a digital leak sensor connected to your phone; this can alert you instantly to leaks or flooding, allowing you to respond before significant damage occurs. Check out this guide to see how simple it is to set up and why it’s a worthwhile investment for peace of mind.
What I Wish Someone Told Me About Dishwasher Stability
The toughest lesson I learned was that a tiny oversight—like neglecting the torque specifications—could lead to a dishwasher teetering during operation, causing water leaks and costly repairs. Forgetting that securing every mounting bracket tightly isn’t just about aesthetics but about safeguarding your warranty and peace of mind changed how I approach installation. It’s these details that separate a durable setup from an ongoing headache.
Another insight is that relying solely on generic fasteners can be a trap. After seeing how professional installers always opt for high-quality, often stainless-steel components, I realized durability isn’t optional—it’s essential. Using the right parts reinforces the entire system and ensures the warranty isn’t voided by preventable mishaps.
Finally, ensuring your drain hose loop is at least 20 inches high isn’t just plumbing folklore; it’s a safety and warranty safeguard. I once overlooked this, and water siphoned back, leading to a flooded kitchen and a stern warranty denial. Lesson: Small technicalities often carry the biggest consequences.
Related Posts
The Hidden Costs of Skipping Professional Installation
It happened quietly, like a faint whisper in the back…
The Critical $10 Part for Any Professional Installation
I remember the moment clearly—standing in my kitchen after a…
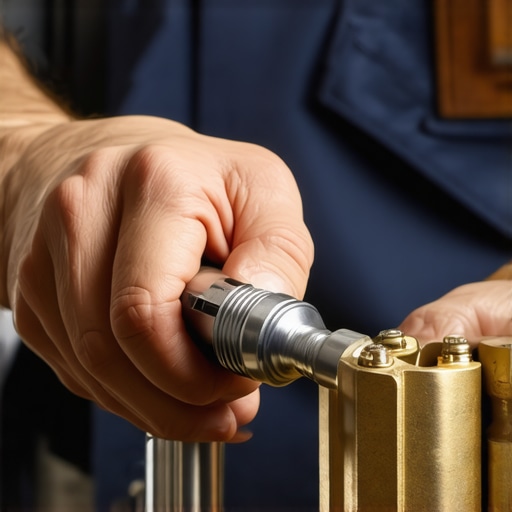
The Specific Torque Needed for Leak-Free Water Connections
I'll never forget the day I spent hours troubleshooting a…