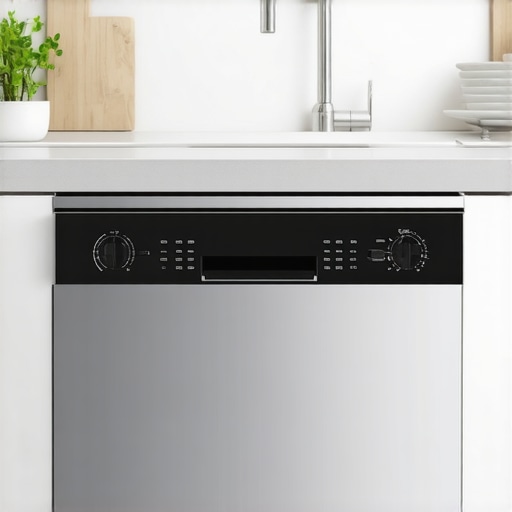
It was midnight when I first realized my kitchen had turned into a drum solo. The relentless banging of pipes felt like a personal assault, waking up everyone in the house. I had just finished installing a dishwasher, following all the steps I thought were best, but that constant thud-thud-thud when the water stopped flowing? That was a sign I missed something crucial. At that moment, I knew I wasn’t alone in facing this frustration. And more importantly, I discovered a simple, cost-effective fix that transformed my plumbing nightmare into peace and quiet.
Discovering the Power of the $12 Hammer Arrestor
Imagine a tiny device, costing less than a fast-food meal, that can silence those annoying pipe bangs and protect your plumbing. That’s exactly what a hammer arrestor does. For years, I believed that thicker pipes or more insulation would solve the problem, but the real breakthrough came when I learned about these straightforward devices. They absorb shock waves caused by water hammer—an issue most homeowners deal with but often overlook.
The promise today is clear: I’m going to share why investing in a hammer arrestor is the most effective solution you can find, especially since improper installation or neglect can lead to costly damages. My experience taught me that a small purchase and a bit of know-how can bring peace back to your home.
Is the Hype About Hammer Arrestors Overblown?
Early on, I made the mistake of dismissing this tiny device as gimmicky. I thought, ‘How could such a small thing make a difference?’ But that misunderstanding cost me weeks of sleepless nights and unnecessary stress. According to plumbing experts, like those from [the Appliance Doctorz](https://appliancedoctorz.com/why-this-12-brass-fitting-prevents-a-cabinet-wrecking-leak), installing a properly sized hammer arrestor can prevent pipe damage and reduce noise significantly. They’re designed to handle water pressure surges, which means your pipes won’t shake or bang when valves close suddenly.
Addressing this issue early in your installation or repair process can save you from bigger woes down the line. Whether you’re a DIY enthusiast or hiring a professional, understanding the role of these simple devices is key to a long-lasting, quiet plumbing system.
If you’ve ever experienced those startling pipe noises after running water or heard the unmistakable bang when a valve shuts, then you know how disruptive it can be. The good news? The fix is cheap, accessible, and surprisingly easy to implement. Next, I’ll walk you through exactly how to choose and install the right hammer arrestor to keep your pipes peaceful and your mind at ease.
Identify the Problematic Pipe
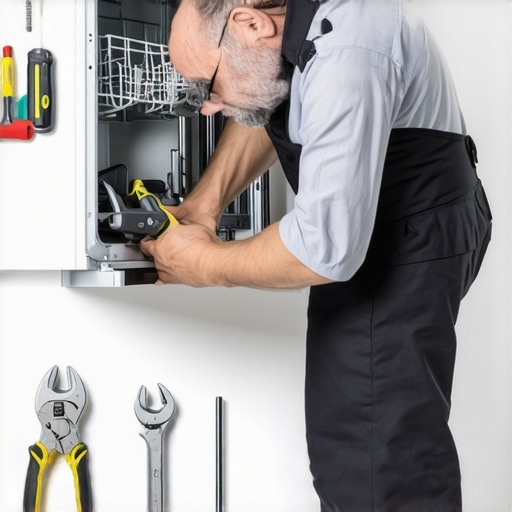
Start by locating the pipe that causes the banging sound. I remember a chilly Saturday afternoon when I traced the noise to the kitchen sink’s supply line. Use a flashlight to inspect under sinks and behind appliances, listening for the loud thud when water stops. Once identified, turn off the main water supply to ensure safety during installation.
Gather the Necessary Tools and Parts
Prepare a hammer arrestor compatible with your pipe size. I chose a brass model, which is durable and affordable, costing less than a meal. You’ll also need a adjustable wrench, pipe cutter, Teflon tape, and possibly a pipe reamer. Having everything ready prevents interruptions once you start working. For detailed parts info, check this resource.
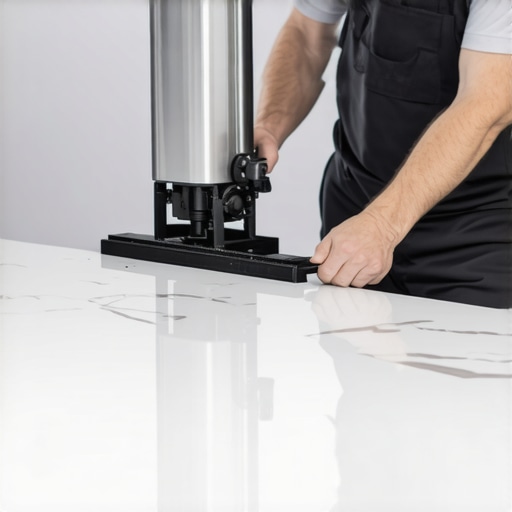
Prepare the Pipe for Installation
Cut the section of pipe where you’ll install the arrestor using the pipe cutter. I learned this the hard way when I didn’t measure properly and had to redo the cut, creating a mess. Ensure the ends are clean and smooth with a reamer to prevent leaks. Wrap Teflon tape around threaded fittings to achieve a tight seal, as explained in this guide.
Connect the Arrestor to the Pipe
Screw the arrestor onto the pipe fitting, tightening firmly but not excessively to avoid damaging the threads. I found success using the adjustable wrench, steadying the pipe and turning the arrestor clockwise. Ensure the unit is perpendicular to the pipe to optimize shock absorption. If your pipe requires a different fitting, consult tips on part selection.
Secure and Test the Installation
Once connected, secure the arrestor with pipe brackets if necessary, preventing movement. Turn the main water supply back on, gradually opening the valve to check for leaks. Listen closely for any knocking sounds—if silence prevails, you’ve succeeded. I tested by running water at different flows, watching the pipe for vibration and the arrestor for stability. For comprehensive troubleshooting, visit this troubleshooting page.
Final Tips for Long-Term Peace
Remember to periodically check the arrestor’s condition and tighten fittings if needed. Using quality parts and proper techniques ensures longevity. When in doubt, consult these diagnostic tips to verify your installation remains in top shape. Installing a hammer arrestor is a straightforward project that can save your nights from disruptive pipe bangs and protect your plumbing investment.
Many homeowners believe that once their dishwasher is installed and under warranty, their worries are over. However, in my experience, there’s a nuanced landscape many overlook, which can make or break your appliance’s longevity. A common myth is that warranty terms are straightforward; in reality, understanding the fine print is crucial. For example, improperly selecting or installing parts can void your warranty unexpectedly, even if the brand claims coverage.
Why Do Many Warranty Claims Fail Despite Following the Manual?
Research shows that warranty denial often stems from overlooked details like part compatibility or installation techniques, which aren’t always clearly emphasized in user guides. Experts from this resource highlight that missteps during installation, such as ignoring specific part specifications, can lead to claim rejections. An advanced error homeowners might make is assuming all parts labeled as ‘compatible’ are interchangeable. However, subtle differences in component specifications can cause issues, especially with newer models like the 2026 smart dishwashers that rely heavily on precise sensor calibrations. For in-depth guidance, check this article. Moreover, many forget that regular maintenance and correct troubleshooting are essential to keep warranty validity intact. Ignoring signs like unusual noises or leaks can be interpreted as user neglect, leading to claim denials. A common pitfall is reusing old parts, which, although seemingly economical, might not meet the upgraded standards required for warranty coverage, especially in models with smart sensors and advanced safety features. For detailed advice, see this comprehensive guide. Are you aware of how specific installation practices and part choices impact your warranty? Don’t let small oversights turn into costly issues. Remember, the devil is in the details—something that often trips up even seasoned DIYers. And always double-check that your installation aligns with the latest model requirements, particularly with the ongoing evolution towards smart appliances and integrated IoT features. Have you ever fallen into this trap? Let me know in the comments.Maintaining your dishwasher effectively requires the right tools and a proactive approach to ongoing care. One of the most valuable tools I’ve personally relied on is a digital multimeter. I use it to verify the electrical continuity of components like the heating element and door switches, ensuring they’re functioning properly before they cause larger issues. For example, checking the resistance of the heating element helps prevent unnecessary replacements and keeps your dishwasher operating efficiently. Additionally, a set of precision screwdrivers is indispensable for safely removing panels to inspect internal parts without damaging delicate screws or clips. When it comes to software, I recommend using diagnostic apps provided by manufacturers or third-party tools like RepairClinic’s troubleshooting guides, which help interpret error codes and guide part replacements. These resources save time and improve the accuracy of repairs, especially for complex new models. Looking ahead, smart diagnostics integrated into newer dishwashers are likely to become more advanced, potentially allowing remote troubleshooting. Familiarity with these tools and systems now will position you to adapt to these innovations seamlessly.
How do I keep my dishwasher functioning well over time?
Regularly checking critical parts like the water inlet valve and door latch ensures your appliance runs smoothly. I inspect the inlet valve for signs of wear or mineral deposits that can affect water flow, which if neglected, might lead to leaks or incomplete cycles. Replacing worn gaskets using parts recommended in this guide can prevent costly water damage. Also, cleaning the spray arms and filters periodically keeps water circulation optimal. For diagnosing issues early, I rely on error code interpretation tools, or I reference this comprehensive source to understand how internal components interact. I’ve found that maintaining a schedule for these inspections, perhaps quarterly, significantly extends the lifespan of the appliance and minimizes breakdowns. As models become smarter, integrating diagnostic checks into your routine will become essential. For example, regularly testing the sensors’ responses helps confirm your dishwasher is within warranty bounds and ready for any warranty claim if needed. Try setting a maintenance routine with one of these diagnostic tools today—it’s a small step that can save you a lot of trouble down the line.
The Hidden Lessons that Changed My Approach to Dishwasher Maintenance
One of the most eye-opening realizations was that not all warranty claims are created equal; the devil truly is in the details, and understanding this has saved me from unnecessary rejection of my claims. I learned that knowing the specific parts covered and maintaining proper installation practices are crucial, which means always consulting detailed resources like this list before making any repairs. Additionally, I discovered that reusing old parts without verifying their compatibility can void warranties unexpectedly; the importance of selecting the right parts, as explained in this guide, cannot be overstated. I also found that digital logs and proper documentation during installation make a significant difference when troubleshooting or making warranty claims – keeping detailed records has been a game-changer. Lastly, I realized that falling into assumptions about warranty coverage or DIY shortcuts can lead to costly setbacks, and proactive, informed actions are the safest path forward.
Related Posts
4 Tools Every DIY Dishwasher Installer Needs to Avoid a Leak
I still remember the moment I turned on my first…
The Proper Way to Secure Your Machine to a Quartz Countertop
I remember the moment vividly—my brand-new dishwasher wobbling ominously, leaning…
The Mounting Bolt Mistake That Makes New Dishwashers Shake
Ever since I installed my new dishwasher, I couldn’t ignore…