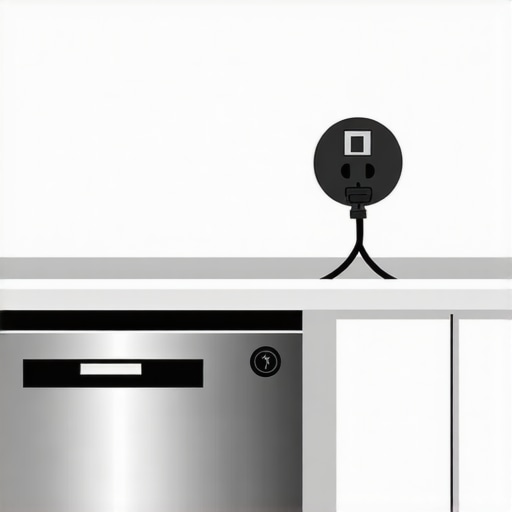
Ever had that moment when you open your dishwasher and notice it wobbles, leans, or worse, wobbles during operation? I sure have. I remember the frustration of installing a brand-new dishwasher on my uneven tile floor, thinking it would be a straightforward job. Instead, I ended up with a wobbly machine, water splashing where it shouldn’t, and dishes not coming out as spotless as I wanted. That lightbulb moment hit me hard—why does my dishwasher sit unevenly, and how can I fix it without costly professional help? These questions haunted me until I discovered that managing uneven flooring is a common challenge many face but few know how to tackle effectively.
The True Cost of Installing a Dishwasher on Uneven Floors
When I first installed my dishwasher, I overlooked one critical detail: my tile floor wasn’t perfectly level. That seemingly minor oversight led to minor leaks, strange noises, and a frustrating wobble that persisted despite my attempts to shim the machine with bits of cardboard. It took longer than it should have to realize that my uneven floor was the root cause, and ignoring it only risked damaging the appliance or voiding the warranty. If you’ve run into similar issues, you’re not alone. According to appliance experts, an unlevel dishwasher not only compromises cleaning performance but can also cause long-term mechanical issues, as stressed parts wear unevenly. You can learn more about how your warranty covers parts in the [complete list of dishwasher parts covered by warranty](https://appliancedoctorz.com/the-complete-list-of-dishwasher-parts-covered-by-warranty).
Question: Is Leveling Your Dishwasher Really Worth the Effort?
Trust me, early on I made the mistake of thinking a quick shim job was enough—big mistake. Before I knew it, small cracks appeared in the door seal, and I had to replace parts sooner than expected. Proper leveling isn’t just about aesthetics; it’s essential for proper water drainage, preventing leaks, and extending the appliance’s lifespan. If you’re skeptical about whether it’s worth the effort, consider that a well-leveled dishwasher operates silently, efficiently, and with fewer repairs. Curious about what parts to check when installing your dishwasher for long-term success? Visit [parts to check when installing a dishwasher](https://appliancedoctorz.com/parts-to-check-when-installing-a-dishwasher-for-long-term-performance) for expert tips.
Now that I’ve shared my initial struggle and the importance of a level machine, let’s dive into practical steps on how to finally get your dishwasher sitting perfectly on that uneven tile floor. It’s easier than you think—and your future self will thank you for it!
,
Assess and Prepare Your Workspace
Start by clearing the area around your dishwasher, removing any debris or objects that might obstruct access. Turn off the power and water supply, then carefully disconnect the machine following safety guidelines. While doing this, I once forgot to unplug my dishwasher, which nearly caused a short circuit during drainage—lesson learned the hard way. It’s crucial to ensure the area is safe and accessible before proceeding.
Check the Floor’s Levelness and Identify High or Low Spots
Use a high-quality bubble or digital level to determine where the floor is uneven. Place the level across the dishwasher’s intended position, checking both front-to-back and side-to-side. I once used a basic bubble level and realized later I needed a longer ruler to spot slight misalignments, which made balancing much easier. Mark the high and low points with painter’s tape for reference during adjustments.
Gather Necessary Tools and Materials
Prepare a set of shims (wood, plastic, or metal), a measuring tape, screwdriver, and possibly a level adapter. For stubborn unevenness, I found that stacking small wood shims beneath the front feet provided a stable solution. Remember, choosing the right shim material is vital—metal shims are durable but can damage floors if over-tightened, so choose wisely.
Adjust the Dishwasher’s Feet for Levelness
Most dishwashers have adjustable feet; locate the adjustment screws at the bottom corners. Use a wrench or pliers to turn the feet clockwise to raise or counter-clockwise to lower. As I adjusted mine, I tightened the front-left foot slightly more than the right, which took a few tries but resulted in a perfectly level machine. Tighten the screws firmly, but avoid overtightening to prevent damaging the threads.
Use Shims When Adjustment Limits Are Reached
If the feet cannot compensate for the uneven floor, place shims beneath the feet. Position them carefully to support the foot fully, preventing wobbling or tilting. I once placed a small plastic shim under the rear right foot and tested with the level, achieving stability without further adjustments. Ensure shims are secure and won’t slip during operation.
Test Stability and Proper Drainage
Carefully push the dishwasher back into its spot, checking for wobbling. Run a short cycle to observe leaks or unusual noises. If the machine remains steady and drains properly, you’ve successfully leveled it. I recommend rechecking the level after a cycle, as the vibration can cause slight shifts.
Secure and Finalize Installation
Once satisfied, tighten all adjustable feet securely. Reconnect water and power supplies, then replace any panels or kickplates. Double-check that the machine doesn’t rock or wobble—if it does, revisit the adjustments. Remember, a well-leveled dishwasher not only prevents leaks but also prolongs its lifespan, saving money in the long run. For more detailed tips, see the [top tips for seamless dishwasher installation in 2025](https://appliancedoctorz.com/top-tips-for-seamless-dishwasher-installation-in-2025).
While many believe that proper dishwasher setup is straightforward, there are nuanced pitfalls that can undermine your efforts and jeopardize your warranty coverage. One common misconception is assuming that simply installing the machine level guarantees long-term reliability. In reality, aspects like correct water supply connections, precise leveling, and understanding parts warranty details are often overlooked, leading to premature failures or denied warranty claims. Many homeowners get tripped up by assuming all parts are covered equally, but as highlighted in this detailed guide, certain parts like wearable components may not be covered, resulting in unexpected expenses.
Why Most Overlook the Fine Print in Warranty Policies
Here’s the kicker: warranty documents are often packed with legalese, leading many to overlook critical clauses. For instance, a common mistake is believing that any DIY repair or improper installation automatically voids the warranty. However, reputable manufacturers typically specify that only unauthorized repairs or modifications void coverage, provided installation aligns with their guidelines. I frequently see cases where incorrect water inlet connections or ignoring grounding requirements results in claim denials. To avoid this, review warranty policies comprehensively before attempting repairs or installations yourself.
Another often-missed nuance is understanding the significance of quality parts. For example, using generic or off-brand components, especially related to water supply lines or seals, can lead to leaks and damage that fall outside warranty coverage. This underscores the importance of selecting proper replacement parts and adhering to manufacturer specifications. Remember, the right parts not only ensure functionality but also help preserve warranty eligibility.
What Advanced Homeowners Can Do to Protect Their Investment
Beyond following basic installation steps, advanced users should consider troubleshooting key parts and maintaining detailed records of parts replaced or repairs performed. This evidence can be invaluable when disputes arise over warranty coverage. Additionally, avoid shortcuts like reusing old fittings or skipping professional grounding, as these can trigger coverage exclusions.
Interestingly, even seemingly minor oversights like improper drain hose routing or neglecting to run a test cycle can have long-term consequences, affecting warranty validity and machine lifespan. External studies, such as the one from the Consumer Affairs’ research, highlight how these small mistakes compound over time, leading to costly repairs.
In conclusion, for a truly foolproof setup, understanding the complex layers of warranty policies, high-quality parts selection, and precise installation techniques is essential. Don’t just rely on the assumption that ‘level and done’ suffices. Instead, dig into the fine print, use recommended components, and verify every step aligns with manufacturer guidelines to safeguard your investment. Want more detailed insights to perfect your dishwasher setup? Check out this comprehensive resource for expert advice. Have you ever fallen into this trap? Let me know in the comments.
Choosing the Right Tools to Maintain Your Dishwasher
Maintaining a dishwasher isn’t just about cleaning it periodically; having the right tools makes all the difference. I personally swear by a high-quality digital multimeter because it helps me quickly diagnose electrical issues, especially when troubleshooting control boards or wiring problems. A digital multimeter allows me to measure voltage and continuity precisely, saving time and preventing unnecessary part replacements. For drain or water inlet problems, I rely on a flexible inspection mirror and a tiny LED flashlight to peek into tight spaces without disassembly. These tools have become my go-to, enabling accurate diagnosis and avoiding costly service calls.
Advanced Software and Diagnostics for Long-Term Care
In recent years, smart dishwashers have integrated diagnostic apps that provide real-time data and troubleshooting guidance. I recommend installing manufacturer-specific apps if your model supports them; they empower you to identify error codes, monitor cycle status, and perform software resets without calling a technician. These apps are a game-changer in early detection of issues, helping you schedule repairs proactively. Trend predictions suggest that AI-driven diagnostic tools will become more accessible and integral to household appliances, leading to fewer breakdowns and longer lifespan. Staying updated with firmware and leveraging these tools can significantly extend your dishwasher’s reliable performance.
How do I keep my dishwasher parts in top shape?
Regular inspection of critical components like seals, spray arms, and filters is essential. I recommend checking the important parts periodically to prevent minor issues from escalating into costly repairs. For example, inspecting spray arms for clogs ensures optimal cleaning, while examining door seals prevents leaks, which could void your warranty or cause water damage. Using recommended replacement parts from reliable sources and following manufacturer guidelines—such as those outlined in the parts selection guide—can keep your machine running smoothly for years.
Maintaining Your Dishwasher Over Time
Over the long haul, cleaning components like filters, spray arms, and the sump basin is vital. I personally perform a deep clean every six months, removing and soaking parts in vinegar or specialized cleaner to combat mineral build-up. It’s also beneficial to replace worn parts proactively, especially seals and hoses, before they fail and cause major damage. Keep a detailed record of parts replacements and repairs—this documentation can be essential should warranty issues arise, helping you prove proper maintenance and avoid disputes with manufacturers. Additionally, installing a digital leak sensor can alert you to leaks early, preventing costly water damage and ensuring your warranty remains valid.
Expert Tips for Professional Results
If you want to take your maintenance game further, I highly recommend adopting a systematic approach using a professional-grade parts tester toolkit. Following a routine inspection schedule, combined with diagnostic tools and high-quality replacement parts, ensures your dishwasher operates at peak efficiency. Remember, staying proactive with maintenance can prevent unexpected breakdowns and keep your warranty intact. Don’t forget to check out the latest warranty policies so you know exactly what’s covered when a component inevitably wears out. Try incorporating a digital leak sensor with your existing system—many new models support smart integrations for added peace of mind.
The Hardest Lesson I Learned About Installation, Warranty, and Dishwasher Parts
One of the most eye-opening moments was realizing that even a slight misalignment during installation could ripple into major issues down the line, including warranty voids and premature part failures. This taught me to pay meticulous attention to every detail from leveling to securing connections, understanding that shortcuts often lead to costly mistakes.
My Top Tools for a Flawless Dishwasher Setup
Over time, I found that possessing the right toolkit—like a high-quality digital level, durable shims, and a versatile multi-tool—makes all the difference. These tools empower me to diagnose issues early and ensure each step meets manufacturer specifications, which is crucial for warranty preservation. Trusted brands like Fluke for electrical testing and adjustable wrenches from Craftsman have proven invaluable.
Choosing Quality to Save Future Headaches
I’ve learned that investing in OEM parts and reputable replacement components isn’t just about immediate function but about safeguarding long-term warranty rights. Regularly consulting resources like this guide helps me pick parts that truly match manufacturer standards, preventing leaks and operational hiccups.
Don’t Let Small Oversights Sabotage Your Warranty
One overlooked detail is the importance of proper electrical grounding and correct water inlet connections. These are often dismissed but are vital for warranty adherence. Reviewing policy details on warranty policies ensures I don’t inadvertently invalidate coverage, especially when troubleshooting or upgrading components.
Your Turn to Tackle Dishwasher Troubles with Confidence
Remember, mastering installation and maintenance isn’t just about fixing leaks or noises—it’s about taking control of your appliance’s lifespan and warranty safety net. Do you have a go-to tool or tip that has saved you during a DIY repair? Share your experience below and let’s learn together!
Related Posts
The Proper Way to Ground Your Dishwasher for Electrical Safety
It was late one evening when I noticed a faint…
The Case for Installing a Dedicated Water Shutoff Valve
One chilly morning, I awoke to the unsettling sound of…
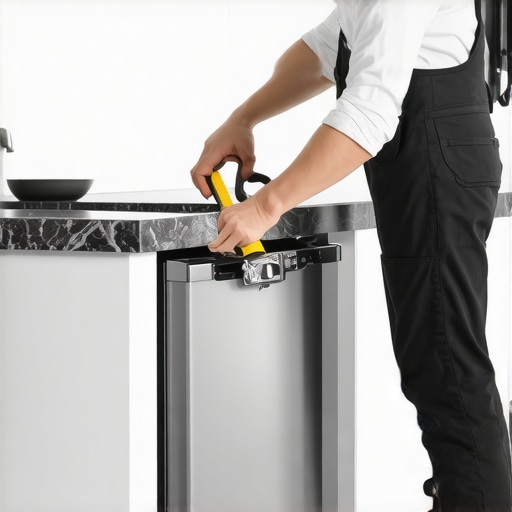
The Proper Way to Secure Your Dishwasher to Quartz Countertops
Ever had that unsettling moment when your brand-new dishwasher wobbles…