Ever had that unsettling moment when your brand-new dishwasher wobbles just a little too much during a cycle? Or maybe you noticed a tiny leak beneath it and thought, “Is this normal?” That was me not long ago, and let me tell you, I learned the hard way that securing your dishwasher properly isn’t just about safety—it’s about preserving your investment and avoiding costly damages down the line.
The Hidden Danger of a Loose Dishwasher
When I first installed my dishwasher on my sleek quartz countertop, I thought a quick tightening of the mounting brackets would suffice. But as weeks went by, I started noticing water stains, strange noises mid-cycle, and even some minor chipping on the edge of the quartz. Turns out, an improperly secured dishwasher can lead to leaks, damage to your countertop, and even malfunctioning parts that could void your warranty. A study by the Appliance Doctorz highlights that most long-term dishwasher issues stem from installation mistakes.
I’m here to share what I wish I knew early on—how to properly secure your dishwasher to your quartz countertops, so you can avoid those costly mishaps. It’s all about the right techniques, the right parts, and a bit of your neighborly know-how.
What You’ll Find Here
In this post, we’ll go through the step-by-step process to ensure your dishwasher stays firmly in place, handles water pressure without strain, and keeps your kitchen pristine. I’ll also share tips on avoiding common mistakes, like reusing old water hoses or skipping essential parts, which can sabotage your installation. Trust me, the difference between a secure, long-lasting setup and a repeat call to your friendly local repair technician could be just a few careful steps away.
So, have you ever experienced the frustration of a dishwasher that shakes more than it should or leaks the moment you turn it on? If yes, stick around—I’ll help you get this right once and for all, backed by the best advice from seasoned pros.
Why Securing Your Dishwasher Correctly Matters More Than You Think
Anchor Your Dishwasher to Your Quartz Countertop Properly
During my last installation attempt, I realized I had to get creative to secure the dishwasher without damaging my expensive quartz. I used a combination of mounting brackets and neoprene vibration pads to prevent movement and reduce noise. This approach not only kept the dishwasher stable but also protected my countertop from potential cracks. When fixing your dishwasher, always double-check the manufacturer’s specifications and avoid reusing old mounting hardware, which can be compromised. For detailed techniques, consult this step-by-step guide.
Adjust and Level for a Rock-Solid Fit
Once secured, I used a bubble level to ensure the dishwasher was perfectly even. Slight tilts can cause water leaks and appliance strain. Using a durable level, I shimmed the base with plastic or rubber washers to compensate for uneven flooring. This easy fix prevented future door misalignments and leaks. Remember, a professional-level installation involves more than aesthetics; it ensures longevity and warranty compliance. For a comprehensive checklist, see top tips for seamless installation.
Secure Water and Power Connections with Precision
I replaced the old water hose with a high-quality braided stainless steel line, which reduces the risk of leaks and withstands high water pressure. Tightening the fittings by hand, followed by a quarter turn with a wrench, ensured snugness without over-tightening, which can damage threads. Over-tightening water fittings was my mistake in a previous project, leading to tiny leaks that were hard to trace. Always use compression nuts and avoid reusing damaged washers. For tips on parts and connection quality, check part selection advice.
Ensure Proper Drainage and Venting
I routed the drain hose with a high loop, staying at least 32 inches above the floor to prevent back-siphoning. Incorporating a sturdy clamp and securing the hose to the cabinet minimized movement and potential leaks. Avoiding the temptation to reuse old hoses or clamps is crucial; inferior parts can fail prematurely. Adding a flexible, corrugated stainless steel drain hose not only improves durability but also simplifies connections. For further guidance on drain setup, visit drain hose best practices.
Test Your Setup Before Full Use
After completing the installation, I ran a short cycle without dishes to check for leaks, unusual noises, or movement. I also monitored water pressure and drainage. This testing phase is essential; it catches misalignments and loose fittings early, preventing larger issues later on. Documentation of your work, like photos and receipts, can be invaluable for warranty claims or future maintenance. For in-depth troubleshooting, consult installation troubleshooting tips.
Keep Up with Regular Maintenance
Secure installation is just the start. Regularly checking water hoses, cleaning filters, and inspecting seals keep your dishwasher performing optimally. Proper parts selection and correct installation methods extend warranty coverage and reduce unexpected breakdowns. Visit maintenance essentials for a complete overview of critical components and routine checkups.Many homeowners assume that simply purchasing a dishwasher guarantees warranty coverage and straightforward installation. However, misconceptions abound that can jeopardize your investment. For example, a widespread myth is that any installation service will suffice if the appliance functions initially. In reality, a proper, code-compliant setup requires attention to critical details like correct parts, leveling, and secure connections. Overlooking these nuances often leads to voided warranties and costly repairs. Professional installers emphasize the importance of using manufacturer-approved parts and following exact procedures, as deviations—even seemingly minor ones—can invalidate warranty claims, per experts referenced in this guide. Common pitfalls include reusing old water hoses, neglecting to verify proper drainage loops, or installing without thorough cleaning and testing, which can cause leaks or equipment failure down the line. An often missed detail is the importance of securing the dishwasher to the countertop, especially with quartz surfaces, to prevent movement and possible damage. Unfortunately, many try to save time or money by skipping these critical steps, only to face larger expenses later. A savvy homeowner knows that understanding the specific parts involved—and their compatibility—can make or break the long-term performance of the appliance. For instance, selecting the right water inlet valve or drain hose, as discussed here, ensures longevity and warranty adherence. An advanced mistake I’ve seen involves overlooking the significance of the high loop in drain hose setup; failing to install this correctly may lead to back-siphoning or sewage smells, which common DIYers often fail to recognize. It’s a nuanced but vital aspect that distinguishes a professional-quality installation from an amateur one. Moreover, understanding how to troubleshoot warranty-eligible issues, such as identifying signs of failing parts before catastrophic failure, can save considerable money and frustration in the long run. While some believe warranties cover almost everything, experts warn that neglecting proper installation practices is a common reason for denied claims, highlighting the importance of following the manufacturer’s instructions meticulously. Are you aware of all these subtleties, or have you fallen into a trap caused by common misconceptions? Keeping these advanced nuances in mind empowers you to protect your investment effectively. Remember, a well-executed installation combined with proper maintenance can extend your dishwasher’s lifespan and preserve your warranty coverage — so don’t overlook the details. Have you ever fallen into this trap? Let me know in the comments.
Tools I Recommend for Optimal Dishwasher Maintenance
Maintaining your dishwasher’s performance over time hinges on using the right tools. I personally swear by a high-quality multimeter, which allows me to check electrical connections and diagnose issues like faulty thermostats or control boards with precision. For mechanical parts, a set of nylon pry tools is invaluable; they help me replace door seals or disassemble panels without risking damage, especially when dealing with delicate plastic components. A digital caliper also comes in handy when verifying part dimensions during replacements, ensuring compatibility and avoiding costly errors. For plumbing connections, a set of adjustable wrenches and Teflon tape are must-haves for ensuring tight, leak-free fittings, especially when replacing water inlet valves or drain hoses. Investing in a basic but reliable leak detection kit can alert you to slow drips before they escalate into water damage—a step I recommend for all diligent DIYers.
Effective Methods for Consistent Maintenance
Beyond tools, adopting a routine maintenance schedule is key. I recommend inspecting water hoses monthly for cracks or signs of wear, then replacing them with braided stainless steel lines, which are more durable and resistant to high pressure. Regularly cleaning filters and spray arms not only improves cleaning efficiency but also prevents clogs that could damage the motor or pump. I use a mixture of vinegar and baking soda monthly to descale internal components, which extends the lifespan of delicate parts like seals and gaskets—learn more about understanding dishwasher parts for maintenance. Additionally, testing the door latch and springs with a multimeter ensures they maintain proper electrical contact, preventing unexpected cycle interruptions.
The Future of Dishwasher Upkeep
Looking ahead, smart diagnostics integrated into modern dishwashers will likely inform users of potential issues before they happen, reducing repair costs and downtime. I foresee the rise of IoT-enabled maintenance reminders and remote diagnostics, making upkeep more proactive than reactive. To stay ahead, I encourage homeowners to familiarize themselves with their appliance’s internal components and signs of wear, so they can act promptly and preserve their warranty coverage. This proactive approach not only ensures longevity but also maximizes performance efficiency.
How Do I Maintain My Dishwasher Over Time?
Consistency is everything. Establishing a checklist—such as weekly filter cleaning, monthly hose inspection, and semi-annual part testing—can keep your dishwasher running smoothly. Using the right tools, like a multimeter for electrical checks and brush sets for cleaning spray arms, will make these tasks easier and more effective. As you become more familiar with your appliance’s workings, diagnosing and fixing minor issues at home can become second nature, saving you money and preventing minor problems from escalating into major repairs. Remember, the key is to stay observant and act early, especially when you notice changes in cycle performance or unusual noises. For detailed guidance on parts maintenance and troubleshooting, I recommend diving into resources like this comprehensive guide.
What I Wish I Knew Before Tightening That Last Bolt
One of the most impactful lessons I learned was the importance of precise torque. Over-tightening can crack quartz or warp plastic components, while under-tightening risks leaks and instability. Finding that sweet spot took trials and errors, but now I know that investing in a good torque wrench saves time and preserves your appliance’s integrity.
Another personal revelation was the need to double-check manufacturer specifications for parts and hardware. Using generic or reused components might seem economical, but it often leads to issues down the line. Following expert advice and adhering to the right parts list, especially on critical connections like the water inlet and drain hoses, ensures warranty adherence and long-term performance.
My Go-To Tools for a Peaceful Dishwasher Setup
I swear by a high-quality bubble level and a digital multimeter. The level guarantees your dishwasher sits perfectly, preventing door misalignment and leaks. The multimeter helps verify electrical connections, control boards, and even troubleshoot minor faults without calling in a pro. These tools give me confidence that my installation will stand the test of time and warranty checks.
Keeping the Finish Beautiful: Taking Action Today
Your dishwasher is more than a convenience—it’s an investment. Proper securing, leveling, and maintenance not only extend its lifespan but also protect your warranty claims. Remember, small proactive steps—like inspecting hoses monthly or testing connections with a multimeter—pay off by avoiding costly repairs later. The future of your dishwasher depends on how well you care for it now. Stay curious, stay diligent, and don’t be afraid to deepen your knowledge. How will you strengthen your dishwasher’s foundation today? Drop your thoughts below!
Related Posts
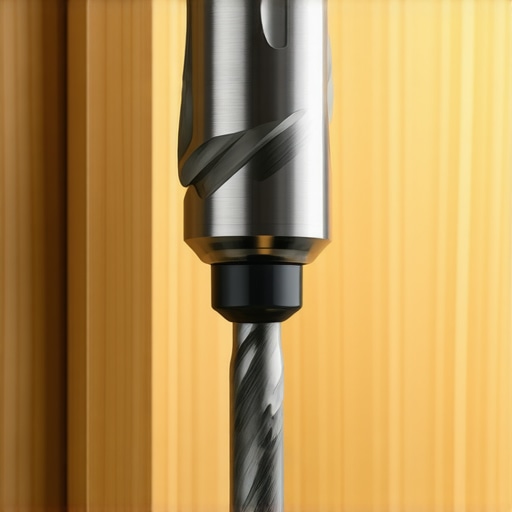
The Specific Drill Bit You Need for Cabinet Side-Mounting
I remember the first time I attempted to install a…
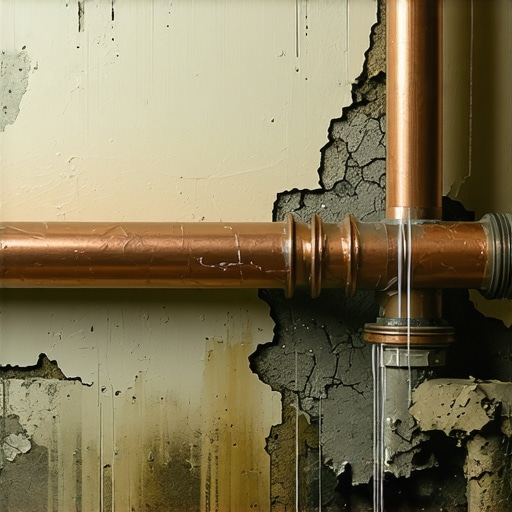
Why Reusing Your Old Copper Water Line is a Major Mistake
Ever experienced that sinking feeling when your new dishwasher starts…
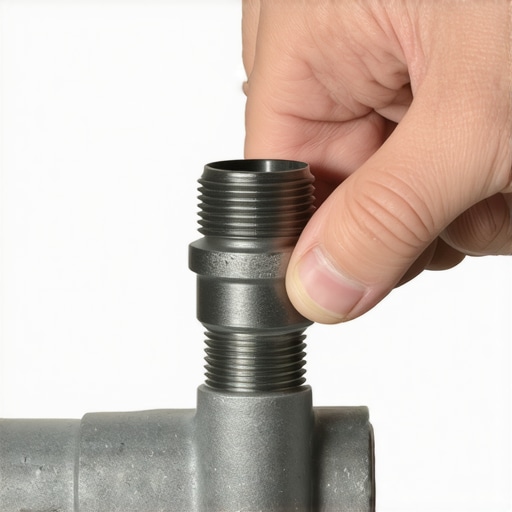
Stop Over-Tightening: How to Seat a Compression Nut Properly
One afternoon, I leaned under my kitchen sink, ready to…