
I’ll never forget the Tuesday night I stood over my dishwasher, staring at a half-melted, slimy blue blob stuck to the dispenser door. It was the third time that week. My ‘clean’ dishes were covered in a weird, sandy residue, and I was about two seconds away from calling a repairman and begging for a refund. I thought I was doing everything right—buying the expensive pods, using the ‘heavy’ cycle, and even pre-rinsing my plates. It turns out, I was actually making my life harder. Today, I’m going to share exactly why those little packs are failing you and how I finally fixed the problem without spending a dime on a plumber.
Stop Finding Gooey Blobs on Your Clean Dishes
To get to the bottom of this, we have to look at the ‘why.’ Most of us assume that the hotter the water, the better the clean, but there is a delicate balance at play. Early on, I made the classic mistake of loading my oversized cutting boards right in front of the detergent door. This prevented the dispenser from snapping open at the right time, leaving the pod trapped in a plastic prison. If your machine is older, understanding how your dishwasher parts function is crucial because a weak spring on that door can ruin a whole cycle. According to the American Cleaning Institute, water temperatures below 120°F often fail to dissolve the outer film of these packs, leading to that sticky mess we all hate. Have you ever pulled out a load only to find the detergent still sitting there, mocking you?
Is switching back to powder the only way out?
I know what you’re thinking: ‘I paid for convenience, and now I’m scrubbing plastic off my racks.’ While there is a strong case for using powder detergent over pods, you don’t necessarily have to ditch your stockpile yet. Often, the issue is actually why the eco mode might be leaving grit behind; those cycles use less water and lower heat, which is a death sentence for a thick detergent pack. We are going to dive into the mechanical and thermal reasons your machine is struggling, and I’ll show you how a few simple tweaks to your routine can bring back that sparkle.I remember one freezing January morning when I opened my machine only to find a soapy, cold soup at the bottom. I’d run a short cycle thinking it would be efficient, but because the water heater in my basement was too far away, the cycle finished before the water even got warm. I was essentially washing my plates in ice water. That’s when I realized that your dishwasher isn’t a magic box; it’s a thermal engine that requires specific conditions to work.
Kick the Cold Water Habit Before You Start
The most common reason pods don’t dissolve is that they never reach the ‘melt point’ of the plastic film. Think of it like trying to melt butter in a refrigerator—it just isn’t going to happen. Before you even touch the power button, run the hot water at your kitchen sink until it’s steaming. This ensures that the very first gallon of water that enters your machine is actually hot enough to start breaking down that pod. If you ignore this, the machine spends the first 15 minutes heating up lukewarm water, and by then, the timing for the detergent release is already ruined. This is especially true if you are wondering why the eco mode might be leaving grit on your favorite mugs; those cycles often prioritize energy savings over the raw heat needed to liquefy a thick pod.
Clear the Landing Zone for Your Detergent Door
Your dishwasher is a game of geometry. If you have a large dinner plate or a tall cookie sheet leaning against the left side of the bottom rack, you are likely creating a physical blockade. The detergent door needs to ‘pop’ out. If it hits a plate, it only opens halfway, and the pod gets stuck in the tray like a car in a narrow garage. Always practice the correct way to load a dishwasher for maximum water flow by keeping the area directly in front of the dispenser clear of oversized items. I once lost a whole week’s worth of clean dishes because a ‘handy’ new cutting board was perfectly positioned to keep the door shut. 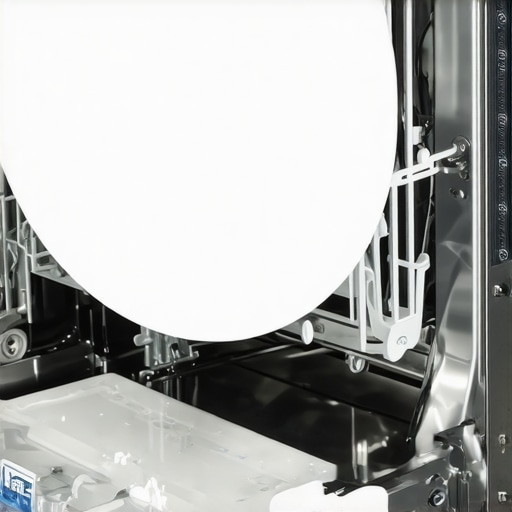
Inspect the Hidden Hardware That Ruins Your Cycles
Sometimes the problem isn’t your habits, but the machine itself failing. If the water isn’t reaching the pod, check the spray arms. These arms are like the sprinklers in your yard; if the tiny holes are clogged with seeds or calcified minerals, the ‘pressure’ won’t be high enough to knock the pod out of its tray. You should also regularly pull out the hidden drain screen you probably forgot to clean. A clogged filter slows down the water circulation, meaning the pod sits in a stagnant puddle rather than a high-pressure wash. If you’ve checked the basics and the water is still cold or the door won’t click, you need to learn how to diagnose dishwasher parts during warranty periods. A failing wax motor or a burnt-out heating element can mimic a ‘bad pod’ problem when it’s actually a mechanical failure. Knowing when to replace dishwasher parts for optimal performance can save you from months of frustration. If your machine is older, you might even consider the fact that it was never designed for these concentrated packs, which is why some experts suggest you stop buying expensive pods and try the powder alternative that dissolves instantly even in tougher conditions.Even if you follow every loading tip in the book, you might still find that frustrating residue. This is where we move beyond basic ‘how-to’ and look at the engineering and legal side of your kitchen. Most people think hiring a ‘pro’ for installation is a guarantee of performance, but in my years of tinkering, I’ve seen professional installers skip the most basic steps, leaving homeowners with a machine that underperforms from day one.
The Dirty Secret of Professional Installations
Everyone tells you to hire a plumber to ensure everything is perfect, but here is a contrarian take: a rushed professional install is often worse than a meticulous DIY project. I’ve walked into dozens of kitchens where a ‘pro’ ignored the drain setup. If they didn’t implement the high loop drain trick, siphoned dirty sink water is likely flowing back into your machine, which makes your detergent pods work twice as hard for half the result. If your machine smells or leaves a film, don’t just blame the pod; check the hose. This is one of the most common mistakes professional installers see, yet they often commit it themselves in the rush to get to the next job. 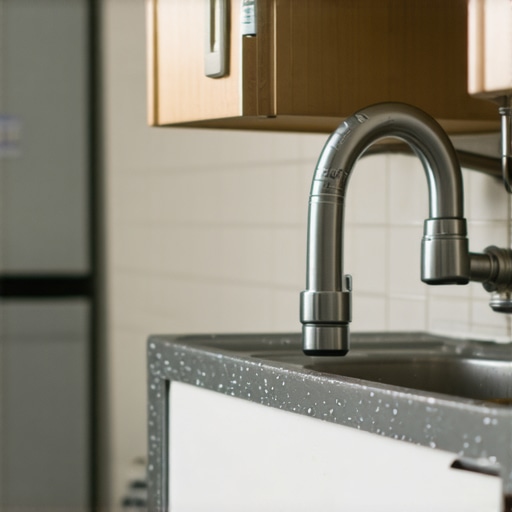
Can generic parts actually outperform the factory originals?
It is a common myth that you must always use Original Equipment Manufacturer (OEM) parts to keep your machine running. While why OEM pumps outlast cheap alternatives is generally true for moving mechanical parts, some aftermarket gaskets or specialized kits, like the easiest way to install a side-mounting bracket kit, can actually offer better stability than what came in the box. However, the nuance lies in the technical specifications. According to the Association of Home Appliance Manufacturers (AHAM), even a 5% deviation in water inlet pressure caused by a sub-par valve can prevent the detergent dispenser from rinsing clean. If you are replacing parts, you must be surgical. Knowing how to select the right parts for installation is the difference between a machine that lasts ten years and one that dies in three.
The Fine Print That Makes Your Warranty Worthless
Here is the ‘oops’ factor most people miss until it’s too late: your warranty is a fragile thing. I’ve seen claims denied simply because the homeowner didn’t have a professional installation receipt or because they used a non-standard power cord. Manufacturers are looking for any reason to say ‘no.’ For example, did you know that hard water impact on warranty eligibility is a real clause in many contracts? If you have heavy mineral buildup and haven’t used a softener, they might classify the failure as ‘lack of maintenance’ rather than a part defect. To protect yourself, you need to be proactive about how to get your warranty claim approved by keeping a log of your filter cleanings and using the right surge protectors. Most people realize why manufacturer warranties exclude power surges only after a local lightning storm fries their control board. Have you ever fallen into this trap where a tiny technicality cost you hundreds in repairs? Let me know in the comments, and let’s make sure your next install is actually bulletproof.I’ve spent way too many Sunday afternoons with my head inside a dishwasher tub, but those hours taught me that a fifteen-dollar multimeter is worth more than a two-hundred-dollar service call. If you’re serious about keeping your machine running, you need to own the diagnostic process. I personally use a digital multimeter with fine-point leads to check continuity on sensors before I ever consider buying a new unit. For instance, knowing the most reliable way to test a thermal fuse can tell you in thirty seconds if your machine is truly dead or just needs a ten-dollar part. I also swear by a long-reach flexible brush for how to clean the gunk out of your air gap device; most people ignore the air gap until it’s spewing water across the counter, but thirty seconds of cleaning every month prevents a massive backup and protects your motor from unnecessary strain.
The Only Toolkit You Need for a Lifetime Machine
To stay ahead of repairs, you have to look beyond the basic screwdriver. I recommend a set of Torx-head bits because modern manufacturers love using T-15 and T-20 screws to keep DIYers out. If you can get past the panel, you can learn how to test your water inlet valve for failure, which is the most common culprit for ‘dry’ cycles or slow fills. The Association of Home Appliance Manufacturers (AHAM) specifies in their DW-1 performance standards that even minor obstructions in the spray arms can reduce cleaning efficiency by over 30%, which forces the motor to run hotter and longer than intended. By keeping a simple toothpick and a bottle of citric acid on hand, you’re not just cleaning; you’re extending the mechanical life of the pump. 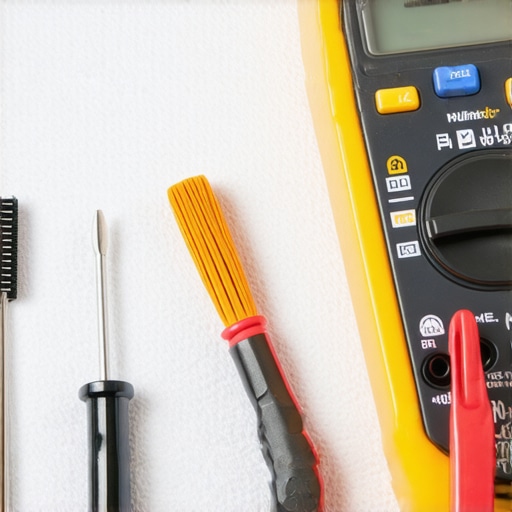
How can I maintain my dishwasher parts over the long haul?
Maintenance isn’t a once-a-year event; it’s a habit. Every three months, I pull the bottom rack and focus on how to clean the gasket without damaging the seal. If that rubber gets brittle from old soap scum, you’re looking at a slow leak that rots your subfloor before you even see a puddle. Understanding dishwasher parts a key to effective maintenance means recognizing that every component has a lifespan. Don’t wait for a breakdown to learn common dishwasher parts and how to replace them effectively. For example, replacing your rack rollers when they first start to squeak prevents the metal tines from scraping the tub’s finish, which is a repair that can actually void your lifetime tub warranty.
Stop Waiting for a Leak to Inspect Your Hoses
I predict that within the next five years, every high-end machine will come standard with AI-driven moisture sensors that shut off the main water valve at the first sign of a drip. Until then, you are the sensor. I always swap out factory rubber hoses for the most durable braided steel hoses for long-term safety. It’s a twenty-minute job that buys you decade-long peace of mind. If you have a smart machine, you should also learn how to recover data logs from your smart control board. These logs often flag ‘long drain’ or ‘slow fill’ errors before they trigger a full system shutdown, giving you a head start on maintenance. My challenge to you: pull off your kickplate tonight and use a flashlight to check for salt-like tracks around the pump—catching a slow leak today saves a floor tomorrow.
Hard-Earned Lessons from a Decade of Dishwasher Triumphs
After years of tinkering, I’ve realized that the ‘perfect’ appliance doesn’t exist; only the well-maintained one does. If I could go back and tell my younger self one thing, it would be that how to get your warranty claim approved often starts with the very first screw you turn. Always keep your installation receipt and photos of your high loop drain setup. These small acts of proof are your shield against manufacturers who want to blame your DIY spirit for a factory defect. Another lightbulb moment came when I stopped treating my machine like a kitchen trash can. If you want to avoid that gritty residue, you have to realize that understanding dishwasher parts is about respect for the hardware. A simple toothpick to clear a spray arm or a monthly filter rinse isn’t just a chore; it’s a way to double the life of your pump.
My Go-To Kit for a Bulletproof Machine
To truly master your kitchen, you need the right gear. I never start a repair without a reliable digital multimeter; it’s the only way to know the most reliable way to test a thermal fuse without guessing. I also recommend keeping a bag of food-grade citric acid on hand, as it is the easiest way to clean calcium from your heating element without using harsh chemicals that can degrade your seals. Finally, keep a set of Torx-head drivers in your kitchen drawer so you can access the control panel without stripping the screws; modern machines rarely use standard Philips heads anymore. #IMAGE_PLACE_FINAL#
Take Control of Your Kitchen This Weekend
You don’t need to be a certified plumber to have a machine that runs like new. By taking these small steps, from seamless dishwasher installation to routine gasket cleaning, you’re saving yourself thousands of dollars over the next decade. Your dishwasher is one of the hardest working tools in your home—give it a little love, and it will return the favor with sparkling plates every single time. Have you ever had a warranty claim denied for a silly reason? Let me know in the comments below!
Related Posts
The Secret to Silencing a Grinding Drain Pump
It was late one evening when I first experienced it—an…
The Hidden Debris Filter That Kills Water Pressure Over Time
Ever felt that sudden drop in your dishwasher’s water pressure…
Ditch the Pods: Why Powder Detergent is Making a Comeback
It was a morning like any other—until I opened my…