Ever had that sinking feeling when you open the dishwasher and see a mini flood on your kitchen floor? That moment of panic is all too familiar for me. A few months ago, I faced a worst-case scenario: my brand-new dishwasher was overfilling, water pouring out faster than I could catch it. After frantically searching for answers, I realized I had overlooked a tiny but essential part—costing me just a few dollars, yet saving me hundreds in potential repairs. That simple revelation changed the way I approach troubleshooting my appliances.
Why Your Dishwasher Might Be Overfilling Without You Knowing
It might seem minor, but an overfilled dishwasher isn’t just a nuisance—it’s a risk to your entire kitchen. Water spilling onto floors, damage to cabinetry, and even the risk of electrical hazards are serious concerns. Luckily, the culprit is often a small component that costs around $5. This tiny part acts as a gatekeeper, preventing water from overflowing by controlling the water level inside the machine. When it fails, the dishwasher’s water level sensor can’t do its job effectively, leading to overfill situations that can ruin your day—and your floor.
Is a Small Part Really That Important?
Absolutely. Early in my own experience, I mistakenly thought that larger, more obvious parts like the pump or control board were to blame. I’d replaced those only to find the same overfilling problem persisted. It wasn’t until I learned about this overlooked component—often called a fill float or overfill protector—that everything clicked. As I discovered, neglecting this tiny piece can lead to repeated failures and costly repairs. For more insights, check out this detailed guide on the most common overfill prevention parts.
So, what exactly is this $5 component, and how can you ensure it’s working properly? That’s what we’ll explore next. If you’ve faced that frustrating flood or simply want peace of mind, understanding this part could be the game-changer you need. Let’s dive into the specifics and get your dishwasher running smoothly again.
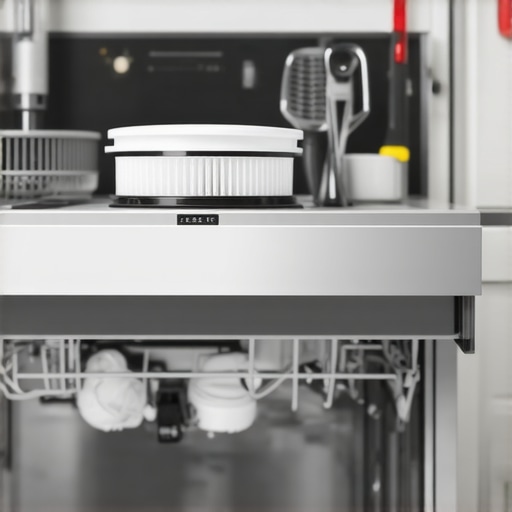
Accessing the Key Components
Begin by unplugging your dishwasher and removing the lower kickplate panel to expose the internal parts. Use a screwdriver to gently detach the panel, being mindful of any clips or screws. This step is crucial to prevent electrical hazards and provides clear access to the float switch assembly, which is often located at the front bottom of the unit. Remember, safety first.
Locating the Overfill Float and Sensor
The float is usually a small, buoyant plastic piece that rises with the water level. It sits inside a cylindrical housing, attached to a pivot, allowing it to signal when the water reaches a certain height. The water level sensor, often a simple switch connected to the float, triggers the control board to stop filling. Examine the float for debris, misalignment, or damage. A sticky or jammed float can cause false overfill signals.
Cleaning and Inspecting the Float
If debris or soap scum has accumulated, clean the float with a damp cloth. Ensure no mineral deposits or pests are obstructing its movement. Move the float gently up and down to verify smooth operation. If the float is damaged, cracked, or missing, replace it promptly. For detailed replacement steps, consult this guide.
Testing the Water Level Sensor
Disconnect the sensor’s wiring connector. Use a multimeter to check continuity; a functional sensor should show a change in resistance as the float moves. If no change occurs, it indicates a faulty sensor. In that case, order a replacement from a trusted source. For more precise diagnostics, refer to this troubleshooting article.
Checking for Blockages or Damage
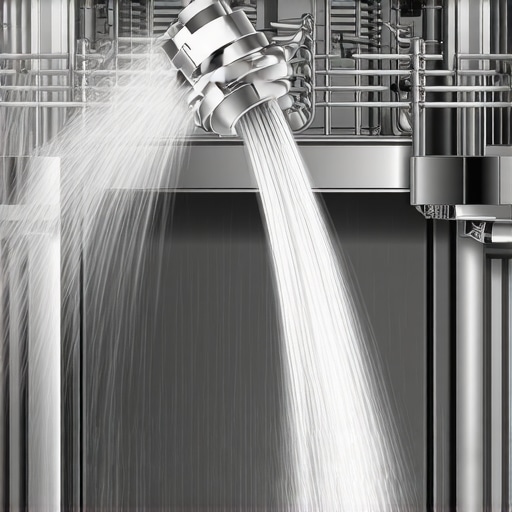
Inspect the inlet valve and related hoses for kinks, blockages, or mineral buildup. A clogged inlet can cause inconsistent water levels, leading to overfill conditions. Also, verify the drain hose is positioned with a proper high loop to prevent backflow, which could affect water level readings. Review this resource for correct installation tips.
Adjusting or Replacing the Float Assembly
If cleaning doesn’t resolve the overfill, consider adjusting the float’s position if possible, or replacing the entire assembly. Use manufacturer-approved parts to ensure compatibility. Carefully disconnect the old float, attach the new one, ensuring it moves freely without obstruction. Reassemble the panel and run a short cycle to observe if the issue persists.
Verifying Proper Installation
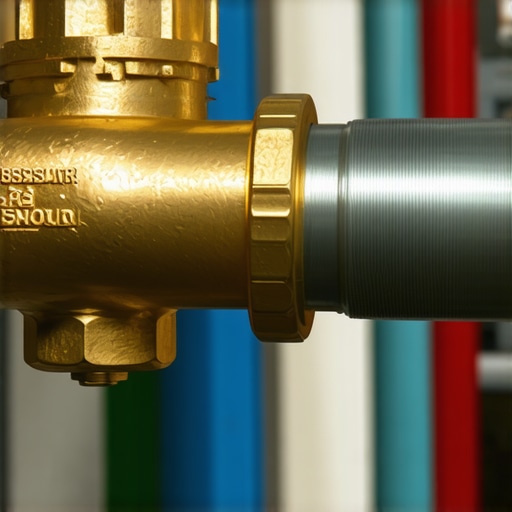
Double-check that all hoses are correctly connected, especially the inlet and drain hoses, with secure fittings and the correct orientation. Confirm that your dishwasher is installed on a level surface to prevent uneven float operation. Proper leveling can be achieved using a spirit level and adjustable feet, as explained in this installation guide.
Monitoring Performance and Warranty Considerations
After completing these steps, run multiple test cycles to ensure water levels are correctly controlled. Document your repairs with photos, especially if your dishwasher is still under warranty. Many manufacturers request proof of proper maintenance for warranty coverage. Review this article to understand warranty procedures and avoid costly repair bills.
Many DIY enthusiasts and even seasoned homeowners tend to believe that once a dishwasher is installed and working, their job is done. However, this misconception often leads to overlooked details that can cause costly issues down the line. A prevalent myth is that installation is a straightforward plug-and-play process, but in reality, nuanced steps like proper leveling, correct hose routing, and securing connections are critical to long-term performance. Failing to pay attention to these details can result in leaks, poor cleaning, or even voided warranties.
Another misconception revolves around parts replacement. Some assume that all dishwasher parts are covered under standard warranties, but only specific components, as detailed in this guide, qualify for coverage. Many common issues like clogged filters or damaged spray arms are considered maintenance, not defective parts, leading to unexpected out-of-pocket expenses.
The idea that warranty claims are automatic is also a misunderstanding. Consumers often think that contacting customer service guarantees coverage, but manufacturers require strict adherence to installation protocols and maintenance schedules, which are documented in this troubleshooting resource. Missing documentation or improper installation can result in claim rejection, emphasizing the importance of understanding warranty fine print.
Challenge your assumptions: How many homeowners remember to verify the electrical circuit dedicated to their dishwasher? Many novice installers use generic outlets or assume a standard outlet is sufficient, but modern dishwashers often require a dedicated 20-amp circuit to function properly and avoid nuisance tripping or damage as explained here. Connecting to an improper circuit might not only cause operational issues but also void the warranty.
Lastly, perhaps the most overlooked nuance is the significance of documentation and visual evidence during installation. Sending clear photos of the setup can expedite warranty claims and assist in diagnostics if problems arise this article recommends keeping detailed records.
Remember, achieving a flawless dishwasher setup involves more than just plugging it in. Recognizing these hidden nuances and debunking common myths can save you hundreds and ensure your appliance performs as intended. Have you ever fallen into this trap? Let me know in the comments.
Keep Your Dishwasher Running Like New with Precision Tools
Maintaining your dishwasher’s performance over time requires more than routine cleaning; it demands the right tools and a strategic approach. Personally, I rely on a high-quality multimeter to diagnose electrical issues accurately, especially when troubleshooting control boards or sensors. Unlike generic testers, my multimeter provides precise resistance readings, ensuring I don’t replace parts unnecessarily. Additionally, a set of silicone spray lubricants has become indispensable for lubricating door seals and moving parts, preventing wear and ensuring a tight seal that preserves energy efficiency.
For more effective diagnostics, I regularly use a dedicated water inlet valve testing kit, which allows me to identify faulty valves without guesswork. This kit includes specific adapters to connect multimeters directly to the valve’s terminals, streamlining the testing process and preventing damage to delicate components. Investing in these specialized tools has substantially reduced my troubleshooting time and prevented costly misdiagnoses.
Futureproof Your Maintenance Routine
As smart home integrations become more prevalent, I predict that diagnostic tools will evolve to include IoT capabilities, allowing remote monitoring and diagnostics. Advanced sensors embedded within the dishwasher could alert homeowners to issues before failures occur, integrated with mobile apps that provide real-time data and troubleshooting guidance.
How do I keep my dishwasher in top condition over time?
Consistently inspecting critical parts like the float assembly, inlet valves, and water levels is essential. Using tools like a multimeter for electrical tests and a silicone lubricant for seals ensures these components remain in optimal condition. Incorporating regular diagnostic checks with specialized equipment can extend your appliance’s lifespan and prevent unexpected breakdowns. Additionally, maintaining an organized toolkit with the recommended diagnostic devices saves time during urgent repairs and ensures you’re prepared for any issue. Remember, consistent maintenance not only preserves your warranty coverage, as discussed here, but also keeps your dishwasher performing at peak efficiency for years to come.
Don’t shy away from trying out the latest diagnostic tools. For instance, testing your water inlet valve with a dedicated kit can quickly reveal unseen issues, saving you hours of trial and error. Investing in the right equipment, combined with a systematic maintenance routine, is the best way to keep your dishwasher working flawlessly. For a detailed guide on selecting and using these tools effectively, check this resource.
The Hardest Lesson I Learned About dishwasher,installation,parts,warranty
One of my most eye-opening experiences was realizing that a tiny, overlooked part could make or break my dishwasher’s performance. I used to believe that major components were the only culprits behind issues, but it turned out that small parts often hold the key to long-term success. This lesson taught me to pay attention to the little details that most homeowners ignore, saving me from costly repairs down the line.
3 Myths About dishwasher,installation,parts,warranty That Held Me Back
- All parts are covered under warranty: I discovered that only specific components, such as the water inlet valve or float assembly, qualify for warranty coverage. Knowing this helped me focus my repairs and avoid unnecessary expenses.
- Professional installation isn’t crucial: Proper leveling and secure hose connections, which I initially underestimated, are essential for avoiding leaks and warranty issues. Following expert tips has improved my setup dramatically.
- The warranty process is automatic: I learned that keeping detailed records and photos of my installation can speed up claims and prevent denials. Preparation is everything in ensuring warranty success.
My Essential Toolkit for Dishwasher Troubleshooting
I rely on a few trusted tools to keep my dishwasher in top shape. A high-quality multimeter helps me diagnose electrical issues precisely, and a water inlet valve testing kit streamlines detection of faulty components. Using these tools regularly has empowered me to resolve problems early and extend my appliance’s lifespan. For guidance on selecting the right equipment, this resource has been invaluable.
Your Turn to Take Action
Understanding the nuances of dishwasher installation, maintenance, and warranty claims can seem daunting, but the payoff is worth it. By paying attention to small parts, employing proper tools, and documenting your work, you can ensure your dishwasher runs smoothly for years. Don’t wait for a flood or breakdown—start implementing these tips today and enjoy peace of mind. How will you change your approach to dishwasher care after reading this? Let me know below!
.
Related Posts
The $15 Part That Fixes a Dishwasher That Won’t Drain
It was a morning like any other, until I opened…
Why Aftermarket Spray Arms Often Reduce Cleaning Pressure
It was a frustrating Sunday afternoon when I finally decided…
Why This $12 Brass Elbow Stops Silent Vibration
It happened during a quiet Sunday morning—my dishwasher suddenly emitted…