
I was standing in a puddle of lukewarm dishwater when I realized that sometimes, “modern convenience” is just a fancy word for “it’s going to leak eventually.” That moment—sopping wet socks and a ruined laminate floor—was my wake-up call. I had spent hours preparing my kitchen for dishwasher installation, only to have a cheap braided hose fail after just six months. I made the classic mistake of choosing ease of use over long-term reliability. I have seen so many neighbors face the same disaster because they did not know which essential parts every dishwasher owner should know about. Today, I want to show you why going “old school” with copper is actually the smartest move you can make for your kitchen’s safety.
Why Copper is Reclaiming the Under-Sink Real Estate
[IMAGE_PLACEHOLDER] For years, the industry pushed flexible braided lines. They are easy to snap on, but they have a secret: they are often just a thin plastic hose hidden inside a metal sleeve. If that plastic gets a pinhole, the sleeve will not save you. This is exactly why professional installers refuse to use plastic supply elbows and are increasingly insisting on rigid copper. Copper does not degrade like rubber, it will not burst under a sudden pressure spike, and it is practically impervious to the heat cycles of a high-end dishwasher. According to the Copper Development Association, copper is naturally antimicrobial and has a proven track record of over 50 years in residential plumbing, outlasting almost any synthetic alternative. When you are selecting the right parts for dishwasher installation, choosing copper is like buying a long-term insurance policy for your flooring. Have you ever walked into your kitchen only to hear that dreaded “drip, drip, drip” from behind the kickplate?
Does Copper Really Make the Installation Harder?
I get the skepticism. You are probably thinking that bending pipe sounds like a nightmare compared to a flexible hose. Early in my DIY journey, I actually snapped a copper line because I tried to “eye-ball” the bend without a proper tool. It was a mess, and I felt like a total amateur. But here is the truth: once it is installed correctly, it is in for life. You will not be searching for a how to salvage a flooded kitchen guide three years from now. Copper provides a solid, vibration-resistant connection that handles the high-pressure surges of modern units better than any plastic-core line ever could. We are going to dive into exactly how you can master this technique without the headache.I remember my first attempt at this. I thought I could just wrestle a straight piece of pipe into submission under the sink using nothing but brute force. Within ten minutes, I had a permanent crease in the copper that made it look like a bent soda straw. It was completely useless. To do this right, you need to treat the metal like a custom component of your home’s skeleton, not just a flexible straw you can tug on.
Gather the Gear That Saves Your Flooring
Before you even pull the dishwasher out of the box, you need a dedicated tubing cutter and a spring-style pipe bender. Using a hacksaw is a recipe for disaster; it leaves jagged burrs that tear up your seals and can lead to a slow, silent seep inside your cabinetry. When you are assessing parts to check when installing a dishwasher for long-term performance, the quality of your cut is paramount. A clean, square edge ensures the compression sleeve sits perfectly flush against the valve, preventing the microscopic gaps that cause mineral buildup over time. 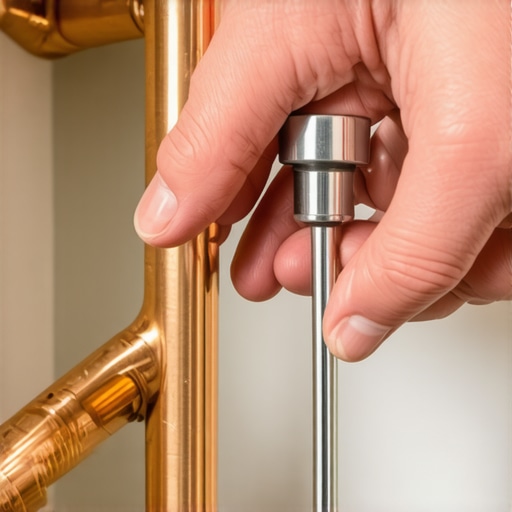
Shape the Pipe Without Snapping It
Think of copper like a stiff garden hose that remembers its shape. You want to slide a spring bender over the pipe before you start making your moves. This tool distributes the pressure evenly so the walls of the tube do not collapse. I once skipped this and ended up with a flow restriction so bad the dishwasher took three hours just to fill. If you are following a diy dishwasher installation step-by-step guide, remember that a smooth “S” curve is your best friend. It allows for a little bit of movement if the machine vibrates during a heavy cycle, without putting stress on the rigid joints.
Ditch the Old Hardware Every Single Time
One of the biggest mistakes I see is trying to save five bucks by reusing the old brass fittings from a previous machine. Copper work-hardens over time, and those old compression sleeves have already been crushed into a specific shape. This is exactly why your professional installer insists on a new water valve and fresh compression nuts. You want “new-on-new” contact to create a watertight bond that survives the constant heating and cooling of your kitchen.
How to Tighten Without Stripping the Threads
Over-tightening is just as dangerous as leaving a joint loose. I used to crank down on the nut until I heard a groan, thinking that tighter meant safer. In reality, that just warps the sleeve and causes the very leak you are trying to avoid. Use the proper tool to use when tightening your water supply line—usually two adjustable wrenches working in opposition—to feel that sweet spot where the resistance suddenly increases. That is your cue to stop.
Protect Your Rights While You Work
While you are doing the heavy lifting, keep your receipts and a log of the parts used. Knowing what your dishwasher warranty doesn’t cover and how to avoid fees is crucial for any DIY project. Many manufacturers will blame a future flood on “improper installation” if they see a flimsy braided hose, but they have a much harder time arguing against a professionally executed copper line. This level of attention is part of the top tips for selecting the right parts for dishwasher installation that separates the weekend warriors from the pros who never get a callback.Most owners assume that a one-year manufacturer warranty is a comprehensive safety net. In my experience, that is a dangerous oversimplification. Everyone tells you to stick with the factory coverage, but I often find that the difference between factory warranties and store protection plans is where the real protection lies. Factory warranties typically cover the cost of the mechanical part itself—say, a $40 solenoid—but they completely ignore the $150 labor charge and the ‘service trip fee’ just to get a technician to your driveway. This is why your warranty covers parts but not the 150-service-trip-fee, and it is a trap that leaves most DIYers feeling cheated when the bill arrives.
The Documentation Trap That Voids Your Protection
One ‘oops’ factor I see constantly is the loss of the specific paper trail manufacturers demand. You might have a digital confirmation from a big-box store, but why your warranty claim fails without an authorized receipt often comes down to the technician’s inability to verify the exact install date on-site. Even worse, if you performed the install yourself, some manufacturers will try to deny a claim by citing ‘improper installation’ as a blanket excuse. This is where the specific receipt wording that saves your extended warranty becomes your best defense. You need to ensure your records explicitly state the purchase and the specific quality of components used, like that rigid copper line we discussed earlier, to prove you met or exceeded local plumbing codes.
How Can You Prove a Part Failed Before the Flood Happened?
This is the advanced level of appliance ownership. If you wait for the puddle to appear, you have already lost the battle. According to the Federal Trade Commission’s guidelines on the Magnuson-Moss Warranty Act, manufacturers cannot legally void a warranty just because you did the work yourself, but they can deny a claim if they can demonstrate your work caused the specific failure. To protect yourself, you need to know how to diagnose dishwasher parts during warranty periods at the first sign of trouble—not the first sign of water. By maximizing your dishwashers-warranty-coverage-today, you are essentially documenting the ‘behavior’ of the machine, such as long fill times or unusual humming, before a catastrophic failure occurs.  This proactive documentation is your ultimate leverage. If you can show a log of these intermittent issues, you are much more likely to succeed when learning how to claim compensation for flooring-damage-caused-by-a-faulty-part if a leak eventually does happen. It transforms you from a ‘clumsy homeowner’ into a ‘diligent operator’ in the eyes of the insurance adjuster. Have you ever fallen into this trap of paying a service fee that cost more than the part itself? Let me know in the comments below.If you want to move beyond just getting it installed and into the realm of never worrying about it again, you need to own a 15-dollar digital multimeter. Most homeowners call a repair tech the moment the display goes dark, paying that 150-dollar service fee we discussed earlier. I have saved thousands by learning how to test your thermal fuse with a basic multimeter. It takes five minutes to check for continuity, and it is often the difference between a 10-dollar DIY fix and a 400-dollar professional bill. This level of self-sufficiency is the real key to effective maintenance and keeps you from being at the mercy of backordered parts.
How do I maintain my dishwashers performance over several years?
The secret is not just in the copper lines; it is in the drainage management. I always advocate for using a high loop vs an air gap for drainage because it prevents disgusting sink water from siphoning back into your clean tub. But even with a perfect loop, you have to find the drain pump filter you didnt know existed. It is usually tucked behind a plastic cover near the impeller. If you do not clear the tiny bits of broken glass or plastic toothpicks that settle there, your pump motor will burn out long before its time. According to technical bulletins from the Association of Home Appliance Manufacturers (AHAM), proper drainage maintenance can extend the life of a circulation pump by up to 40 percent. #IMAGE_PLACE_HOLDER_D# I genuinely believe we are moving toward an era of predictive plumbing. We are already seeing the 20-dollar smart sensor that detects leaks becoming a standard part of high-end installs. In the next five years, I expect AI-driven diagnostics to tell you exactly which gasket is thinning before it actually fails. Until then, you have to be the brain of the operation. If you are feeling stuck, do not just guess—seek out expert advice on dishwasher installation troubleshooting to avoid common pitfalls. My advanced tip for you today: grab a multimeter and test your heaters resistance this weekend; knowing your machines baseline will make diagnosing a future failure infinitely easier.
Hard Trut hs fr om th e Und er-Si nk Tr enche s
A fter year s of deali ng wi th s oggy cabi nets, I’v e le arne d th at t he b igges t ri sk i sn’t the mach ine itse lf, b ut t he o verco nfide nce o f th e in stall er. One ligh tbulb mome nt f or m e wa s re alizi ng t hat maximizing your dishwashers warranty through proper parts selection is j ust a s im porta nt a s th e ac tual plu mbing . If you u se s ub-pa r ma teria ls, you’re esse ntial ly h andin g th e ma nufac turer a “ge t ou t of jail fre e” c ard. I a lso d iscov ered that the soun d of a “perf ectl y ti ght” fit ting i s a subt le t hing; you have to deve lop a fee l fo r th e me tal’s resi stanc e to avoi d th e ni ghtma re o f a str ipped thre ad. Fin ally, nev er a ssume the drai n is clea r ju st b ecaus e it loo ks o kay—al ways tak e a seco nd t o le arn why your professional installer checks your sink drain for clogs first before you hook up that new pump.
My Go-To Toolbox for a Stress-Free Install
You don’t need a van full of tools, but a few specific items will change your life. I never start a job without a 15-dollar multimeter to verify the electrical health of the unit; it’s the only way to get expert advice on dishwasher installation troubleshooting that actually yields results. I also highly recommend picking up a dedicated spring pipe bender for those copper lines; it prevents the kinks that lead to water flow restrictions. For peace of mind, I’ve started installing the 20-dollar smart sensor that detects leaks under every unit I touch. It’s a tiny investment that pays for itself the first time a gasket gets weary.
Your Journey to a Leak-Proof Kitchen Starts Now
Setting up your own appliance can feel daunting, but you now have the blueprint to do it better than the “pro” who rushes through three jobs a day. By choosing rigid copper and keeping meticulous records, you are protecting your home and your wallet. If you’re ready to get started, check out our top tips for seamless dishwasher installation in 2025 to ensure you’re using the latest techniques. You’ve got this!
Have you ever had a “simple” installation turn into a weekend-long project because of a single missing part? Let me know your stories in the comments below!
Related Posts
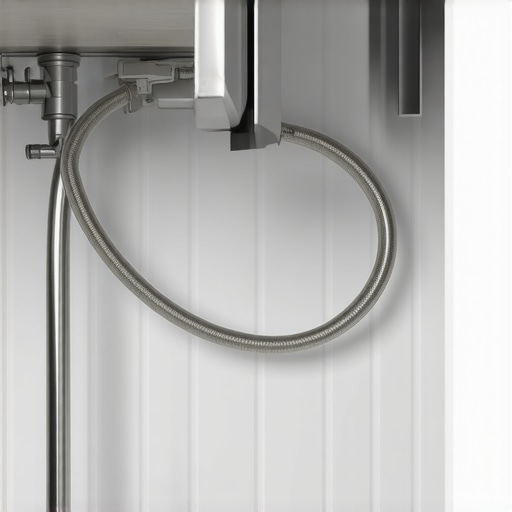
Why Your Drain Hose Needs a High Loop to Stop the Smell
I walked into my kitchen last Tuesday and thought a…
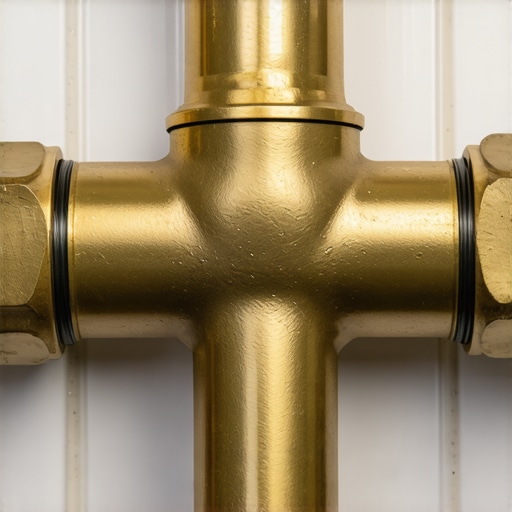
Why This $15 Brass Valve is Vital for a Leak-Proof Install
I remember the moment clearly—trying to install my dishwasher, everything…
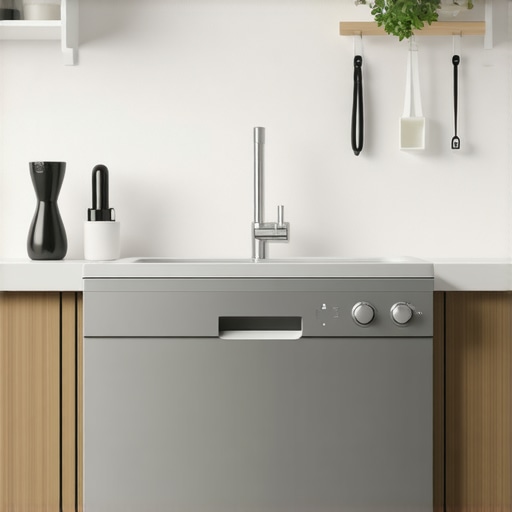
Why Your Dishwasher Drain Hose Needs a High-Loop Bypass
It was a typical Saturday morning when I leaned into…