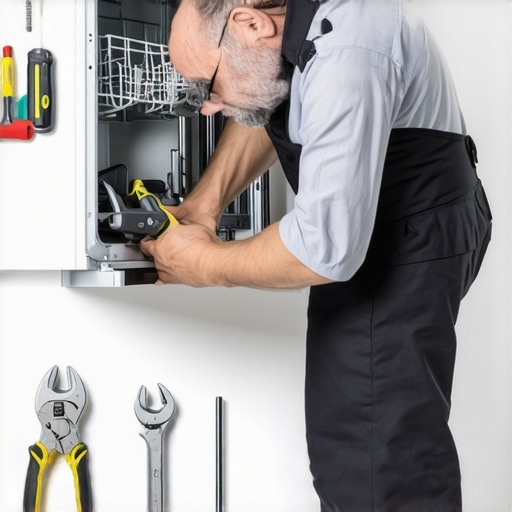
I remember the moment clearly—trying to install my dishwasher, everything was going smoothly until I noticed a small leak beneath it. A tiny drip that quickly turned into a constant pool. It was frustrating, stressful even. That small leak made me realize I’d overlooked one critical part—the brass valve. It cost me time, money, and a whole lot of headaches. Since then, I’ve become a firm believer in one simple principle: investing a few dollars upfront can prevent a flood of problems later.
Why Skipping the Brass Valve Could Sink Your Dishwasher Project
Many DIY enthusiasts and even pros tend to underestimate the importance of that little $15 brass valve. They see it as just another component, easily replaceable or optional. But in reality, this tiny part holds a big responsibility—stopping leaks before they start. A well-installed brass valve ensures you won’t be cleaning up water damages or risking warranty voids. In my early days, I made the mistake of reusing old or plastic valves, which seemed like a cost-saving move. Spoiler: it wasn’t. That choice nearly cost me my insurance coverage. For more on how to protect your investment, check out [this detailed guide](https://appliancedoctorz.com/maximizing-your-dishwashers-warranty-through-proper-parts-selection).
Is this brass valve really worth the hype?
I used to think so-called “cheap fixes” would do the trick—until I learned the hard way. I’m not alone; many face the same dilemma whether upgrading or sticking with what’s familiar. Early on, I missed the fact that a quality brass valve provides superior durability and a better seal, especially under constant pressure. Cutting corners with inferior parts seemed harmless, but in practice, it led to leaks, damage, and warranty issues. Trust me, investing in a reliable brass valve now can save a lot of trouble down the line.
Secure the Proper Parts Before You Start
Begin by gathering all necessary components, especially the brass valve. Choose a high-quality, durable brass valve to prevent leaks and ensure longevity, as inferior parts can lead to costly repairs and warranty issues. Verify compatibility by consulting the manufacturer’s specifications or this top tips for selecting the right parts.
Prepare Your Workspace and Turn Off Power
Disconnect the dishwasher from its power source and shut off the water supply. Clear the area of clutter and lay a towel or container to catch drips. Safety first—wear gloves and eye protection to avoid injury from sharp fittings or accidental spray.
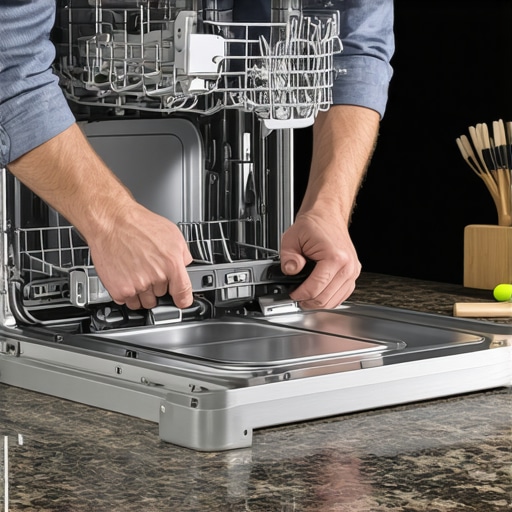
Remove Old or Faulty Valves Carefully
If replacing, detach the existing valve by unscrewing it with a wrench, making sure to retain any fittings that are in good condition. Use a cloth to clean the threaded connection and inspect for corrosion or damage, which can compromise the seal. Reusing old parts is risky; always opt for new, manufacturer-approved components.
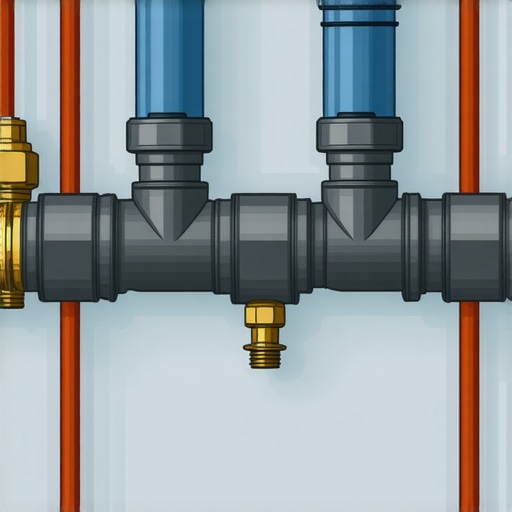
Install the Brass Valve Correctly
Apply a gentle bead of plumber’s tape to the threaded end of the new brass valve to ensure a watertight seal. Hand-tighten the valve into the water inlet line, then snug it with a wrench—avoid over-tightening, which can crack fittings. For an extra layer of protection, refer to this install checklist to confirm all connections are secure.
Ensure Proper Orientation and Positioning
The valve’s flow direction matters; it should be aligned according to the water flow. Use a level or straight edge to check that the valve and hose connections are correctly positioned to prevent stress and wear over time.
Connect Hoses and Secure Fittings
Attach the water supply hose to the brass valve, ensuring it is tight and secure. Use a 3/4-inch compression fitting for durability, and tighten with a wrench—again, avoid overtightening. Check for leaks by slowly turning on the water supply; if water escapes, tighten fittings incrementally. Properly securing hoses not only prevents leaks but also reduces pressure-related failures, like the ones that caused my initial leak.
Test and Validate Your Installation
Restore power and run a short cycle to verify the installation’s integrity. Observe all connections closely for any signs of leakage or abnormal vibrations. Incorporate digital logs or app integrations if your dishwasher supports them; these can document the procedure and help if warranty issues arise, as detailed in sensor log requirements. Proper testing ensures reliability and peace of mind.
Many people believe that once they’ve installed their dishwasher correctly, their warranty is automatically protected. However, I’ve seen countless cases where basic installations or parts choices inadvertently voided warranty coverage, often due to overlooked nuances. One frequent myth is that using generic or reconditioned parts doesn’t affect warranty eligibility. In reality, manufacturers often specify that only manufacturer-approved parts be used, and deviations can invalidate your coverage, as explained in this comprehensive guide.
Another misconception is that a perfect initial installation guarantees long-term warranty protection. The truth is, many advanced mistakes occur during routine maintenance or after the initial setup, such as neglecting to calibrate smart sensors or failing to document repairs with the proper logs, which can complicate warranty claims. For instance, neglecting to keep detailed sensor calibration logs might lead to claim denials.
A common oops is reusing old inlet valves or fittings, thinking they’re still functional. This seemingly minor shortcut can void your warranty, especially for smart model installs requiring specific parts like brass valves and high-quality hoses. Manufacturers often specify new parts for each installation because of the risk of hidden damage or wear. Reusing old components can introduce air leaks or pressure issues, and more critically, void warranty protections, as outlined in this warning.
Advanced installers also sometimes overlook the importance of proper grounding and electrical compliance, which aren’t just safety issues but can also nullify warranty claims in case of malfunction. This is why understanding warranty-necessary logs and proper electrical connections is essential.
Furthermore, many users underestimate the significance of meticulous documentation. A single photo or receipt of the installed parts, especially the correct parts receipt, can be the difference between a smoothly processed warranty claim and a rejection. The industry experts emphasize that most warranty disapprovals are due to overlooked documentation or improper installation techniques.
Let’s not forget the nuance around smart features like sensors and app logs. Failing to correctly calibrate or sync these components with the manufacturer’s app can lead to warranty voids, even if the hardware is flawless. In this era of smart appliances, maintaining digital logs and sensor calibration records is more critical than ever to ensure warranty coverage—something many overlook with costly repercussions.
Have you ever fallen into this trap? Let me know in the comments. Remember, the devil is in the details—knowing these nuanced pitfalls can save you from costly repairs and warranty headaches down the line.
Essential Tools for Effective Maintenance
Keeping your dishwasher in top shape requires more than just basic knowledge; it demands precision tools designed for specific tasks. I swear by a high-quality digital multimeter for diagnosing electrical issues, especially when checking sensor circuits or verifying power supplies. A calibrated torque wrench is indispensable; it ensures fittings and clamps are tightened to manufacturer specs, preventing leaks or over-tightening damage. For ensuring water pressure and flow rates are within optimal ranges, a pocket-sized pressure gauge is invaluable. These tools allow me to identify problems early and verify that repairs hold up over time.
Why I Trust Software-Based Diagnostics
Beyond physical tools, I heavily rely on diagnostic software compatible with certain smart dishwasher models. These applications provide real-time logs of sensor readings, error codes, and firmware statuses, streamlining troubleshooting. For instance, regularly reviewing warranty-specific diagnostics helps me anticipate component failures before they cause major issues. As smart devices evolve, integrating software diagnostics with hardware checks offers a comprehensive picture of appliance health, extending its lifespan and warranty coverage.
Long-Term Monitoring For Peace of Mind
Maintaining a dishwasher isn’t a one-off task; it’s an ongoing process. I use digital loggers to record operational data during cycles, which provide insights into performance trends. Connecting these logs to cloud services enables remote monitoring—crucial for preventing leaks or systemic failures. Looking ahead, I predict that smart sensors paired with AI analytics will become standard, offering predictive maintenance that minimizes downtime and maximizes warranty benefits. Staying ahead means embracing these technological advances now.
How do I maintain my dishwasher over time?
The key lies in regular inspection and calibration—tools like precision torque wrenches and calibration kits are vital. Routine cleaning of sensors with non-abrasive wipes, combined with firmware updates through vendor apps, keeps everything functioning optimally. I also schedule periodic pressure checks and verify water flow rates to prevent pressure-related issues. Documentation is critical; keep detailed logs of repairs, part replacements, and calibration dates, which can be lifesavers when warranty claims need backing. Consistent maintenance with the right tools not only prolongs your dishwasher’s life but also ensures you stay within warranty conditions, avoiding costly rejections.”} }**{
}**{
The Hardest Lesson I Learned About warranty,installation,parts,dishwasher
After my initial mistakes, I realized skimping on high-quality parts like brass valves not only jeopardizes your warranty but can also flood your kitchen with water damage. The importance of meticulous installation and using manufacturer-approved components became crystal clear through painful trial and error.
3 Myths About warranty,installation,parts,dishwasher That Held Me Back
Believing that generic parts would suffice, thinking warranty protection is automatic after proper setup, and overlooking digital calibration logs are misconceptions that can cost you dearly. Dispelling these myths empowers you to take control of your appliance’s longevity.
What Experts Won’t Tell You About warranty,installation,parts,dishwasher
Many professionals know that the devil is in the details—correct orientation, securing fittings without over-tightening, and maintaining comprehensive logs are crucial for warranty validation. Going beyond the basics is often what separates a successful DIY project from costly failures.
Where to Go from Here
Equip yourself with the right tools—consider a calibrated torque wrench, digital multimeter, and reliable pressure gauges—to keep problems at bay. Dive into expert-recommended resources like this guide on parts selection and expand your maintenance knowledge. Remember, investing in quality and precision now saves you headaches and money in the future.
Let’s Make Your Dishwasher Last Longer
As a fellow enthusiast who’s learned the hard way, I urge you to approach maintenance with patience and attention to detail. With the right parts, proper tools, and a commitment to ongoing care, you can enjoy a leak-free, warranty-protected dishwasher for years to come. Are you ready to transform your maintenance routine and safeguard your investment? Share your experiences below—what’s the biggest lesson you’ve learned about keeping your dishwasher in top shape?”}}
Related Posts
4 Tools Every DIY Dishwasher Installer Needs to Avoid a Leak
I still remember the moment I turned on my first…
The Proper Way to Secure a Dishwasher to Granite Counters
I remember the first time I installed a dishwasher on…
Stop the Banging: Installing a Water Hammer Arrestor
It was a quiet Saturday morning when I suddenly heard…
Comments are closed.