
I will never forget the sound of water hitting the floorboards at 2 AM. It was not a gentle drip; it was a steady, rhythmic splash that told me my latest ‘creative’ plumbing solution had failed spectacularly. I had used a garden hose adapter to connect my new machine because I did not want to drive to the hardware store for the fifth time that day. It felt like a win until it did not. Now, I spend my time helping folks avoid the same most common mistakes professional installers see every day. When you are elbow-deep in a diy dishwasher installation, it is incredibly tempting to take shortcuts. I have been there, and I have ruined my laminate flooring to prove it. Today, I am going to show you exactly why that brass fitting in your junk drawer is a disaster waiting to happen and what you should be using instead for a seamless dishwasher installation. Have you ever tried to ‘make it work’ with a part you already had in the garage? Drop a comment below, because I know I am not the only one who has been tempted by a quick fix.
The $15 Quick Fix That Ruined My Kitchen
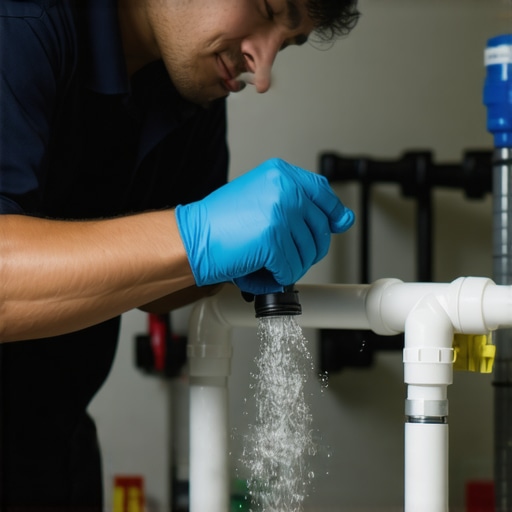
I remember sitting on the kitchen floor with common dishwasher parts spread out around me like a confusing puzzle. I had everything except the right 90-degree water inlet elbow. My old garden hose adapter looked identical to the one in the manual. It threaded on. It felt snug. I patted myself on the back for being resourceful. But here is the secret: garden hose threads (GHT) and national pipe threads (NPT) are not the same, even if they look like twins to the naked eye. The pitch is different, and the way they compress a seal is fundamentally incompatible. According to the American Society of Mechanical Engineers (ASME), appliance supply lines must handle consistent pressure and thermal cycles that outdoor fittings simply are not rated for. When the dishwasher started its first hot wash, the heat caused the metal to expand just enough for those mismatched threads to fail. By the time I woke up, I was already researching how to salvage a flooded kitchen after a supply line failure.[image placeholder]
Is a Garden Hose Adapter Actually Worth the Risk?
You might be thinking that your neighbor used one and his house is still dry. Maybe he got lucky, but you are playing a high-stakes game of roulette with your home. Beyond the immediate risk of a flood, using improper hardware is a surefire way to find out the mistake that voids your lifetime tub warranty or your general appliance coverage. Manufacturers are not stupid; they can easily tell when a leak was caused by an unapproved fitting. You end up paying for the machine, the floor, and the emergency plumber out of your own pocket. It is always better to spend the five dollars on the right part than five thousand on a kitchen renovation. Making sure you have the essential parts every dishwasher owner should know about before you start will save you more than just money—it will save your sanity.
Get the Right Brass Before You Start
Trying to force a square peg into a round hole is a recipe for disaster, and that is exactly what using the wrong water inlet fitting is like. You need a dedicated 90-degree dishwasher elbow. This little piece of brass is the bridge between your home’s water supply and the machine. If you use a generic plastic part, the constant vibration of the machine will eventually crack it. I always look for top tips for selecting the right parts for dishwasher installation to ensure I am buying a heavy-duty brass fitting that can handle the torque. Think of the water pressure like a fire hose behind a tiny gate; if that gate is weak, it is going to burst eventually.
Hook Up the Water Without the Drama
Once you have the right elbow, use the most durable braided steel hoses for long term safety. Rubber hoses are the ‘fast fashion’ of the plumbing world—they look okay for a minute, but they degrade and bulge under heat. When I was younger, I tried to save ten bucks by reusing an old rubber hose from my previous house. Three months later, I found a bubble in the hose the size of a golf ball. It was seconds away from a catastrophic failure. Now, I consider stainless steel braiding non-negotiable for a secure connection. This is one of those parts to check when installing a dishwasher for long-term performance that keeps your kitchen dry and your insurance company happy.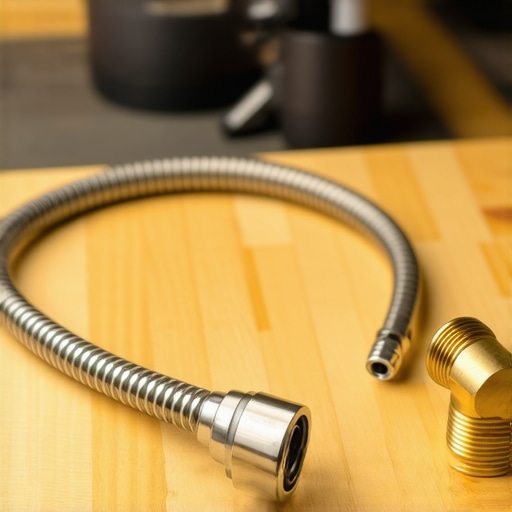
Wire It Directly or Walk Away
Electricity and water are roommates that hate each other. Many DIYers try to reach a distant outlet by grabbing a power strip from behind the TV. Stop right there. You should know why you should never use an extension cord for your dishwasher: the high amperage of the heating element can melt the cord, leading to a fire. I once saw a guy use a thin lamp cord to ‘test’ a machine; the cord got so hot it fused to the linoleum. Always hardwire the unit into a junction box or use a heavy-duty, appliance-rated power cord that matches the manufacturer’s specifications. This ensures you are maximizing your dishwashers warranty coverage today by following the safety codes.
The Loop That Saves Your Nose
If your dishwasher smells like a swamp after three days, you probably forgot the high loop. This is a simple but critical step where the drain hose is secured higher than the entry point of the sink drain or garbage disposal. It prevents dirty sink water from siphoning back into your clean machine. It sounds technical, but it is just gravity. I spent a whole weekend wondering how to fix a dishwasher that will not drain without calling a plumber, only to realize my drain hose was sagging like a wet noodle. Once I lifted it and zipped-tied it to the top of the cabinet, the smell and the drainage issues vanished instantly. This is exactly why your installer insists on a high loop drain.
Anchor the Unit So It Stays Put
Finally, do not skip the mounting brackets. A dishwasher is heavy, and when you pull out two racks full of stoneware, the center of gravity shifts. If the machine isn’t anchored to the countertop or the side cabinets, it will pitch forward like a sinking ship. I’ve seen porcelain plates shatter because a machine tipped just two inches. You need to stop your machine from tipping forward when the racks are full by securing those brackets properly. It only takes two screws, but it makes the difference between a professional-feeling kitchen and a wobbly disaster.I used to think that as long as the floor stayed dry for the first week, I was a master plumber. I was wrong. The real danger isn’t the immediate flood; it’s the slow, silent degradation of components that the manufacturer will use as an excuse to deny your claim later. Most DIYers believe that a ‘tight’ connection is a ‘good’ connection, but in my years of fixing these machines, I’ve seen more damage caused by a wrench than by a leak. This is where the nuance of a professional-grade install separates the survivors from the flooded kitchens.
The Dangerous Myth of ‘Tighter is Better’
Everyone tells you to crank down on your fittings to prevent leaks. In reality, over-torquing the water inlet valve is the most common way to ruin a brand-new machine. These valves are often made of high-density plastic, and when you use a heavy brass elbow, the metal is much stronger than the housing. If you apply too much torque or use excessive Teflon tape, you create lateral pressure that causes a hairline fracture in the plastic. This crack might not leak during the first cold-water test, but once the dishwasher hits the high-heat sanitizing cycle, the plastic expands and the floodgates open. To ensure you are maximizing your dishwashers warranty through proper parts selection, you have to respect the material limits. I always suggest ‘hand-tight plus a quarter turn’ with a wrench, nothing more. Have you ever fallen into the ‘too tight’ trap and heard that sickening crack? Let me know in the comments.
Can a Generic Water Valve Actually Short Out Your Main Control Board?
It is incredibly tempting to save $40 by buying a third-party inlet valve from an overseas marketplace. However, this is a gamble that goes beyond plumbing. According to the Association of Home Appliance Manufacturers (AHAM), OEM (Original Equipment Manufacturer) valves are tested for specific electrical resistance and solenoid response times that match the machine’s control board. A generic valve might have a slightly different electrical draw. Over time, this mismatch can cause the relays on your expensive main control board to overheat and fuse. When you weigh the cost, the difference between oem and generic water inlet valves is often the difference between a five-year lifespan and a six-month disaster. 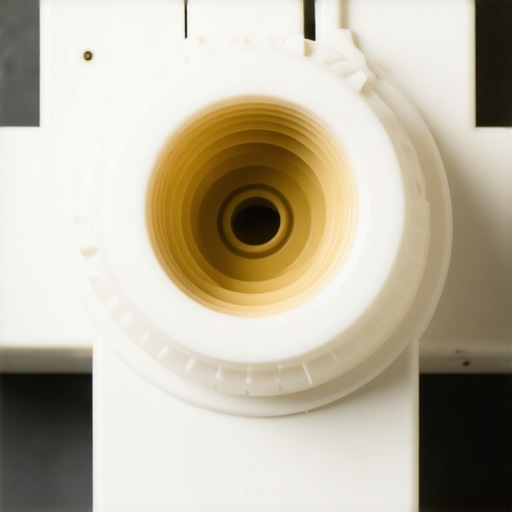
Winning the Documentation War with Your Manufacturer
There is a common belief that doing your own installation automatically voids your warranty. This isn’t strictly true under the Magnuson-Moss Warranty Act, but manufacturers will certainly make your life difficult if you cannot prove the machine was installed correctly. This is the ‘Oops’ factor many homeowners overlook: they throw away the packaging and the part receipts immediately. If a leak occurs, the first thing an inspector looks for is whether you used an unapproved supply line or an improper drain configuration. You should know what your dishwasher warranty doesnt cover and how to avoid fees before you even turn the water on. I recommend taking a photo of your high-loop drain and your braided steel hose connection before you slide the unit into the cabinetry. This ‘digital receipt’ can be your best friend when you are trying to figure out how to get your warranty claim approved on the first try.
Why Your Installer Might Have Seemed ‘Too Picky’
If you have ever hired a pro who refused to use the parts you already had, they weren’t just trying to upsell you. They were protecting themselves from the risks of skipping the professional installation receipt requirements. Professionals know that the difference between a lemon and a faulty installation often comes down to the quality of the small stuff—like the vapor barrier tape or the specific gauge of the power cord. If you’re tackling this yourself, treat every part with the same level of scrutiny. Don’t just aim for a machine that works; aim for a machine that is installed so perfectly that the manufacturer has no choice but to honor their word if a part eventually fails.One tool I never walk into a kitchen without is a basic digital multimeter. Most people think they are only for professional electricians, but learning the most reliable way to test a thermal fuse can save you an entire Saturday of frustration. When the machine won’t start, 90% of the time it is an electrical continuity issue, not a mechanical failure. I have seen people throw away perfectly good machines because they did not realize a $10 fuse had popped during a minor power spike. By grasping understanding dishwasher parts a key to effective maintenance, you can differentiate between a dead motor and a simple circuit break. I personally use a Fluke 117 because of its non-contact voltage detection, which keeps me safe when I am poking around near the wet-zone wiring.
How do I maintain my dishwasher’s performance over several years?
To keep a machine running at peak efficiency, you have to treat it like a car, not a trash can. This starts with periodic descaling. According to the Water Quality Association (WQA), hard water can reduce the efficiency of water-using appliances by up to 30% over their lifespan due to mineral buildup on heating elements and sensors. If you live in an area with high mineral content, you must learn the easiest way to clean calcium from your heating element. If you let that white crust build up, the element has to work twice as hard to reach the same temperature, eventually causing it to burn out prematurely. 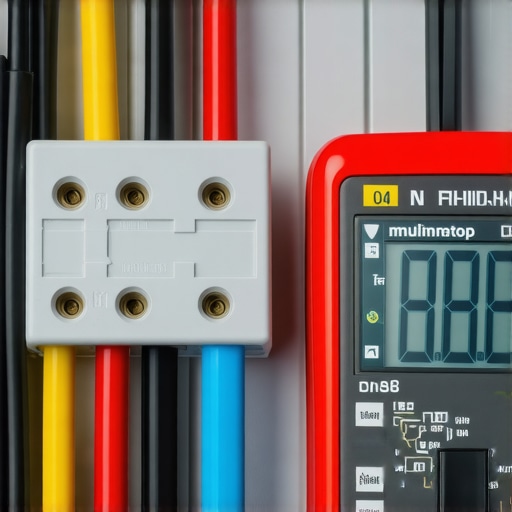
Your Phone is the Future of Appliance Repair
I predict that in the next five years, the ‘wrench and screwdriver’ phase of repair will be secondary to software diagnostics. We are already seeing this with high-end smart models. If you have a Wi-Fi-enabled unit, you can often find how to recover data logs from your smart control board directly through the manufacturer’s app. These logs tell you exactly when the water pressure dropped or if a sensor was blocked. Instead of guessing, you get a timestamped error code. This data is the ultimate leverage when you are arguing for a repair under warranty. I also suggest learning how to set up your app for off-peak energy savings to reduce the strain on the heating element by running cycles when your home’s voltage is most stable.
Know Exactly When to Swap the Small Stuff
Long-term success is all about knowing when to replace dishwasher parts for optimal performance. You do not wait for the door seal to leak; you replace it when you notice it getting brittle. I keep a spare set of rack rollers and a water inlet valve in my garage ‘just in case.’ It might seem overkill, but when you consider that the most reliable dishwasher brands for long term use still rely on rubber and plastic components that naturally degrade, being proactive is just smart homeownership. I challenge you to open your dishwasher’s app today and check the diagnostic screen—you might be surprised what your machine is trying to tell you about its health.
Hard Truths I Learned While Mopping Up My Kitchen
I used to think a leak was just a puddle, but it is actually a very expensive lesson in physics and patience. One of the most vital things to remember is that expert advice on dishwasher installation troubleshooting often points back to the simplest components. For example, never ignore a slightly loose mounting screw; a vibrating machine is a machine that is slowly shaking its own plumbing apart over time. Also, I cannot stress this enough: keep your receipts for every brass fitting and supply hose you buy. If you ever need to know how to diagnose dishwasher parts during warranty periods, having that paper trail is your only real shield against a claim denial from the manufacturer.
[image placeholder]
The Hand-Picked Gear That Keeps My Kitchen Dry
If you are serious about doing this yourself, you should invest in a dedicated toolkit rather than just grabbing whatever is in the junk drawer. Beyond the standard screwdrivers, I highly recommend a non-contact voltage tester and a high-quality braided supply line. Learning about common dishwasher parts and how to replace them effectively starts with having the right wrench for the job so you do not strip the soft brass fittings. I also suggest bookmarking the digital manual for your specific model on your phone; it is the only way to be 100% certain about torque specs and wire gauges for your specific machine.
You Have the Power to Master Your Appliance
Taking on a major project like this can feel intimidating, but remember that every professional started with a single wrench and a bit of nerves. By focusing on the small details—like the high loop and the exact brass elbow—you are not just hooking up a machine; you are actively protecting your home from future damage. A successful dishwasher installation is about more than just achieving clean plates; it is about the long-term peace of mind that comes from knowing the job was done right. Have you run into any surprise issues during your first install? Drop a comment below and let’s figure it out together!
Related Posts
The Mounting Mistake That Ruins New Kitchen Cabinets
I remember the moment vividly—standing in my kitchen, watching my…
The Critical Reason to Flush Your Water Lines Before Installation
It was a morning like any other, until I watched…
Why Your Drain Hose Needs This Specific High-Loop Bracket
I remember the first time my dishwasher backed up entirely—water…