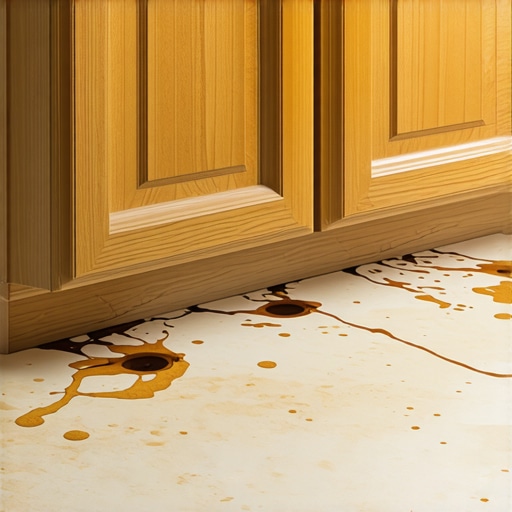
It was a frustrating Saturday when I discovered water pooling under my dishwasher—after what I thought was an expert’installation. The culprit? A poorly positioned drain hose, lacking that crucial high loop. That lightbulb moment hit me hard: I had overlooked one simple but vital detail that could have prevented a costly flood and ruined flooring. Since then, I’ve learned that the high loop isn’t just a recommendation; it’s a non-negotiable safety feature for your dishwasher’s longevity and your peace of mind.
Securing Your Kitchen Against Water Damage Starts Here
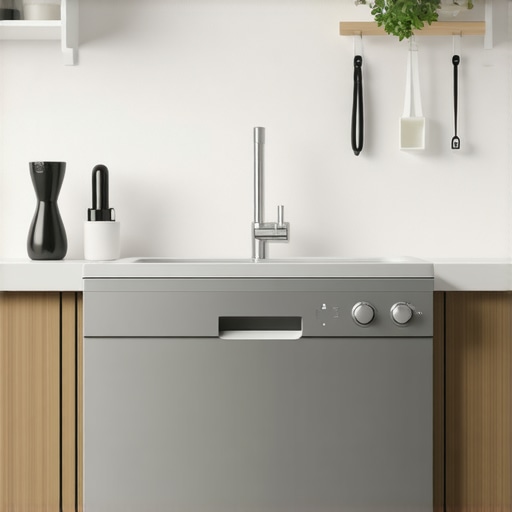
Imagine walking into your kitchen in the morning only to find a mini flood where your dishwasher used to be. Not exactly the start to a peaceful day. For many homeowners, this nightmare is preventable—yet often overlooked. The reason? A drain hose that isn’t installed with a high loop. This simple step ensures that wastewater doesn’t siphon back into your dishwasher or leak onto your floor. It’s like the extra insurance on your home’s safety.
But why exactly is this high loop such a big deal? It turns out that without it, your dishwasher’s drainage system can unintentionally pull wastewater back into the appliance, especially if there’s a drop in sink pressure. This can cause unpleasant odors, mold growth, or even damage your dishwasher’s internal components. According to appliance specialists, proper drain setup including the high loop can significantly prolong the lifespan of your dishwasher and prevent water-related mishaps.
If you’re skeptical or wonder whether it’s really that important, I get it. I’ve been there—fighting to fit that high loop into my limited space, questioning if it was worth the hassle. But after experiencing a minor flood due to a low drain setup, I realized that the effort to install it correctly is minor compared to the damage it can prevent. Remember, a simple mistake early in your installation process can turn into an expensive repair later. For more detailed insights on choosing the right parts for your setup, check out our guide on [top tips for selecting the right parts for dishwasher installation](https://appliancedoctorz.com/top-tips-for-selecting-the-right-parts-for-dishwasher-installation).
So, have you faced issues with your dishwasher draining properly? Or worse, have you experienced water leaks because of overlooked installation details? If so, you’re not alone. But don’t worry—addressing this small but crucial step can save you from big headaches down the road.Now, let’s dive into why this high loop is more than just an extra step—it’s essential for ensuring your dishwasher operates safely and efficiently.
Position the Drain Hose Correctly to Prevent Siphoning
Start by measuring the length of your drain hose to ensure it can reach the sink or drain outlet without excess slack. Then, secure the hose to the underside of the countertop or cabinet sidewall, making sure to create a high loop—a U-shaped bend positioned at least 30 inches above the floor. Use a clamp or zip tie to hold the hose firmly in place, preventing it from slipping down during operation.
Secure the High Loop Effectively
Think of the high loop as a safety bar preventing backflow; it must be elevated and stable. To achieve this, attach a hook or bracket on the cabinet wall to hold the loop up. Avoid leaving the hose loosely draped, as movement or gravity can reduce the effectiveness, leading to potential siphoning issues.
Properly Connect the Drain Hose to the Plumbing
Insert the free end of the hose into the drainage pipe or air gap fitting. If using an air gap, ensure it is installed above the sink rim—this acts as a backup to prevent floodwaters from spilling onto your countertop if the drain gets clogged. Secure the connection with a clamp to ensure no leaks develop during the wash cycles.
Verify the Correct Height and Secure Attachment
Double-check that the hose’s highest point is the high loop you’ve created, removing any kinks or sharp bends that can hinder water flow. Connect everything tightly, and consider sealing connections with plumber’s tape if necessary, to prevent slow drips or leaks over time. A well-secured setup not only prevents water damage but also supports your warranty by adhering to installation standards.
Test the Installation by Running a Cycle
Once everything is connected, run an empty cycle. Observe water outflow and look for signs of backflow or leaks. If water backs up or leaks appear, re-tighten connections and reposition the hose as needed. This step is akin to a routine quality check—adjusting now saves you from future disasters.
Leverage Quality Parts for Durability
Use high-grade, compatible parts such as durable hoses and reliable clamps. For a quick reference on essential parts, visit our guide on common dishwasher parts and learn how to select the best components for longevity. Investing in quality parts supports your warranty and ensures consistent performance.
Document Your Installation for Future Reference
Take clear photos of your installed drain hose from different angles, especially focusing on the high loop and connections. This documentation proves your compliance with installation standards should you need to validate a warranty claim later. Proper documentation can streamline repair requests and demonstrate your proactive maintenance.
When it comes to dishwasher installation, many homeowners fall prey to myths that can lead to costly mistakes. One of the most prevalent misconceptions is that following the basic setup instructions is enough for warranty coverage and optimal performance. However, experts emphasize that adhering to nuanced installation details, such as creating a proper high loop with your drain hose, is crucial to prevent siphoning issues and water damage. In fact, improper installation can void your warranty, especially if it results from overlooked steps like securing the drain hose correctly. For advanced insights on how installation nuances influence warranty claims, visit our guide on preparing your kitchen for professional setup.
Many believe that parts are interchangeable across brands, but this isn’t true. Using incompatible or third-party parts can compromise the appliance’s longevity and may void warranty terms. Proper parts selection, supported by expert advice, ensures durability and maintains warranty validity. To understand which parts genuinely support your warranty, check our detailed overview on parts for long-term performance.
A common trap is assuming that warranty policies are straightforward. In reality, many warranties exclude coverage if installation errors or improper parts are involved. For example, failure to secure the drain hose with a high loop or using unapproved hoses can disqualify a warranty claim following a leak incident. To avoid this, consult our expert advice on warranty policies and ensure your setup aligns with manufacturer standards.
Advanced DIYers often overlook the importance of documenting their installation process. Taking photos of properly secured hoses, correct height adjustments, and quality parts installation can be invaluable should you need to support a warranty claim later. Proper documentation not only expedites claim approvals but also demonstrates compliance with installation standards. For a comprehensive approach, review our guide on documenting your installation.
One hidden nuance many neglect is the impact of inferior parts on your appliance’s performance. Cheap, unverified components may seem cost-effective initially but can cause long-term damage and void warranties. For instance, substandard hoses may deteriorate quickly or develop leaks, leading to water damage and costly repairs. Learn how to select high-quality parts that support both performance and warranty coverage by visiting our resource on maximizing warranty through proper parts.
Let’s address an often-asked question among experienced DIYers: How do advanced installation nuances influence warranty claims? The key is meticulous adherence to manufacturer instructions concerning hose routing, securing, and part compatibility. Deviations, even minor, can be grounds for rejection of warranty claims if water damage occurs. Industry experts stress that understanding these details can save homeowners from future disputes, making your DIY efforts more reliable. For further reading on technical compliance, see our article on warranty claim essentials.
Have you ever fallen into this trap? Let me know in the comments.
Essential Tools to Tackle Dishwasher Maintenance
Maintaining your dishwasher’s optimal performance demands the right equipment. I personally swear by a high-quality digital multimeter to verify electrical components like the inlet valve and control board. It’s a game-changer, allowing me to diagnose issues quickly and accurately, preventing unnecessary parts replacement. For cleaning and descaling, I rely on a long-reach brush and a plastic scraper—these tools help remove stubborn grime from spray arms and filters without damaging delicate surfaces. Additionally, a combination wrench is invaluable for tightening or replacing fittings, ensuring leak-free connections. Invest in sturdy, corrosion-resistant tools; they pay off in durability and safety.
Software and Techniques That Extend Your Dishwasher’s Life
Beyond physical tools, leveraging diagnostic software can facilitate preemptive maintenance. Many modern dishwashers come equipped with smart features that log error codes accessible via mobile apps. For older models, a simple manual troubleshooting guide combined with a multimeter helps identify electrical faults before they escalate. Regularly running maintenance cycles with descaling agents like vinegar or commercial products can prevent mineral buildup, which hampers spray arm rotation and drainage. Remember, consistent, proactive upkeep diminishes the likelihood of costly repairs and keeps your appliance covered under warranty—find out more about warranty nuances here.
How do I keep my dishwasher operational over time?
Periodic inspections of hoses, seals, and filters are crucial. I recommend setting a monthly reminder to check for cracks, leaks, or blockages. Using a magnifying glass can reveal small hairline cracks or mineral deposits that might lead to bigger issues. Also, maintaining proper water quality by installing a water softener—particularly in hard water areas—prevents scale build-up. According to expert advice, replacing worn-out parts such as door seals or spray arms before failure occurs dramatically extends your dishwasher’s lifespan. For specific guidance on parts replacement, visit this resource.
Future Trends in Dishwasher Maintenance
Looking ahead, I predict an increase in AI-integrated diagnostic tools that will alert homeowners to potential issues remotely and even schedule repairs automatically. IoT-enabled sensors will monitor water pressure, temperature, and component wear, notifying you via smartphone before a breakdown occurs. This proactive approach will revolutionize appliance maintenance, making breakdowns a rarity rather than the norm. Embracing these advancements now by adopting smart diagnostic practices will prepare you for these upcoming innovations.
For example, integrating regular calibration of sensors using specialized software can optimize performance and extend device longevity. Don’t hesitate—try using a multimeter today to check your dishwasher’s electrical components; it’s a simple step that can save you from future headaches and expenses. Need help selecting the right tools? Contact us through our contact page.
Lessons That Changed My Approach to Dishwasher Installations
- One of my toughest lessons was realizing that overlooked details like securing the high loop could turn a simple installation into a warranty nightmare. Now, I always double-check that the drain hose is elevated at least 30 inches above the floor, preventing backflow and protecting my clients from costly repairs.
- Understanding the importance of quality parts hit me hard when a cheap clamp failed, causing leaks and voiding a warranty. Since then, I stick with trusted manufacturers and never compromise on secure connections, knowing it saves headaches down the line.
- My biggest lightbulb moment was discovering that documentation, including photos of the high loop and hose connections, can expedite warranty claims and avoid disputes. I now always take clear images after installation, turning a routine job into a proactive service.
Tools That Keep My Dishwasher Games Strong
- The best tools in my kit include a durable multimeter for electrical diagnostics, a long-reach brush to clean spray arms, and quality clamps to secure hoses. They make troubleshooting faster and installation more reliable, ultimately supporting warranty adherence and appliance longevity.
- Trusted manuals and guides, like those from industry experts, help me stay current on installation standards. For example, I frequently consult our comprehensive part selection tips when sourcing components, ensuring durability and warranty compliance.
Embrace the Power of Preventive Action
By incorporating meticulous setup practices—like creating a proper high loop, choosing quality parts, and documenting each step—I turn repairs into rare events. Every successful install builds confidence, knowing I’ve minimized risks of leaks and warranty denials. The investment in attention to detail pays dividends in stress-free operation and satisfied homeowners.
How has paying close attention to drain hose setup changed your experience? Share your stories below and keep learning how to optimize your dishwasher’s performance and warranty protection!
Related Posts
Why Your Dishwasher Drain Hose Needs a High-Loop Bypass
It was a typical Saturday morning when I leaned into…

Why This $15 Brass Valve is Vital for a Leak-Proof Install
I remember the moment clearly—trying to install my dishwasher, everything…
The Drain Hose Mistake That Slowly Rots Your Cabinet Floor
It hit me one quiet Saturday morning as I stepped…