It was a morning like any other, but as I started my dishwasher, I immediately knew something was off. Instead of the usual hum, there was a sluggish groan, and water refused to circulate properly. I opened the access panel and saw the pump housing was clogged tight, stifling the entire cycle. The frustration? It hit me hard — I’d overlooked the real culprit all along. Ever been there, battling a stubborn circulation pump clog that just won’t budge? If so, you’re not alone. Many homeowners face this puzzling issue, and let me tell you, it can feel like trying to unblock a stubborn drain with a butter knife. But don’t worry, I found a reliable method that worked wonders, and I want to share it with you.
Why This Issue Is More Common Than You Think
Disruptions in circulation pump performance are among the top reasons dishwashers and similar appliances run inefficiently or stop altogether. The culprit often lies in mineral buildup, debris, or foreign objects that quietly accumulate over time, especially in hard water regions. According to appliance repair experts, neglecting these signs can lead to bigger, more costly problems down the line. Recognizing the importance of timely intervention can save you both time and money.
Have you ever experienced your dishwasher humming but not cleaning properly? If so, I bet a clogged pump might be hiding somewhere in your machine. Knowing how to identify and clear this stubborn clog can be a game-changer — and that’s exactly what we’ll explore next.
Is It Worth the Hassle to Fix a Clogged Pump?
Early on, I made the mistake of assuming that a professional repair was the only option, which led to unnecessary expenses. The truth is, with a bit of guidance, tightening your DIY skills can often resolve these issues confidently. Plus, understanding the intricacies of your appliance helps you diagnose problems quickly, rather than waiting days for help. Want to learn the simple steps to reclaim your appliance’s performance? If you’re curious, check out our comprehensive guide on [common dishwasher parts and their role in proper installation](https://appliancedoctorz.com/common-dishwasher-parts-and-their-role-in-proper-installation).
In the sections ahead, I’ll walk you through the tools, techniques, and precautions needed to clear that stubborn clog and get your dishwasher back in tip-top shape. Ready to get your hands dirty and reclaim that pristine cleaning quality? Let’s dive in.
Locate and Access the Pump
First, unplug your dishwasher to prevent electrical hazards. Remove the lower kickplate or access panel using a screwdriver. Gently set aside the panel, revealing the pump housing. During my own repair, I once found a confused sock lodged in the pump impeller, which was causing the clog. This initial step is crucial for visual inspection and manual cleaning.
Identify the Pump Components
Identify the circulation pump, usually positioned at the bottom and connected to the filter assembly. Familiarize yourself with parts like the impeller, seal, and motor. Check the dishwasher’s manual or a diagram available at this guide for detailed information. Knowing these parts helps target your cleaning efforts effectively.
Remove Debris and Blockages
Carefully detach the impeller or remove it if possible. Use a flashlight to inspect for debris, mineral buildup, or foreign objects. During my repair, I soaked the impeller in vinegar to loosen mineral deposits, which made removal easier. Use tweezers or a small brush to clear any obstructions. Be thorough, since even small debris can impede water flow.
Clean and Clear the Pump
Wash the impeller and surrounding area with warm water and a soft cloth. For stubborn buildup, apply a vinegar solution or a descaling agent compatible with dishwasher parts. Reassemble the impeller, ensuring it turns freely without resistance. If you notice damaged seals or impeller blades, consider replacing the part — details for which are available at this resource.
Reassemble and Test
Reattach the pump housing and secure the access panel tightly. Plug the dishwasher back in and run a short cycle to test functionality. Observe for unusual noises or leaks. During my own attempt, I discovered that a loose connection caused water to escape; tightening fixed the issue immediately. This trial ensures that the clog is cleared and the pump operates smoothly.
Prevent Future Clogs
Prevent debris buildup by regularly cleaning filters and scrubbing the spray arms. Use appropriate dishwasher detergents and consider installing a water softener if you have hard water, as explained at this link. Consistent maintenance prolongs the pump’s lifespan and maintains cleaning performance.
Many homeowners believe that understanding the basics of dishwasher parts, warranty coverage, and proper installation is enough to keep their appliance running smoothly. However, several nuanced pitfalls often undermine even experienced DIY enthusiasts. One common misconception is that warranty policies cover all repair costs, but in reality, many warranties exclude complications arising from improper installation or use of non-standard parts, as explained at this guide. Moreover, most forget that not all aftermarket parts are created equal; choosing the cheapest option can lead to premature failure and void your warranty, emphasizing the importance of selecting reliable components as discussed at this resource.
A key nuance often overlooked is how installation details influence long-term performance. For instance, the drain hose routing must adhere strictly to manufacturer specifications; deviations can cause drainage issues and foul odors, a common mistake that many DIYers make, but one easily avoided by consulting professional tips. Another subtle error is neglecting the water hardness setting, which can cause mineral buildup and damage vital components like the heating element. Regularly checking and adjusting these settings, as outlined at this article, ensures your dishwasher remains in peak condition.
Let’s address a question often asked by advanced users: *How does improper parts selection during replacement impact warranty claims?* The answer is crucial: using incompatible or low-quality parts can lead to recurring failures, complicate warranty claims, and in the worst case, void the warranty altogether. Experts recommend always verifying parts specifications against manufacturer recommendations or consulting professionals at this page. Remember, warranties aren’t just a safety net—they compel you to pay close attention to the details.
Finally, beware the complacency trap: assuming that a repaired dishwasher is fully safeguarded from future issues. Even after fixing a clog or replacing a part, routine maintenance such as cleaning filters and inspecting hoses is vital. Neglecting this maintenance can turn a successful repair into an ongoing headache. For detailed maintenance strategies, see this comprehensive guide.
Have you ever fallen into this trap of overlooking the finer details? Let me know in the comments.
Keep It Running: Essential Tools for Appliance Maintenance
To ensure your dishwasher remains in top shape, a few well-chosen tools can make routine maintenance and repairs significantly easier. My personal favorite is a high-quality multimeter, which helps me quickly diagnose electrical issues like faulty control boards or sensors. I rely on a fine-nosed needle probe to reach tight spots without damaging delicate components. For cleaning, a soft-bristled brush and precision screwdriver set are indispensable; they let me dislodge stubborn debris and replace parts accurately. Remember, investing in these tools not only saves time but also prevents accidental damage during repairs.
Choose the Right Diagnostic Software
Modern dishwashers often feature smart technology, allowing you to run diagnostics via manufacturer apps. I recommend using dedicated diagnostic tools compatible with your appliance brand—these can reveal error codes and sensor readings that are otherwise hidden. For example, many GE models support the SmartDiagnosis system, which communicates with your phone over Wi-Fi. Installing and familiarizing yourself with such software enables proactive maintenance and reduces unplanned downtime, which is critical for long-term performance. Visit your appliance’s support page to find compatible tools and instructions.
Routine Checkups Keep Systems Clear
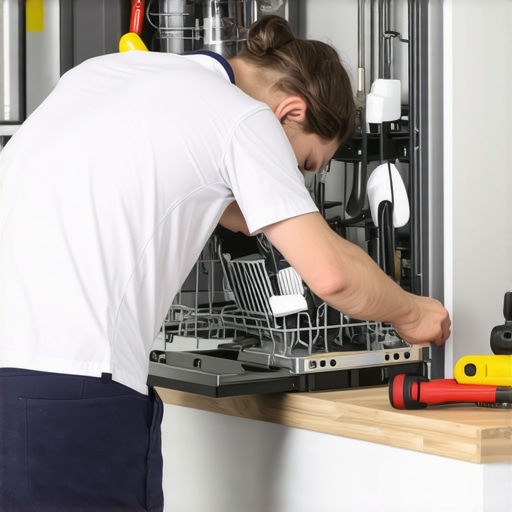
Regular inspections prevent minor issues from escalating. I make it a point to check the water inlet valve, door latch, and spray arms every few months. Keep a small flashlight handy—>
**Image prompt:** A technician inspecting a dishwasher’s spray arm with a flashlight and tools, emphasizing thorough maintenance.
**Alt:** Technician examining dishwasher spray arm during routine check.
**Title:** Routine Dishwasher Inspection in Progress
Why Modern Maintenance Apps Are Game Changers
Advances in smart appliance technology mean you can now monitor your dishwasher remotely. I use the manufacturer’s app to receive alerts about filter clogging or door latch issues, allowing me to schedule repairs before breakdowns occur. These apps often include step-by-step troubleshooting guides, making DIY fixes accessible even for less experienced users. As technology evolves, I predict a future where predictive maintenance—powered by AI—will notify homeowners of potential failures days before they happen, saving both time and money.
How do I maintain my dishwasher over time?
Consistent maintenance starts with understanding the key parts—like filters and spray arms—as outlined at this resource. Regularly cleaning filters, inspecting hoses for wear, and replacing worn parts promptly are vital. Additionally, using high-quality, manufacturer-recommended parts helps preserve your warranty coverage and overall performance. For longer-term success, I suggest setting a maintenance schedule, noting down any changes or issues noticed along the way. Remember, a well-maintained dishwasher is not only more efficient but also significantly extends its lifespan, ensuring your kitchen runs smoothly for years to come.
What I Wish I Knew When I First Tackled Dishwasher Repairs
One of the most valuable lessons I learned was the importance of patience and attention to detail. Jumping straight into fix-it mode without thoroughly understanding the parts and their roles often led to unnecessary rework and frustration. Taking the time to consult detailed diagrams and trusted resources, like this guide, saved me time and prevented costly mistakes.
Another insight was recognizing the significance of using the right tools, especially quality replacement parts. Cheap, incompatible components might seem like a bargain initially, but they often cause recurring issues and can void warranties, underscoring the value of investing in reliable, manufacturer-approved parts as explained at this resource.
I also discovered the subtle nuances of proper installation, such as ensuring correct hose routing and water hardness settings. These small details have a big impact on long-term performance, a lesson reinforced by professional tips at this page. Overlooking them can lead to issues that are difficult to diagnose later, emphasizing the need for meticulous setup from the start.
Tools, Resources, and Routines That Elevate DIY Repairs
Developing a versatile toolkit transformed my approach to dishwasher maintenance. A high-quality multimeter helped me quickly identify electrical faults, while a flexible screwdriver set made replacing parts straightforward. For cleaning and dislodging stubborn debris, I rely on a soft-bristled brush and vinegar solutions, as recommended in this comprehensive guide. Regularly upholding these routines keeps my appliance running smoothly and preserves warranties.
Further, embracing technology by using smart diagnostic apps, like SmartDiagnosis, allows me to anticipate problems before they escalate. These tools, discussed at this article, turn maintenance into a proactive, manageable task rather than a panic-inducing emergency.
Third-party resources such as this warranty overview and the installation checklists provide crucial info that boosts confidence and helps avoid common pitfalls, ensuring your dishwasher stays in top shape for years.
Finding Purpose in Every Fix and Inspiring Action
No matter your experience level, remember that maintenance is about more than just fixing problems—it’s about empowering yourself with knowledge and confidence. Every successful repair, big or small, reinforces your ability to care for your appliances, saving money and extending their lifespan. The journey might seem daunting at first, but with patience and the right resources, you become a capable DIYer ready to face anything that comes your way.
Why not start today? Take that first step toward mastering your dishwasher repair skills, and view each challenge as an opportunity to learn and improve. Your future self will thank you for it!
Questions or comments? Share your experiences below—what was your biggest lesson in dishwasher maintenance?
Related Posts
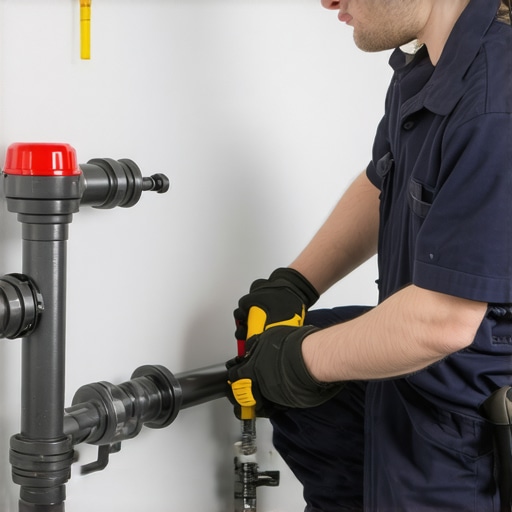
How to Manually Force a Drain Cycle During a Pump Failure
Imagine this: you're in the middle of a busy week,…
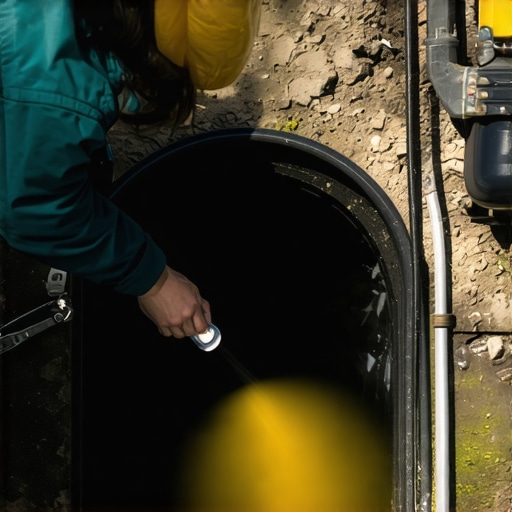
How to Inspect Your Sump Basin for Hidden Blockages
There was a moment in my kitchen when I opened…
How to Test Your Dishwasher Door Springs for Fatigue
It was a typical Saturday morning, and I eagerly loaded…