
I stood there with a drill in one hand and a $400 piece of custom walnut in the other, sweating more than I did at my high school prom. I had ignored the instructions because, honestly, I thought I was ‘handy’ enough to wing it. Ten minutes later, my integrated panel was hanging at a five-degree angle, and the dishwasher door wouldn’t stay closed because I had completely ignored the tension settings. It was a visceral lesson in humility. If you are looking at a pile of brackets and screws right now and feeling that same knot in your stomach, take a breath. We are going to get that panel perfectly flush today, and more importantly, we are going to make sure your machine actually works once it is on.
Stop Your Cabinet Panel from Becoming a Kitchen Eyesore
I have seen it a hundred times: a beautiful kitchen remodel where the dishwasher sticks out like a sore thumb because of a half-inch misalignment. The secret isn’t just in the screws; it is in the preparation. Before you even touch the wood, you need to look at the parts to check when installing a dishwasher for long-term performance. One of my biggest early mistakes was thinking I could eyeball the drill holes. Spoiler alert: you can’t. That paper template that comes in the box is your best friend, not extra packaging. If you lose it, you are basically flying blind. Beyond just the look, a poorly mounted panel can lead to the mounting screw mistake that blocks your top rack from closing, which turns a simple cleanup into a daily frustration. According to industry data from Consumer Reports, improper installation is a leading cause of early appliance failure, often because the weight of the panel isn’t balanced correctly against the door springs. Have you ever had a dishwasher door that practically tried to decapitate you because it was too heavy, or one that wouldn’t stay down? Let me know in the comments, because I have definitely been there.
Is This DIY Project Actually Worth the Risk to Your Warranty?
Many homeowners worry that picking up a screwdriver might void their expensive protection plan. It is a valid fear. I once had a client who tried to ‘customize’ their mounting bracket and ended up with a denied claim because they’d drilled into the inner door liner. To stay safe, you need to focus on maximizing your dishwashers warranty coverage today by following the manufacturer’s specific weight and thickness requirements for the panel. Using top-tips for seamless dishwasher installation in 2025 ensures that your aesthetic choices don’t break the bank later. You also need to realize that the way to protect your warranty during a kitchen remodel is to keep every receipt and follow the mounting guide to the letter. If the panel is too heavy, you might need to learn how to replace the door hinge springs yourself or adjust the existing ones to compensate for the extra weight. It sounds daunting, but once you understand the mechanics of how that wood interacts with the metal hinges, it all starts to click into place. We’re about to dive into the step-by-step checklist to ensure your installation is both beautiful and mechanically sound.
Get Your Template and Tape Measures Ready
To move from a pile of parts to a finished kitchen, you have to treat your measurements like a surgeon treats an incision. I once tried to mount a panel on a high-end European model using a ‘close enough’ mentality. I ended up with a door that rubbed against the adjacent drawer every time I opened it, eventually stripping the finish off both. To avoid this, you must learn how to prepare your kitchen for dishwasher installation by checking the plumb of your surrounding cabinets first. If the cabinets aren’t level, your ‘perfectly square’ panel will look crooked no matter what you do. Start by taping the manufacturer’s template to the back of your custom panel. Do not just lay it there; use painters’ tape to secure it so it doesn’t shift when the drill bit hits the wood. This is where top-tips for selecting the right parts for dishwasher installation come into play—specifically, ensuring you have the correct screw length. A screw that is an eighth of an inch too long will poke right through the front of your beautiful cabinetry.
Map Out Your Drill Points Before You Commit
Before the drill touches the wood, use an awl or a sharp nail to create a starter divot at every point marked on the template. This prevents the drill bit from ‘walking’ across the walnut and ruining the surface. I remember a frantic Saturday where I skipped this step and the bit skated three inches across a client’s mahogany panel. It was a $600 mistake that took exactly two seconds to happen. If you are unsure about the hardware provided, refer to common-dishwasher-parts-and-their-role-in-proper-installation to identify which brackets are for weight-bearing and which are for simple alignment. 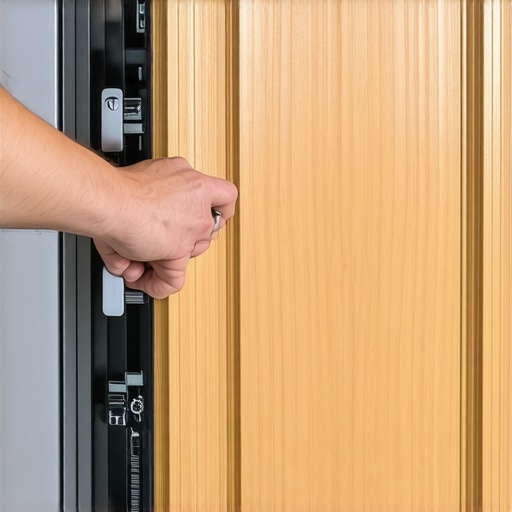
Lock the Panel to the Door Without Stripping Screws
Once your holes are prepped, it is time for the ‘hook and hang.’ Most modern units use a bracket system where the panel slides onto the door. This is a critical moment for your machine’s health. If you force the panel or use an impact driver with too much torque, you risk the mounting screw mistake that blocks your top rack from closing. The screws must be flush; otherwise, they catch on the tub gasket or the rack housing every time the door moves. During my early days, I overlooked a slightly protruding screw head that ended up tearing the door seal, leading to a slow leak that warped the floorboards. Always hand-tighten the final few turns to feel the resistance.
Dial in the Door Tension So It Stays Put
A wood panel adds significant weight, often between 10 and 20 pounds. If you don’t adjust the springs, the door will crash to the floor the moment you unlatch it. This is why you often need to how to replace the door hinge springs yourself or at least tighten the tension cables located at the base of the unit. The goal is ‘neutral buoyancy’—the door should stay put at whatever angle you leave it. If it flies shut, the tension is too high; if it falls, it’s too low. This is part of expert-advice on dishwasher installation troubleshooting that saves your toes and your hinges from long-term damage.
Fix the Vertical Gap Once and for All
The final touch is leveling the entire machine within the cavity. Most people focus on the panel, but why-professional-leveling-prevents-your-door-from-leaking becomes obvious when you see the panel sit crooked against the countertop. Use the adjustable feet to raise the unit until the top of the panel is perfectly parallel with your drawer lines. If the machine feels wobbly, you might need the easiest way to install a side-mounting bracket kit to anchor it to the side cabinets rather than the countertop, which is a lifesaver for granite or quartz surfaces where you can’t drill upward. Following the-most-common-mistakes-professional-installers-see will help you avoid the ’tilting machine’ syndrome that causes water to pool in the back corner of the tub.Everyone tells you that soft water is the holy grail for appliances because it prevents scale buildup, but I have found that too much of a good thing can be a disaster. If your water is too soft, it actually becomes chemically aggressive. It actively searches for minerals to bind with, and if it cannot find them in the water, it starts stripping them from your glassware and the internal metal components of your machine. I have seen brand-new units look five years old within months because the owner didn’t adjust for this nuance. This hidden complexity is a major part of understanding dishwasher parts a key to effective maintenance. Most people think they are doing their machine a favor with high-salt settings, but they are often shortening its lifespan without realizing it.
The $5 Tape That Saves Your $2,000 Cabinets
The biggest ‘oops’ factor I encounter in the field involves the vapor barrier. Most DIYers look at that thin strip of foil or plastic tape included in the box and toss it in the bin, thinking it is just extra packaging. That is a massive mistake. Without that barrier, the steam that escapes when you crack the door open at the end of a cycle will slowly delaminate your expensive custom panel and rot the raw wood on the underside of your countertop. I once had to tell a client their $3,000 quartz counters were safe, but their $1,500 custom walnut panel was ruined simply because they skipped a $5 piece of tape. It is one of those essential parts every dishwasher owner should know about that gets ignored until the wood starts to swell. 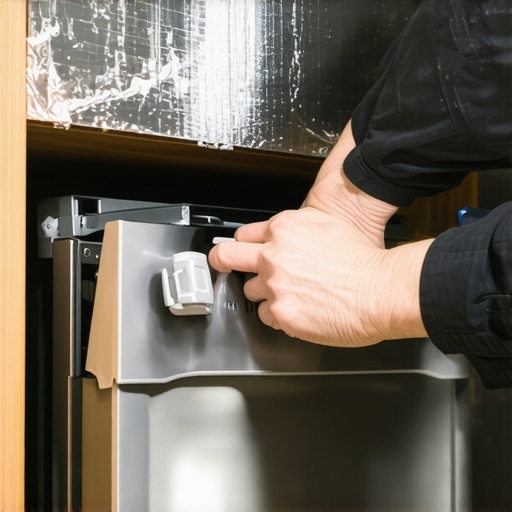
Why does the manufacturer insist on brand-new parts for every install?
You might think your old water valve or power cord is ‘perfectly fine,’ but the reasons your professional installer refuses your old cord aren’t just about padding the bill. According to the Association of Home Appliance Manufacturers (AHAM), mechanical fatigue in brass fittings and plastic housings is often invisible to the naked eye. Reusing an old water inlet valve is the number one way to end up with a slow leak that eventually the mistake that voids your lifetime tub warranty. These components are designed for a single compression cycle; once you undo that nut, the internal seal is compromised. Another nuance often missed is the difference between oem and generic water inlet valves. People try to save a few dollars on a knock-off pump from a random online marketplace, only to find the software on their smart control board refuses to communicate with it. I have spent countless hours how to diagnose dishwasher parts during warranty periods only to find a ‘fake’ part was causing a communication error. Finally, remember that why professional leveling prevents your door from leaking is a matter of physics. If the machine is pitched forward, the water level sensor might trigger incorrectly, leading to an overfill. Have you ever fallen into this trap or noticed a tiny puddle under your kickplate and ignored it? Let me know in the comments because I am curious how many of you have faced that ‘slow leak’ nightmare.
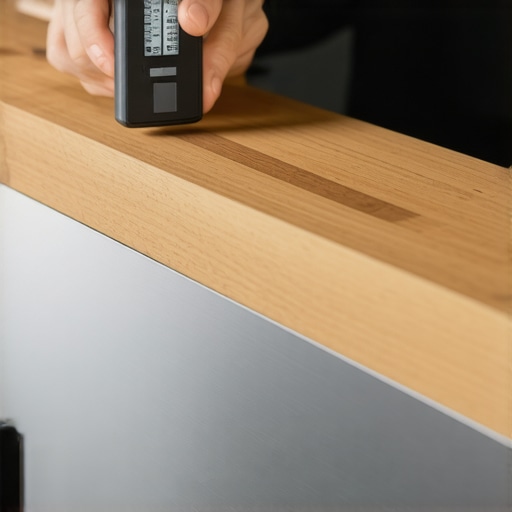
After you have survived the drill and the template, you might think you are done, but the ‘final mile’ is what separates a professional job from a weekend hack. I never walk onto a job site without my digital angle finder. While a bubble level is fine for a rough-in, a digital readout allows you to match the precise pitch of your countertop down to 0.1 degrees. This level of precision is exactly why professional leveling prevents your door from leaking in ways that standard tools simply cannot detect. If the machine is even slightly pitched, the water won’t hit the sensors correctly, leading to those annoying ‘False Drain’ errors that plague modern high-efficiency units.
The Two Tools I Never Install Without
Beyond the level, I swear by high-grade aluminum foil tape for the underside of the cabinetry. Most kits come with a flimsy plastic strip, but I always upgrade to a heavy-duty vapor barrier. You need to master the best way to tape your vapor barrier during installation because steam is an insidious enemy; it will find the one millimeter of exposed wood you missed and start the rotting process from the inside out. I’ve seen custom oak panels peel like an orange after just two years because of skipped tape. If you want to avoid a total teardown, you must be disciplined about parts to check when installing a dishwasher for long-term performance before you push the unit into its final home.
How do I keep my custom panel looking brand new for years?
Maintenance for an integrated unit is slightly different than a standalone stainless model. You have to be aggressive about the rubber. Every six months, I take a damp microfiber cloth to the door seals. Learning how to clean the gunk out of your gasket without damaging the seal prevents the buildup of organic matter that eventually eats away at the elasticity of the rubber. Once that seal loses its ‘bounce,’ you’re looking at a $200 repair. I also recommend checking the tension springs at the change of every season. Wood panels can expand and contract with humidity, and what was ‘neutral buoyancy’ in July might feel heavy in January. This is where understanding dishwasher parts a key to effective maintenance becomes a lifestyle rather than a chore.
Where Smart Tech is Taking Your Kitchen
Looking ahead, the days of manually checking for leaks are numbered. We are seeing a massive shift toward integrated AI-driven diagnostics. The latest Bosch and Miele technical documentation—specifically the G7000 series manuals—already points toward software that can detect a microscopic drop in water pressure and shut off the main valve before a single drop hits your floor. I predict that within five years, your dishwasher won’t just tell you the filter is dirty; it will refuse to run if it detects a vibration pattern indicative of a failing motor. For now, you can get a head start by learning how to update the firmware on your kitchen wi-fi module. Keeping the software current ensures your sensors stay calibrated. I challenge you to open your machine’s app tonight and check for a firmware update—it’s the easiest ‘repair’ you’ll ever do. It beats waiting for the $20 smart sensor that detects leaks before your kitchen floods to go off in the middle of the night.
What Only Five Years of Stripped Screws Can Teach You
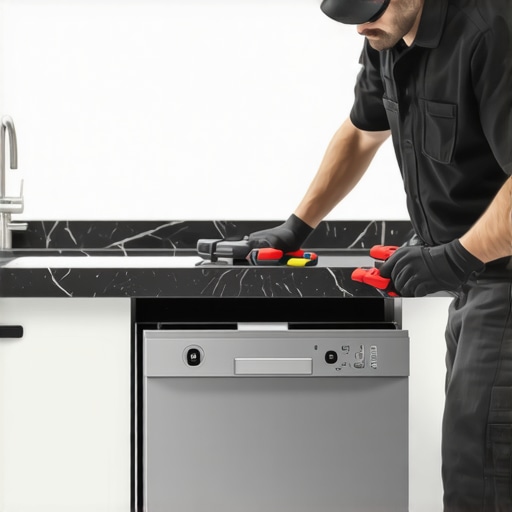
Looking back at that first walnut panel I ruined, I realize now that the biggest informational gain isn’t found in a manual—it’s in the physical feel of the hardware. For instance, always trust your hands over a power tool when finishing the mounting. I’ve learned that common dishwasher parts and how to replace them effectively often requires a delicate touch that an impact driver simply can’t provide. Another lightbulb moment for me was realizing that the aesthetic panel is actually part of a mechanical system; if you ignore the balance, you’re fighting physics, not just wood. I also discovered that maximizing your dishwashers warranty through proper parts selection is the only way to sleep soundly after a major renovation. If you skip the OEM screws for a close enough version from the junk drawer, you’re gambling with a very expensive appliance. #IMAGE_PLACEHOLDER_E#
The Gear That Actually Saved My Sanity
If you want to move from DIY amateur to pro-grade installer, there are a few non-negotiables I keep in my tool bag. First, ditch the flimsy plastic supply lines and invest in the most durable braided steel hoses for long-term safety; they offer a peace of mind that no puddle-sensor can match. Second, I always keep a digital list of essential parts for troubleshooting dishwasher installation issues on my phone so I am not running to the hardware store mid-job. Finally, don’t just rely on the factory box—knowing when to replace dishwasher parts for optimal performance, like swapping out a slightly worn gasket before the panel goes on, saves a massive headache down the road.
Your Kitchen Deserves the Professional Touch You Just Built
There is a specific kind of pride that comes from sliding your dishwasher into place and seeing that custom panel align perfectly with your cabinetry. You didn’t just save a few hundred dollars on a professional install; you ensured that the job was done with the care only a homeowner provides. By focusing on the small details—the vapor barrier, the tension springs, and the level—you’ve turned a standard appliance into a seamless piece of art. Now that you’ve mastered this, you’re ready to tackle the next upgrade with total confidence. Have you ever accidentally drilled through a cabinet face or fought with a sagging door? Let me know your biggest installation wins or horror stories in the comments below!
Related Posts
How to install a dishwasher when you have no existing plumbing
Ever swung open your dishwasher door after a cycle and…
The Proper Way to Secure a Dishwasher Under Stone Countertops
I remember the moment vividly—my hands were trembling slightly, and…

Why Professional Installers Never Use Teflon Tape on Compressions
I remember the first time I watched a seasoned plumber…