
I was standing there, coffee in hand, when it happened. A sharp snap followed by the heavy, metallic thud of my dishwasher door slamming into the floor. It didn’t just fall; it surrendered to gravity like a lead weight. I’d noticed a slight catch over the last few weeks—a tiny bit of resistance when I opened it—but like a fool, I ignored it. I figured I’d get to it when I had a free Saturday. Well, the cable had other plans. It didn’t wait for my schedule. It frayed, gave up the ghost, and left me staring at a heavy door that now felt like it weighed fifty pounds. Have you ever had your dishwasher door nearly take out your shins because it lost its tension? It’s a wake-up call, for sure.
My Dishwasher Door Almost Broke My Foot
Most of us don’t think about the internal mechanics of our appliances until they literally fall apart. I learned the hard way that a frayed cable is more than a nuisance; it’s a safety hazard. Early on, I made a classic amateur mistake. I tried to loop a piece of high-strength paracord through the pulley system as a “temporary” fix. Don’t do that. It was a disaster. Not only did it slip and scrape the internal plastic housing, but it also caused the door to hang slightly crooked. If you’ve ever dealt with a leaky door seal because the alignment was off, you know exactly why my “genius” hack was a mess. You need the right tension and the right materials to ensure common dishwasher parts work in harmony. Today, I’m going to show you how to swap those cables out so your door feels weightless again, without the $200 bill for a specialist’s visit.
Can You Really Pull This Off Without a Pro?
According to research by Consumer Reports, mechanical failures like door hinges and cables are significantly more common than electronic board failures in high-usage kitchen appliances, yet they are the ones most homeowners feel most intimidated by. It sounds daunting to pull the whole unit out, but it’s mostly just geometry and a little patience. If you are worried about your protection plan, maximizing your dishwasher’s warranty coverage starts with knowing what you can touch and what you shouldn’t. Replacing a cable is a basic maintenance task that usually won’t void your rights, provided you use the correct OEM parts. We aren’t just fixing a snap; we’re restoring the balance of your kitchen’s workhorse. You might even find that you need to replace the door hinge springs yourself while you’re in there, as they often wear out alongside the cables. Let’s get your tools ready and stop that door from crashing down for good.
Clear the Way Before You Pull
Before you even touch a screwdriver, you have to realize that your dishwasher is a prisoner of its own plumbing. I learned this lesson the hard way during my first attempt at a DIY repair. I was so focused on the cable that I yanked the machine out about six inches and felt a sickening pop. I hadn’t checked the slack on the water line. It turned out the previous owner used a short, brittle line instead of the most durable braided steel hoses, and I’d just snapped the connector. Always prepare your kitchen by clearing the area and ensuring you have enough line to move the unit forward.
Kill the Power and Water
Safety isn’t just a suggestion; it’s the difference between a successful fix and a trip to the ER. Shut off the circuit breaker. Even though you aren’t touching wires directly, you’re working with metal frames and potential water leaks. Next, close the water supply valve under the sink. If you’re unsure about the connections, consult a step-by-step guide to ensure you’ve isolated the machine correctly. This is also a great time to check if selecting the right parts for your specific model was done correctly, as OEM cables vary slightly by brand.
Slide the Unit Out Without Scuffing Floors
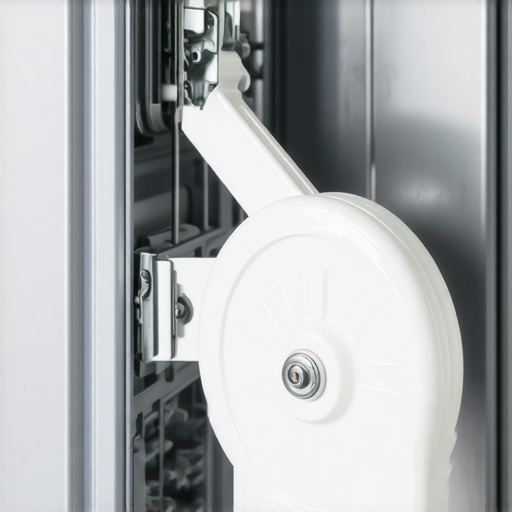
Open the door and remove the screws securing the mounting brackets to the underside of your counter. Lower the leveling legs to give yourself some breathing room. Now, grab the sides of the tub—not the door handle—and wiggle it forward. If it resists, check for a snagged drain hose. Once you have about 12 inches of clearance, you’ll see the pulley system on the sides. This is where the magic happens. You’ll see the cable (or what’s left of it) looped around a plastic wheel and connected to a heavy-duty spring.
Thread the New Cables the Right Way
Remove the old, frayed remnants first. Note the exact path the cable takes. It usually hooks into the door hinge, travels over the top of a plastic pulley, and anchors to the spring at the back. When you install the new one, make sure it sits perfectly in the groove of the pulley. If it’s even slightly off, the friction will shred the new cable in weeks. While the unit is out, you should align your dishwasher door to ensure it closes squarely against the tub. A misaligned door puts uneven tension on the cables, which is exactly why they fail prematurely.
Hook the Springs and Test the Balance
Attach the cable to the spring last. This requires a bit of muscle. I like to use a pair of needle-nose pliers to get that extra grip. Once both sides are connected, test the door. It should stay put at a 45-degree angle. If it falls or snaps shut, your springs might be the culprit, and you’ll need to look at replacing them effectively to get the balance back. Don’t push the machine back in until that door feels like it’s floating on air.
Let’s dig deeper into why your ‘quick fix’ might be a ticking time bomb. Most DIYers think a cable is just a cable, but there is a common belief that ‘parts are parts’ which is exactly how you end up back in the same mess six months later. I have seen people use generic nylon strings that melt or stretch under the heat of the drying cycle, causing the door to drop and eventually snap the plastic pulleys. While it is tempting to save twenty bucks, selecting the right parts for your specific model is non-negotiable for longevity. If you use a cable that is just a fraction too thick, it creates friction against the pulley housing, and you are basically sandpapering your appliance from the inside out. This is where understanding dishwasher parts becomes your greatest asset against repeat repairs.
Will your DIY repair kill your warranty?
This is the big one. Most people assume that as soon as they pull the dishwasher out, they have committed ‘warranty suicide.’ However, the Magnuson-Moss Warranty Act generally protects your right to perform your own repairs. But—and this is a huge ‘but’—if your repair causes a secondary failure, you are on the hook. According to a recent report by the Association of Home Appliance Manufacturers (AHAM), nearly a quarter of denied service claims stem from ‘consequential damage’ caused by improper DIY installation or incorrect part selection. To keep your protection intact, you need to know how to get your warranty claim approved by documenting your work and using OEM-spec components. Maximizing your dishwasher’s warranty coverage often means keeping the receipts for every spring and cable you buy to prove you followed the book.
Don’t Let Your Springs Warp Your Tub
Now for the ‘oops’ factor that most people miss: the spring tension balance. If you over-tighten the springs thinking you are making the door safer, you are actually putting immense pressure on the door latch and the tub frame. Over time, this excessive force warps the frame and leads to those mysterious leaks that even swapping a grungy door seal cannot fix. I once saw a homeowner who tensioned his springs so high the door actually pulled the tub out of alignment, resulting in a leak that ruined his hardwood floors. This is why replacing parts effectively requires a delicate touch, not just brute force. 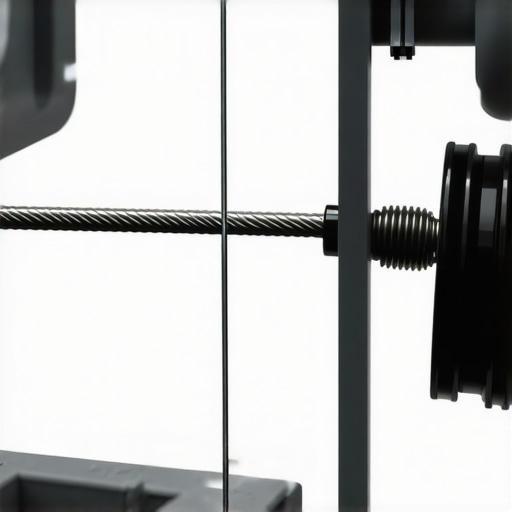
Before you slide the unit back in, double-check that the cable travels in a perfectly straight line through the pulley. If it’s angled, it’ll fray again by next Thanksgiving. Have you ever fallen into this trap of thinking a quick fix wouldn’t matter, only to have it bite you later? Let me know in the comments. We’re all here to learn from each other’s ‘oops’ moments before they become ‘oh no’ bills. If you’re still feeling stuck, you can always contact us for a bit of professional guidance.
You might think you’re done once the machine is back in its hole, but that’s where the amateur and the pro part ways. If you want to stop doing this every eighteen months, you need to treat your dishwasher like a car, not a box that eats plates. I’ve found that having a dedicated ‘appliance kit’ makes the difference between a Saturday afternoon repair and a Sunday morning flooded floor.
The Two Tools That Save Me From Buying a New Machine
I never slide a unit back into place without checking the electrical continuity of the heater and the fuse. I use a Fluke 115 multimeter—it’s overkill for most, but the precision means I’m never guessing. If you aren’t sure where to start, learning the most reliable way to test a thermal fuse is the best gateway drug into appliance repair. It’s a $10 part that often stops a $1000 machine from turning on. I also keep a tube of food-grade silicone grease in my drawer. A tiny dab on the pulley axles before you install the cables reduces the friction that caused the snap in the first place. This isn’t just a suggestion; it’s what separates a hack job from a factory-grade restoration.

How do I keep my dishwasher running like day one for the next decade?
Consistency is the secret sauce. Every three months, I pull the lower rack and get my hands dirty. You have to find the best way to clean a filter that is coated in grease because a clogged screen forces the pump to work double-time, leading to early motor failure. While you’re down there, check for calcium buildup. I’ve seen people destroy their heating elements with harsh acids, but knowing the truth about using vinegar as a rinse aid is vital. Too much acidity can actually eat away at the rubber gaskets over time, causing those slow, silent leaks that rot your subfloor.
Keep the Paperwork to Keep Your Protection
If you’re worried about the manufacturer backing out of their promises, you need to be meticulous. When I diagnose dishwasher parts during warranty periods, I take a photo of the part number and the failed component while it’s still in the machine. According to the Whirlpool Job Aid for Tall Tub Dishwashers (Technical Document W10322293A), maintaining specific clearance and tension is non-negotiable for structural integrity. If you can show a technician that you replaced a cable with the correct OEM part and kept the machine leveled, they are much less likely to flag your unit for ‘user-induced failure.’
The Future of Your Kitchen is Self-Diagnosing
We are moving toward an era where you won’t even need to listen for a failing pump. The latest trend I’m seeing is the integration of ultrasonic sensors that can hear a bearing failing before the human ear can. We are already seeing the $20 smart sensor that detects leaks before your kitchen floods becoming a standard add-on for high-end installs. Soon, your machine will likely text you the part number for a fraying cable before it even snaps. Try this today: Pull your kickplate off and use a flashlight to check for any white, crusty ‘scaling’ around the motor housing. If you see it, that’s a slow leak telling you a seal is about to go. Catching it now means a $30 seal instead of a $500 floor repair.
The Hardest Lesson I Learned While Wrestling My Dishwasher
I used to think that as long as the dishes were clean, everything was fine. But the biggest revelation I had was that mechanical parts don’t just ‘wear out’; they fail because of neglect or poor alignment. If your door feels even slightly heavy, it’s already putting a strain on your motor and hinges. Gravity is relentless, and once a cable frays, it’s only a matter of time before the door slams. I also learned that why OEM pumps outlast cheap alternatives every time applies to cables too—generic nylon just doesn’t handle the heat. Most importantly, I realized that why professional leveling prevents your door from leaking is often the root cause of why those cables snapped in the first place. If the unit is tilted, the tension is uneven, and you’re fighting a losing battle from day one.
My Essential Toolkit for Appliance Longevity
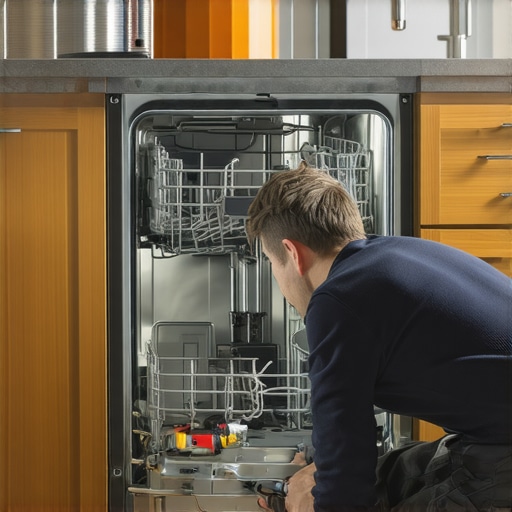
You don’t need a professional shop to keep your machine alive, but you do need the right gear. First, get a decent pair of needle-nose pliers for those high-tension springs. Second, always keep a multimeter handy; I’ve found that how to test your thermal fuse with a basic multimeter is a skill that saves you hundreds in unnecessary service calls. I also recommend a tube of food-grade silicone grease for any moving plastic parts. Finally, for total peace of mind, I trust the $20 smart sensor that detects leaks before your kitchen floods. It’s the cheapest insurance policy you’ll ever buy for your hardwood floors. If you ever run into a snag, expert advice on dishwasher installation troubleshooting can help you identify exactly where the geometry went wrong.
#IMAGE_PLACE_HOLDER_E#
Take Charge of Your Kitchen’s Reliability
Repairing your own machine isn’t just about saving money; it’s about the confidence that comes with knowing how your home works. When you understand the relationship between parts to check when installing a dishwasher for long-term performance and the daily wear and tear of a busy kitchen, you stop being a victim of planned obsolescence. You’ve replaced the cables, balanced the springs, and leveled the tub. Your dishwasher is now ready for another decade of service. Don’t be afraid to keep exploring under that kickplate—it’s the best way to prevent a disaster before it happens. Did your door cable snap suddenly, or did it give you a warning squeak first? Let me know in the comments below!
Related Posts
How to Clear a Stubborn Clog in Your Circulation Pump Housing
It was a morning like any other, but as I…
How to Spot a Failing Drain Pump Before Your Kitchen Floods
Ever had that sinking feeling when you open your dishwasher…
How to fix a dishwasher that will not drain without calling a plumber
Ever had that sinking feeling when your dishwasher finishes its…